
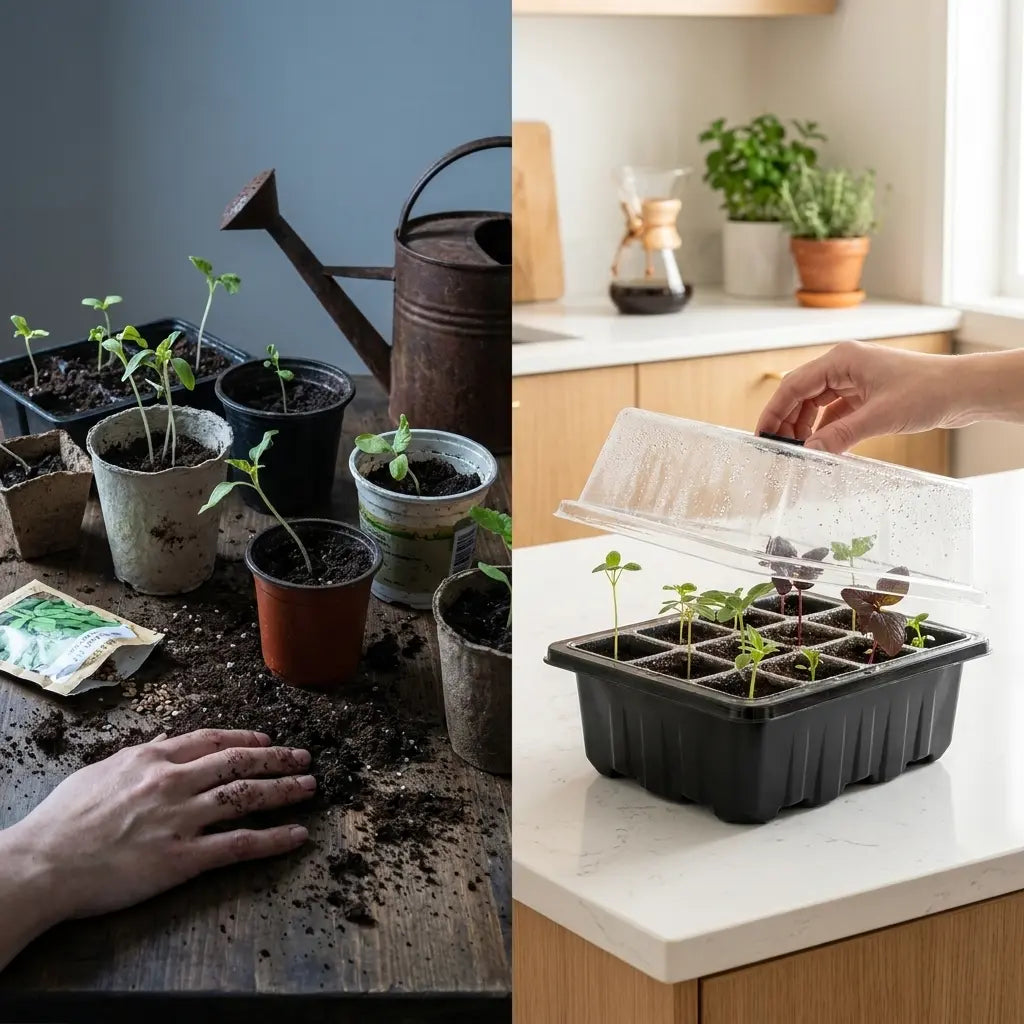
Step 1: Prepare Your Seed Starter Tray
Before planting anything, your setup needs to be ready. This is where most people rush and create problems that show up later. If the tray is not prepared correctly, moisture becomes inconsistent, seeds are placed unevenly, and results vary across the entire tray.
Start with a clean, structured seed starter tray. Each cell should be clearly defined so every seed has its own space. This prevents overcrowding and allows each plant to develop properly from the beginning. If you are reusing a tray, make sure it is completely clean and free of any residue or old material. Contamination at this stage can affect germination before you even see growth.
Next, make sure your tray has proper drainage and airflow. Seeds need moisture, but they also need oxygen. A tray that traps water or does not allow excess moisture to escape creates unstable conditions. This often leads to some cells staying too wet while others dry out, which results in uneven germination.
Placement also matters at this stage. Set up your tray in the location where it will stay during the first few days. Moving it later can disturb the growing medium and affect moisture levels. Ideally, this should be a stable, indoor surface where you can control light and temperature easily.
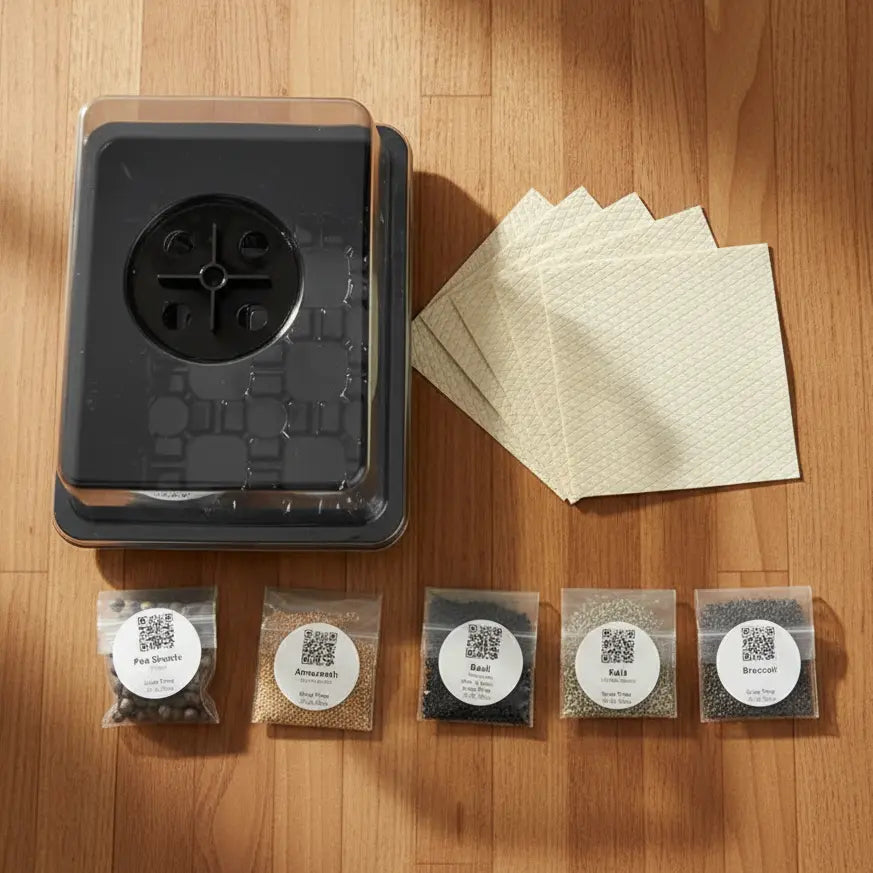
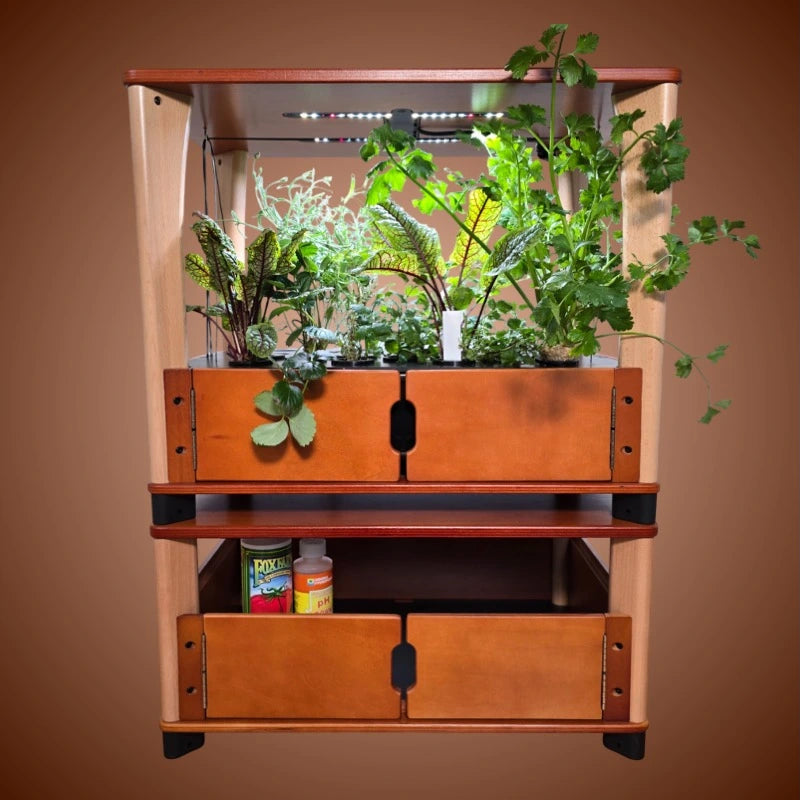
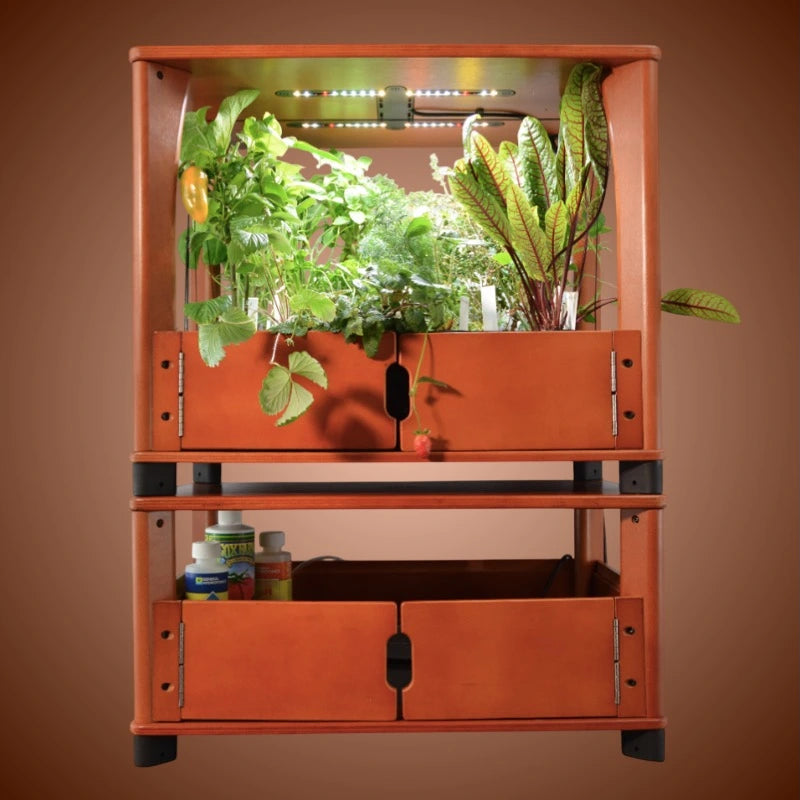
If you want to simplify this process and avoid setup mistakes, using a system designed for indoor seed starting makes a noticeable difference. Shop the Indoor Seed Starter Kit for a consistent tray structure and controlled environment from the start, which helps eliminate uneven conditions.
Taking a few extra minutes to prepare your tray properly creates a stable foundation for everything that follows. Once this step is done correctly, the rest of the process becomes much easier to manage.
Step 2: Add the Growing Medium
Once your tray is ready, the next step is adding the growing medium. This is where many people unintentionally create problems that affect germination later. The goal is not just to fill the tray, but to create a consistent, breathable base that holds moisture evenly across all cells.
Start by placing the growing medium into each cell and filling it to the top. Do not pack it down tightly. Seeds need small air pockets in the medium so oxygen can reach them. If the material is compressed too much, it becomes dense and restricts airflow, which can slow or completely stop germination. At the same time, do not leave the medium too loose. Large gaps can cause uneven moisture distribution and make it harder for seeds to maintain contact with the surface.
After filling the tray, lightly level the surface so each cell has a similar depth. This step is important because it ensures seeds are planted evenly later. If one cell is deeper than another, seeds will be placed at different depths, leading to uneven sprouting times.
Next, pre-moisten the medium before planting. This is a step many people skip, and it often leads to poor results. If you plant seeds into dry medium and then water from the top, the water may not distribute evenly. Some areas become too wet while others stay dry. Instead, add water gradually until the medium is evenly damp throughout. It should feel moist but not soaked, with no standing water.
Consistency is the main objective. Every cell should have the same structure, moisture level, and depth. When this is done correctly, seeds experience the same conditions across the entire tray, which leads to more predictable and uniform growth.
Using a setup designed for indoor seed starting simplifies this process significantly. Systems like the Aquager Indoor Seed Starter Kit provide uniform grow mediums and consistent cell structure, which helps maintain even moisture and eliminates many of the variables that cause uneven germination.
Step 3: Plant the Seeds at the Right Depth
Now that your tray is prepared and the growing medium is evenly moist, it's time to actually plant the seeds. This step looks simple, but small mistakes here are one of the main reasons seeds fail to sprout or grow unevenly.
Start by placing seeds into each cell. For most plants, you only need one to two seeds per cell. Adding more may seem like a way to increase success, but it usually creates competition later, where multiple seedlings fight for the same space, water, and light.
The most important part is planting depth. Seeds should not be randomly pushed into the medium. If they are planted too deep, they may not have enough stored energy to reach the surface. If they are too shallow, they can dry out quickly or fail to establish proper contact with the moist medium.
A simple rule works for almost all seeds: plant them at a depth equal to their size. Larger seeds go slightly deeper, while very small seeds should be placed on the surface or just lightly pressed in. For tiny seeds, covering them completely can prevent them from sprouting at all.
After placing the seeds, gently cover them if needed and lightly press the surface. This step ensures good contact between the seed and the medium, which is critical for consistent moisture absorption. Avoid pressing too hard, as this can compact the medium and reduce airflow.
Spacing and consistency matter here as well. Each cell should be planted the same way, at the same depth, with similar pressure. This leads to uniform germination across the tray instead of random results.
Using a structured setup makes this step much easier. A system like the Aquager Indoor Seed Starter Kit provides evenly sized cells and consistent spacing, which helps maintain proper planting depth and improves overall success rates.
When seeds are planted correctly, they germinate faster, emerge more evenly, and develop into stronger seedlings from the very beginning.
Step 4: Water Properly
Once the seeds are planted, watering becomes the most important factor to manage. This is where many people unintentionally damage the setup they just created. The goal is not simply to add water, but to maintain a consistent moisture level without disturbing the seeds or creating unstable conditions.
Start by watering gently. If you pour water too quickly or directly onto the surface, you can shift the seeds out of place or push them deeper than intended. This changes planting depth and leads to uneven germination. Instead, apply water slowly and evenly across the tray so the medium absorbs it without movement.
After the initial watering, the focus should shift to maintaining consistency. The medium should stay slightly damp at all times. It should never be soaked to the point where water is pooling, and it should never dry out completely. Both extremes stop germination. Overwatering fills the air spaces in the medium and reduces oxygen, which can cause seeds to rot. Underwatering interrupts the germination process and prevents seeds from developing further.
A common mistake is watering on a schedule instead of based on actual conditions. Indoor environments change throughout the day, so moisture levels can vary. Instead of following a fixed routine, check the surface regularly. If it feels dry, add a small amount of water. If it is still damp, leave it alone.
Another important factor is even distribution. Water should reach all cells equally. If some areas receive more water than others, you will see uneven sprouting across the tray. This often leads to confusion, where some seeds grow well and others fail under the same setup.
Maintaining proper moisture is much easier with a controlled system. A setup like the Aquager Indoor Seed Starter Kit helps distribute water evenly and retain consistent moisture levels, reducing the chances of both overwatering and drying out.
When watering is done correctly, seeds remain in a stable environment where they can complete germination without interruption. This leads to faster sprouting and more uniform growth across the entire tray.
Step 5: Cover and Create Humidity
After watering, the next step is to create a stable environment where seeds can retain moisture and germinate without interruption. This is done by covering the tray and maintaining humidity. Many people skip this step or use it incorrectly, which leads to drying, uneven germination, or mold issues.
Seeds require consistent moisture at the surface to complete germination. Indoors, moisture evaporates quickly, especially in heated or air-conditioned spaces. Without a cover, the top layer of the growing medium can dry out within hours. Even if the lower part remains damp, a dry surface is enough to stop seeds from developing.
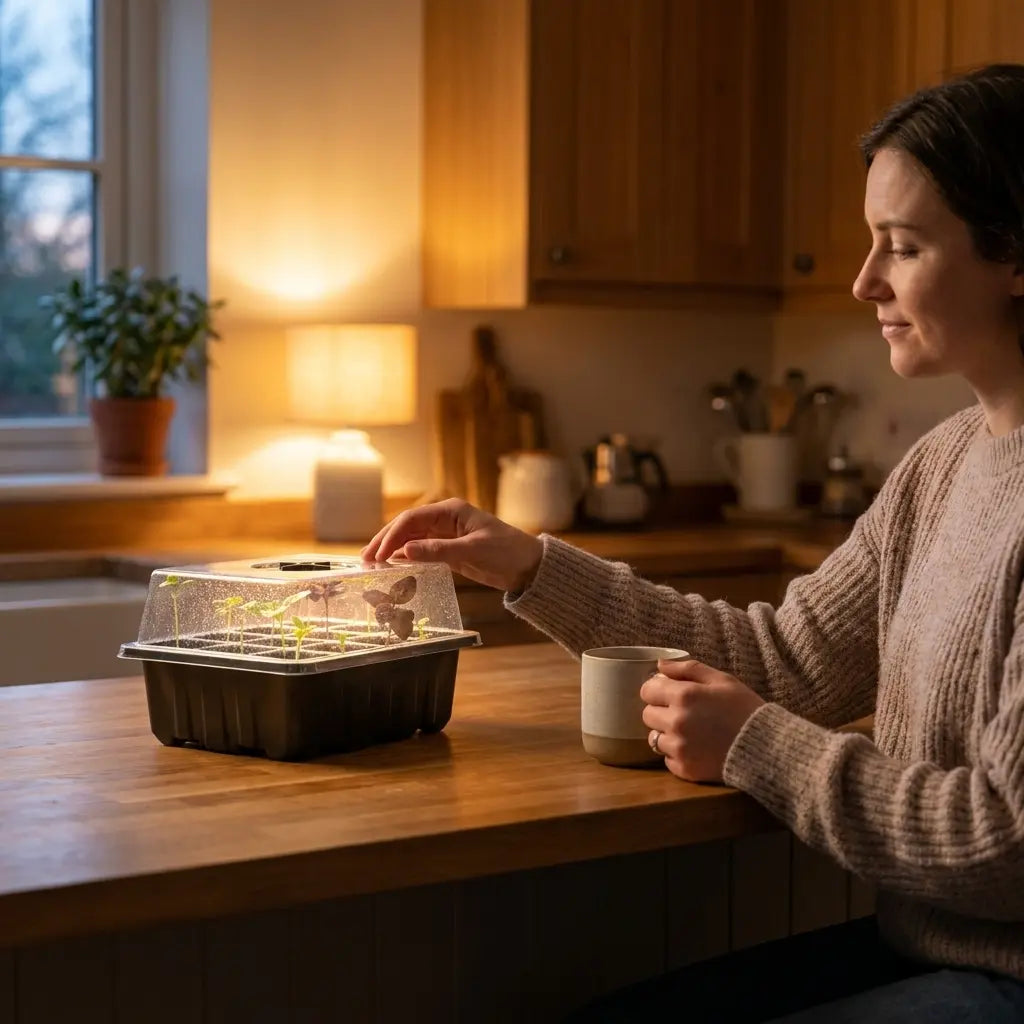
This is why a humidity dome is used. It traps moisture inside the tray and creates a stable micro-environment where evaporation is reduced. When used correctly, it keeps conditions consistent across all cells, allowing seeds to germinate at the same rate.
However, the dome must be used properly. If it is left completely sealed for too long, moisture can build up excessively and lead to mold or fungal growth. You may notice condensation forming on the inside of the dome, which is normal, but if it becomes too heavy or constant, it means airflow is too limited.
The goal is balance. The environment should stay humid, but not overly wet. If condensation becomes excessive, slightly vent the dome or lift it briefly to allow fresh air in. This helps prevent mold while still maintaining the moisture level seeds need.
Another common mistake is leaving the dome on for too long after seeds have sprouted. Once seedlings emerge, they need airflow and light more than high humidity. Keeping the dome on at that stage can weaken the seedlings and increase the risk of disease.
Using a system designed for indoor seed starting simplifies this process. A setup like the Aquager Indoor Seed Starter Kit includes a properly fitted dome that helps maintain consistent humidity while allowing you to manage airflow more easily.
When humidity is controlled correctly, seeds remain in a stable environment where they can germinate without stress, leading to faster and more uniform results.
Step 6: Place the Tray in the Right Location
Once the tray is planted, watered, and covered, placement becomes the next critical factor. Where you put the tray determines how consistent the environment will be over the next several days. Many setups fail not because of planting or watering mistakes, but because the tray is placed in a location where conditions constantly change.
Start by choosing a stable indoor surface where temperature and airflow remain consistent throughout the day. Avoid placing the tray near heating vents, air conditioners, or frequently opened windows. These areas create fluctuations in temperature and moisture that interrupt germination. Even small changes can slow down or stop seed development at this early stage.
Light also becomes important as soon as seeds begin to sprout. While seeds do not require light to germinate, seedlings need strong, consistent light immediately after they emerge. If the tray is placed in a low-light area, seedlings will stretch toward the light source and become weak. This is why many indoor setups produce tall, thin plants that fall over.
A windowsill can work, but it is often unreliable. Light intensity varies throughout the day and depends on season, window direction, and weather. A more consistent approach is to use a controlled light source, such as an LED grow light, positioned directly above the tray. This ensures that all cells receive equal light and prevents uneven growth.
Spacing and positioning should also remain consistent. Once the tray is placed, avoid moving it frequently. Shifting the tray can disturb the growing medium and change moisture distribution, which affects germination and early growth.
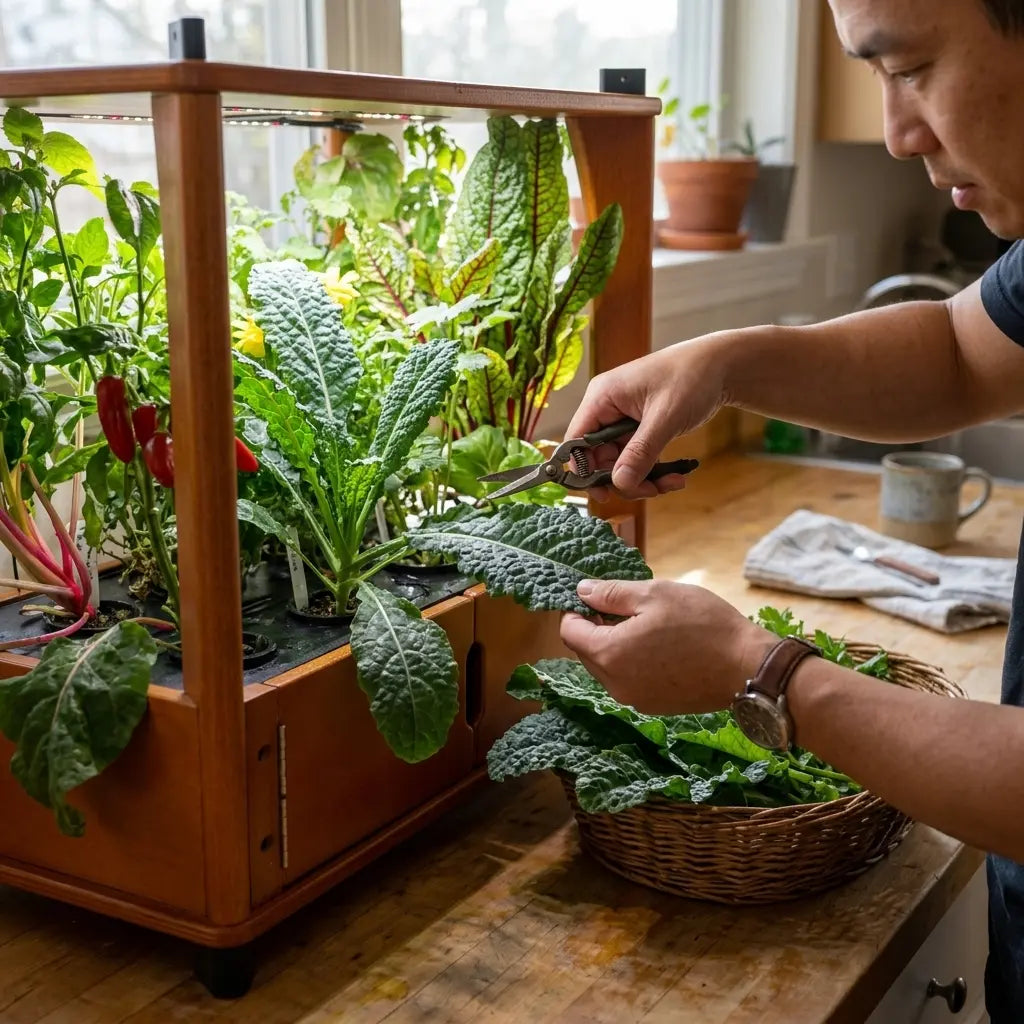
Using a setup that supports stable placement makes a noticeable difference. A system like the Aquager Indoor Seed Starter Kit is designed to fit easily on countertops or under grow lights, helping maintain a consistent environment from the start.
When placement is done correctly, seeds experience steady conditions without interruptions. This allows them to germinate faster and develop into strong, uniform seedlings ready for the next stage.

Step 7: What to Do in the First 3 Days
The first few days after planting are when most of the success or failure is decided. At this stage, seeds are highly sensitive, and even small changes in moisture, temperature, or handling can interrupt germination. Many people make the mistake of constantly checking, adjusting, or interfering, which often does more harm than good.
During the first 24 to 72 hours, the goal is stability. Seeds need consistent moisture, steady temperature, and minimal disturbance. Avoid touching the surface, moving the tray, or adding unnecessary water. Each time the environment is disrupted, it changes the conditions the seeds rely on to begin growing.
Moisture should remain slightly damp across the entire tray. If the surface starts to dry, add a small amount of water carefully, but do not overcorrect. Adding too much water too quickly can shift seeds or create overly wet conditions, which slows down or stops germination. It is better to make small adjustments than large ones.
Temperature should stay within a stable indoor range. Avoid placing the tray in areas where temperature drops at night or fluctuates during the day. Consistency is more important than achieving a specific number. Sudden changes are what cause stress and delay sprouting.
At this stage, patience is critical. Many seeds will not show visible growth immediately. Digging into the medium to check progress is a common mistake that damages developing roots before they have a chance to establish. Even if nothing appears to be happening on the surface, the process is already underway below.
A controlled setup makes these first days much easier to manage. A system like the Aquager Indoor Seed Starter Kit helps maintain stable moisture and environment without constant adjustments, allowing seeds to develop naturally without interference.
When the first few days are handled correctly, seeds transition smoothly into visible growth. This sets the foundation for strong, even seedlings across the entire tray.
Conclusion
Planting seeds indoors is not complicated, but small mistakes at the beginning can stop growth before it even starts. Most failures happen during the first few steps: improper setup, uneven moisture, incorrect planting depth, or unstable conditions. Once those issues are present, everything that follows becomes harder to manage.
The key to success is consistency. When the tray is prepared properly, the growing medium is evenly moist, seeds are planted at the right depth, and the environment stays stable, seeds respond quickly. Germination becomes predictable instead of random, and seedlings develop evenly instead of growing at different speeds.
What makes indoor seed starting frustrating for many people is not the process itself, but the number of variables they try to manage at once. Adjusting moisture, light, and placement manually often leads to inconsistent results. A small imbalance in one area can affect everything else.
Simplifying the process is what leads to better outcomes. When the setup is stable from the start, there is less need to correct mistakes later. Seeds receive the same conditions across the entire tray, which improves germination rates and leads to stronger seedlings.
If you want to make indoor seed starting more reliable and avoid these common issues, using a system designed for this purpose can help. Shop the Indoor Seed Starter Kit for consistent conditions automatically, making it easier to get fast, even growth without constant adjustments.
With the right setup and a consistent approach, planting seeds indoors becomes a simple, repeatable process that produces strong results from the very beginning.
FAQ
How deep should I plant seeds indoors?
A simple rule is to plant seeds at a depth equal to their size. Very small seeds should be placed on or just below the surface.
How much water do seeds need?
Seeds should stay consistently moist but not soaked. The surface should feel slightly damp at all times without standing water.
Do seeds need light right after planting?
Most seeds do not need light to germinate, but seedlings require strong light immediately after they sprout.
Is a windowsill enough for growing seedlings?
Sometimes, but it is often not consistent enough. Light levels can vary and lead to weak or uneven growth.
What is the easiest way to plant seeds indoors?
Using a structured setup that controls moisture, spacing, and environment makes the process simpler and more consistent, especially for beginners.
Author: Aquager Team · Published: April 18, 2026 · Updated: August 8, 2026 · Reviewed: August 8, 2026 (Phase 2)












0 comments