If you've ever bought a plant, confidently placed it on a windowsill, and watched it slowly die over the next three weeks — this post is for you.
Pea shoots are the one microgreen that is genuinely, almost stubbornly hard to kill. They're large seeds you can see and feel, they germinate fast and visibly, they grow quickly enough to show daily progress, and they produce one of the most satisfying harvests in microgreens growing — tall, curling, sweet-flavored shoots that look impressive on any plate. They're the entry point that converts skeptics into growers.
Why Pea Shoots Are the Best First Microgreen
Every beginner guide says to "start with something easy." Pea shoots have specific characteristics that make them uniquely well-suited to first-time growers.
Large seeds, easy to handle. Pea seeds are the size of a small marble. You can see them, spread them evenly, and immediately know if you've missed a spot. Tiny seeds like arugula or broccoli require more care. Peas are forgiving.
Fast, visible germination. Pea seeds germinate within 24–48 hours of planting. By day 2, white root tips are visible. By day 3, shoots are emerging. For someone who has watched a plant do nothing for two weeks before giving up, this speed of feedback is motivating.
Sweet flavor, universal appeal. Pea shoots taste like fresh spring peas — sweet, mild, and green without bitterness. They're the one microgreen that skeptics try and immediately like. Children eat them. People who don't eat salad eat them.
Satisfying harvest volume. A 10x20-inch tray of pea shoots produces a genuinely impressive pile of greens — 3–5 ounces of tall, curling shoots that look like something from a restaurant. The visual and tactile reward reinforces the habit of growing.
Forgiving of beginner mistakes. Slight overwatering, underwatering, too little light — pea shoots tolerate all of it within a reasonable range. For someone learning microgreens growing patterns for the first time, pea shoots leave the most margin for error.
What You Need to Grow Pea Shoots
Pea shoot seeds. Use seeds packaged for microgreens or sprouting — not garden pea seeds, which may be coated. Aquager's Pea Shoot Seeds are food-grade and untreated. Use about 2–3 tablespoons per 10x20-inch tray — peas are seeded more densely than smaller varieties.
A 10x20-inch grow tray with drainage holes, plus a second tray without holes for bottom watering.
An organic grow mat, pre-cut to fit the standard tray. Keeps the setup clean and harvest easy.
A bowl of water for soaking. Pea seeds require pre-soaking — the one critical difference from most other microgreens.
A spray bottle for initial misting after seeding.
Light. A bright window or a simple grow light. Pea shoots grow well in 4–6 hours of indirect natural light.
How to Grow Pea Shoots Step by Step
The critical difference between pea shoots and other microgreens: peas must be pre-soaked before planting. Their seed coat is thick and germination is slow and patchy without this step. Don't skip it.
Step 1 — Soak the Seeds (6–8 Hours)
Place pea seeds in a bowl and cover with cool water. Soak for 6–8 hours or overnight. The seeds will swell noticeably — the seed coat has absorbed water and germination has begun. After soaking, drain and rinse. Seeds are ready to plant.
Step 2 — Prepare the Tray and Seed
Wet the grow mat thoroughly until evenly damp throughout. Place flat in the growing tray. Spread soaked pea seeds across the mat surface in an even, dense layer — touching but not piled more than one seed deep. Mist gently with a spray bottle.
Step 3 — Blackout Phase (Days 1–4)
Cover the seeded tray with a second tray placed upside-down on top. This creates darkness and slight weight, encouraging roots to push down into the mat rather than germinating sideways. Keep in a warm area (65–75°F). Mist once or twice per day to keep the mat moist.
By day 2, white root tips are visible. By day 3–4, small pale yellow shoots will be emerging — normal, since they haven't seen light yet.
Step 4 — Light Phase (Days 4–8)
Remove the cover and move to natural light or under a grow light. The pale yellow shoots green up within 12–24 hours. Switch from top-misting to bottom watering: pour about half a cup of water into the solid outer tray and set the growing tray inside it. Let the mat absorb water for 20–30 minutes, then remove and drain. Repeat once daily.
Pea shoots grow visibly day-by-day. By day 6–7, shoots will be 2–3 inches tall with characteristic curling tendrils developing.
Step 5 — Harvest (Days 8–12)
Harvest when shoots reach 3–4 inches tall and the first true leaves have opened. Use scissors to cut just above the mat surface. Store refrigerated in an airtight container lined with paper towel — they stay fresh for 5–7 days.
The Easiest Setup for Your First Tray
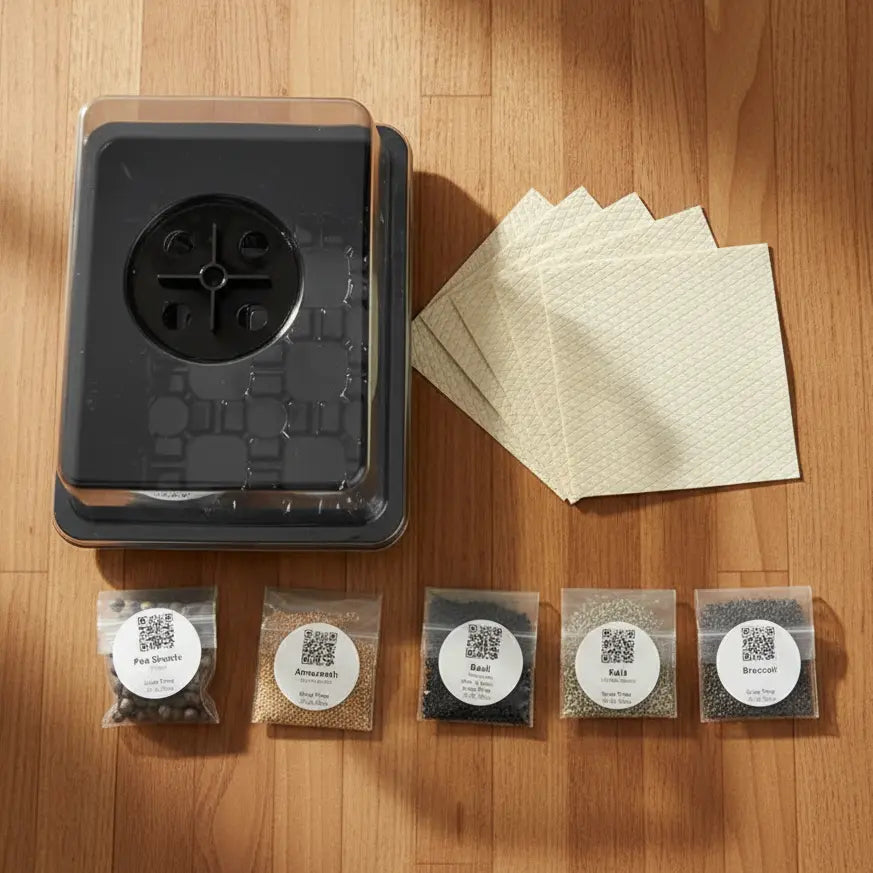
The Aquager Microgreens Starter Kit includes the tray, dome, and organic grow mat — everything except seeds. Add pea shoot seeds and you have a complete, ready-to-plant setup with no guesswork about which parts fit together.
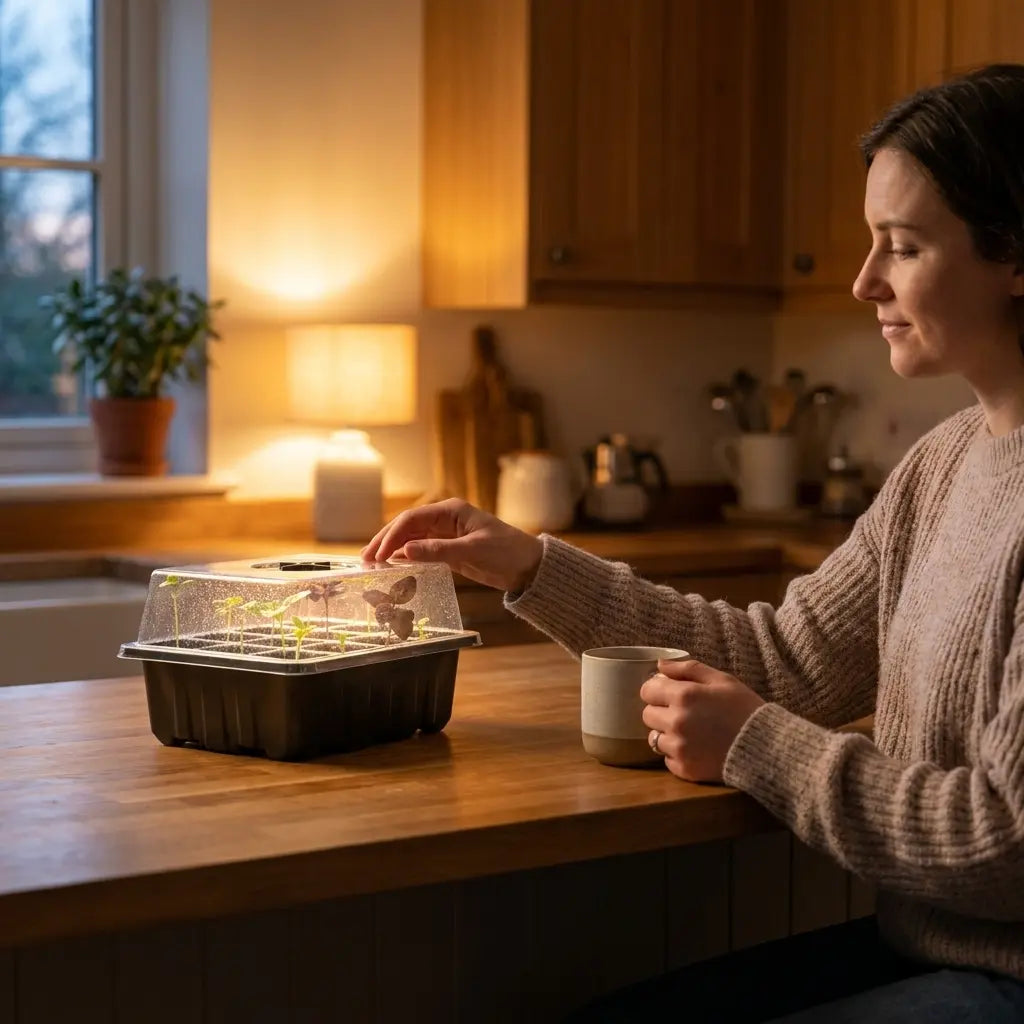
The dome is particularly useful for pea shoots during the germination phase, maintaining humidity and reducing the risk of the mat drying out while roots are establishing.
What to Do With Your Pea Shoot Harvest
Pea shoots are mild enough to use in almost anything. Here are the most practical starting points:
On burgers and sandwiches. Pea shoots add height, sweetness, and crunch. Better than lettuce — more flavorful and they don't wilt under the heat of a fresh patty.
In stir-fries. Add in the last 30 seconds of cooking. The heat wilts them like spinach and they absorb the sauce flavor.
As a salad base. Pair with lemon vinaigrette, cherry tomatoes, and shaved parmesan. They hold their shape in dressing better than most microgreens.
In spring rolls. Pea shoots are a traditional filling in Vietnamese fresh spring rolls — their sweet, crisp texture is a natural fit alongside shrimp, vermicelli, and fresh herbs.
For 8 full recipes with complete instructions, see: Pea Shoot Microgreens Recipes: 8 Ways to Use Your Harvest This Week.
Frequently Asked Questions
Why do pea shoots need to be soaked first?
Their thick seed coat resists water absorption without soaking. 6–8 hours of soaking softens the coat and initiates germination, producing faster, more even sprouting. Skipping it causes patchy, slow germination.
How long do pea shoots take to grow?
8 to 12 days from soaking to harvest. Warmer rooms (68–75°F) and more light speed the process. Most growers harvest between days 9 and 11.
Can I grow pea shoots in soil?
Yes — a thin (1-inch) layer of potting mix or seed-starting mix works. Grow mats are cleaner (no soil in the greens) and easier for moisture management, but either approach produces good results.
Why are my pea shoots falling over?
The most common cause is insufficient light — pea shoots reach toward the light source and become top-heavy with weak or one-directional light. Move to a brighter spot or rotate the tray 180 degrees each day.
Can I get a second harvest from the same tray?
Pea shoots sometimes re-grow after cutting if you leave 1 inch of stem — but the second harvest is typically thinner. Most growers start a fresh tray for consistency and volume.
Your First Tray Is Easier Than You Think
Pea shoots are the right starting point for a specific reason: they make the entire process feel achievable. Large seeds, fast germination, impressive harvest. Start with pea shoot seeds and the Aquager Microgreens Starter Kit.
For more on getting started with microgreens generally, see: Microgreens for Beginners: How to Start Growing Indoors in 7 Days.
Author: Aquager | Published: May 29, 2026 | Updated: May 29, 2026


0 comments