If you've read anything about anti-cancer compounds, detox foods, or sulforaphane specifically, you've already heard about broccoli microgreens. Researchers at Johns Hopkins University first documented that broccoli sprouts and microgreens contain 10 to 100 times more sulforaphane precursor than mature broccoli — a finding replicated across multiple studies since.
The problem: fresh broccoli microgreens are nearly impossible to find in stores. When you do find them, they're expensive and often several days past peak nutrition. Growing your own solves both problems. One tray takes 10 days from seed to harvest, costs a fraction of the store price, and you cut them the moment they're at maximum nutrition.
This guide covers everything: why broccoli microgreens are worth the effort, what you need to get started, the full step-by-step grow process, and how to use your harvest.
Why Broccoli Microgreens Are Worth Growing at Home
Most people who start growing broccoli microgreens do so because of sulforaphane. But even setting nutrition aside, broccoli microgreens are one of the most practical varieties to grow: forgiving, fast, productive, and genuinely good-tasting — earthy and mildly nutty with a faint brassica edge that most people find interesting rather than unpleasant.
The sulforaphane science is worth understanding. Sulforaphane is produced when broccoli cell tissue is damaged — a reaction between glucoraphanin (stored in the plant) and myrosinase (an enzyme released when cells break). In mature broccoli, this happens when you chew. In broccoli microgreens, the concentration of glucoraphanin per gram is dramatically higher — which is why the same weight produces significantly more sulforaphane than mature heads.
Research on sulforaphane is ongoing and promising: studies have linked it to detoxification of environmental pollutants, anti-inflammatory effects, blood sugar regulation, and neuroprotective activity. These are not definitive medical claims — but the scientific interest is real, and broccoli microgreens are the most accessible, affordable way to get sulforaphane into a daily diet.
The practical case is equally strong. One pack of broccoli microgreen seeds grows a full tray in 10 days — producing 3–4 ounces of fresh microgreens at a fraction of what mature broccoli costs per serving, and far more concentrated nutritionally. For the full comparison of microgreens vs. mature vegetables by variety, see: Microgreens Benefits: The 7 Most Nutritious Varieties, Ranked by Science.
What You Need to Grow Broccoli Microgreens
The setup is genuinely minimal. Here's what actually matters.
A 10x20-inch grow tray. The industry standard size. You need one with drainage holes for the growing tray and one without holes for the bottom water tray. The Aquager Microgreens Tray (Set of 6) works well if you plan to grow multiple trays in rotation.
An organic grow mat. Broccoli microgreens grow better on a fiber mat than in soil. Mats make harvest cleaner, reduce mold risk, and handle moisture more consistently. The Aquager Microgreens Grow Mat (5x) is pre-cut to the standard tray size — no trimming required.
Broccoli microgreen seeds. Use seeds specifically sourced for sprouting or microgreens — not vegetable garden seeds, which may be treated with fungicides. Aquager's Broccoli Microgreen Seeds are food-grade and untreated. Use approximately 1–1.5 tablespoons per 10x20-inch tray.
A spray bottle. For misting during the first 3–5 days before you switch to bottom watering.
Light. A south- or east-facing window with 4–6 hours of natural light is sufficient. A basic grow light on a timer works equally well if your windowsill is limited.
That's the complete supply list. No grow medium mixing, no nutrients, no pH kits for a microgreens setup — broccoli microgreens are genuinely that low-maintenance.
How to Grow Broccoli Microgreens Step by Step
Unlike pea shoots or sunflower seeds, broccoli microgreens don't need to be pre-soaked before planting. They germinate quickly without it, making the process simpler.
Step 1 — Prepare the Tray
Wet your grow mat thoroughly until it's evenly damp all the way through. Place it flat in the growing tray. The mat should be moist, not soaked — no water should pool on the surface.
Step 2 — Seed the Tray
Sprinkle broccoli seeds evenly across the mat surface. Use about 1–1.5 tablespoons for a 10x20-inch tray. Seeds should be touching but not piled on each other — one even layer is the goal. Mist gently with a spray bottle until seeds are wet. Don't dislodge them with heavy misting.
Step 3 — Blackout Phase (Days 1–5)
Cover the seeded tray with a second empty tray placed upside-down on top, or any flat, opaque cover. This creates darkness and slight downward pressure — which encourages seeds to push roots into the mat rather than sprouting sideways.
Keep the covered tray in a warm location. Broccoli germinates best between 65–75°F. Below 60°F, germination slows noticeably.
Mist lightly once per day, or twice if the mat is drying out. You're keeping the mat moist, not wet.
Step 4 — Check Germination (Days 2–4)
By day 2 or 3, lift the cover briefly. You should see small white root tips emerging from most seeds. By day 3–4, the sprouts will be pushing upward. At this stage they'll be white or pale yellow — normal, since no chlorophyll has formed yet.
If you see mold forming on seeds (fuzzy white growth, distinct from wispy root hairs), increase airflow slightly by propping the cover with a small gap.
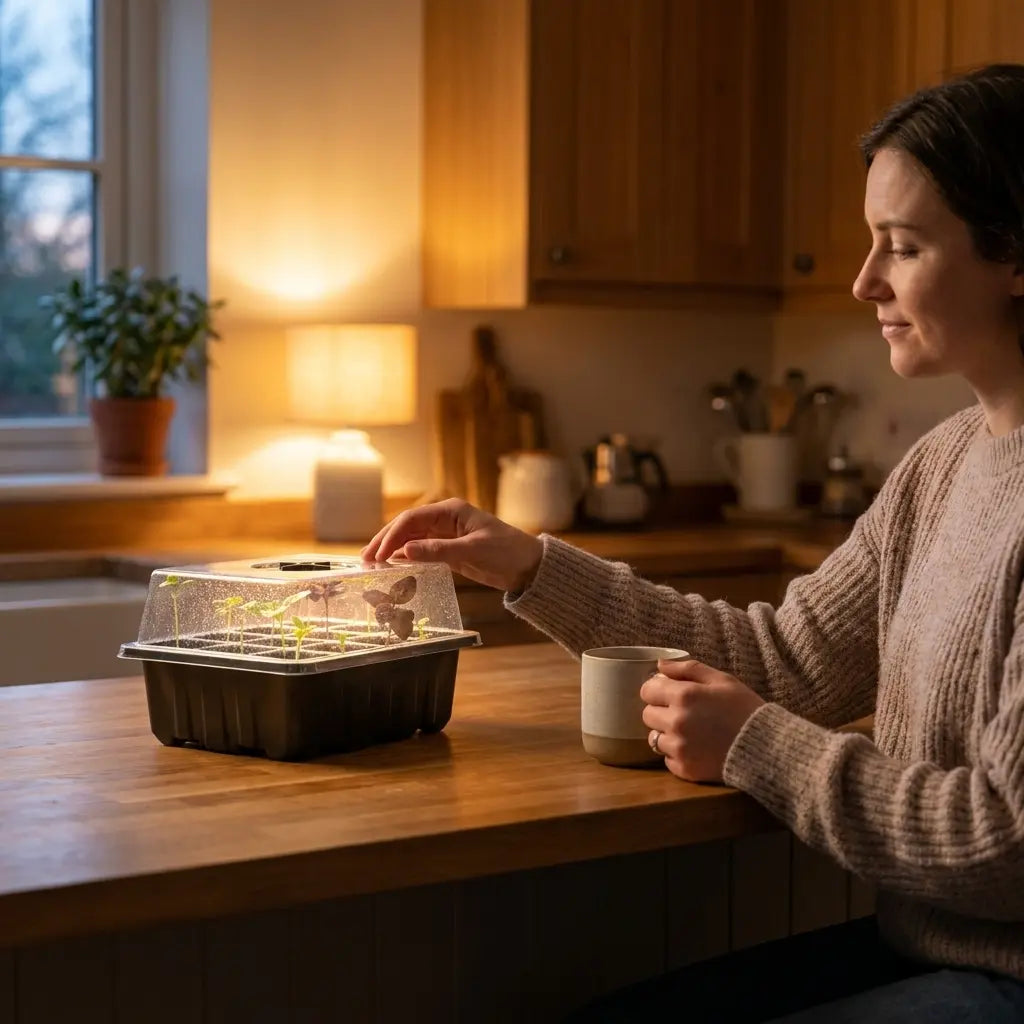
Step 5 — Light Exposure (Days 5–7)
Remove the cover and move the tray into natural light or place under a grow light. The pale yellow stems will green up within 12–24 hours as chlorophyll develops. This is completely normal and expected.
At this point, switch from top-misting to bottom watering: pour about half a cup of water into a solid tray and set your growing tray inside it. Let the mat absorb water for 20–30 minutes, then lift and drain any excess. Repeat once per day, or whenever the mat starts to dry out.
Step 6 — Harvest (Days 8–12)
Broccoli microgreens are ready when the first true leaves have just begun to unfurl — you'll see a small V-shape forming at the top of each shoot. This is when sulforaphane precursor content is at or near its peak.
Use clean scissors or a sharp knife to cut just above the mat surface. Harvest dry — don't wash before refrigerating. Store in an airtight container lined with paper towel, and rinse just before use. Broccoli microgreens stay fresh for 5–7 days after harvest.
Broccoli Microgreens vs Mature Broccoli: What You're Actually Getting
The most useful comparison is by weight.
| Broccoli Microgreens | Mature Broccoli | |
|---|---|---|
| Glucoraphanin (sulforaphane precursor) | Up to 100x higher per gram | Baseline |
| Vitamin C | High | Moderate |
| Vitamin K | Present | Present |
| Fiber | Lower (young plant) | Higher (mature plant) |
| Growing time | 10 days | 80–100 days |
| Space needed | One 10x20" tray | Several square feet of soil |
The key insight: broccoli microgreens are not a complete nutritional substitute for mature broccoli — mature broccoli has more fiber and a fuller overall profile. But for sulforaphane specifically, microgreens are dramatically more efficient. And they grow in 10 days, not 80.
For a deeper look at growing microgreens without soil, see: Hydroponic Microgreens: How to Grow Without Soil (It's Easier Than You Think).
The Simplest Home Growing Setup for Broccoli Microgreens
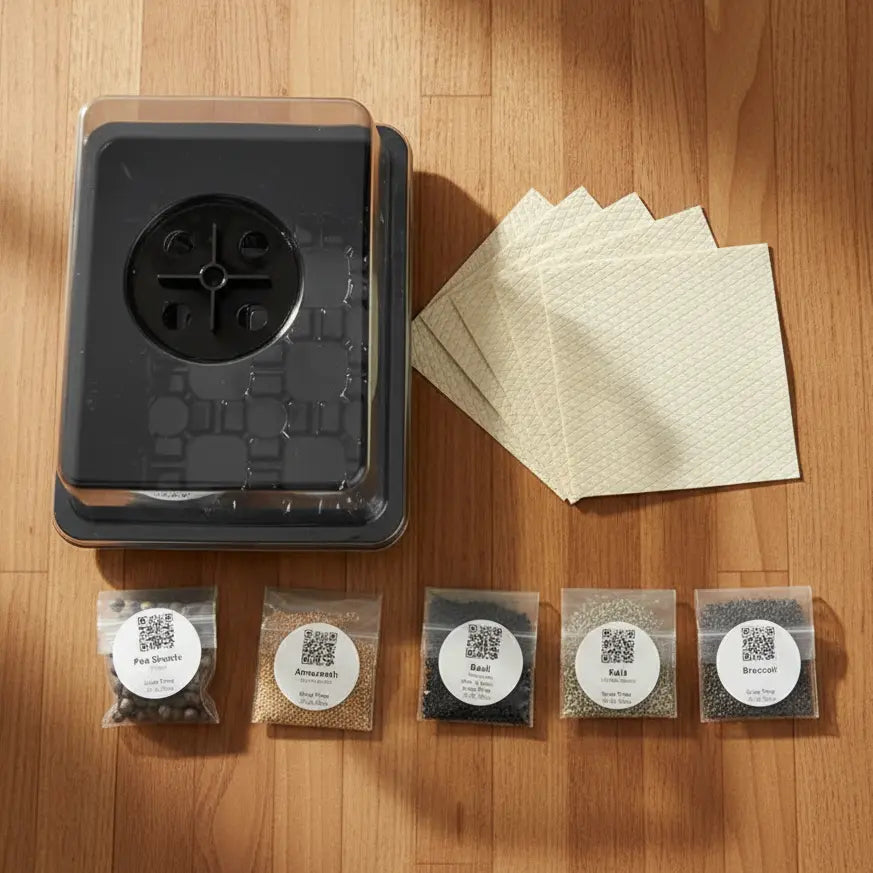
If you want to start without sourcing each piece separately, the Aquager Microgreens Starter Kit includes the tray, dome, and organic grow mat. Add broccoli seeds and you have everything you need.
The kit is built for exactly this: getting a first tray growing without guesswork about whether the setup is correct. The mat fits the tray, the dome maintains humidity during germination, and the drainage design prevents the most common failure — overwatering in the first three days. Everything is pre-sized to fit together.
Frequently Asked Questions
Do broccoli microgreens actually contain sulforaphane?
Broccoli microgreens contain high concentrations of glucoraphanin — the precursor that converts to sulforaphane when plant tissue is damaged by chewing or cutting. Studies have found that broccoli sprouts and microgreens contain 10 to 100 times more glucoraphanin per gram than mature broccoli.
How long do broccoli microgreens take to grow at home?
8 to 12 days from seed to harvest, depending on temperature and light. The blackout phase takes 4–5 days; the light phase another 4–7 days. Warmer rooms (70–75°F) speed things up. Cooler temperatures slow germination noticeably.
Do I need to soak the seeds first?
No. Unlike pea or sunflower seeds, broccoli microgreens germinate well without pre-soaking. Seed directly onto a moist grow mat and proceed to the blackout phase.
Why are my broccoli microgreens yellow when they sprout?
Yellow during the blackout phase is completely normal — no chlorophyll forms without light. Move them into natural light or under a grow light on day 5 or 6, and they'll green up within 12 to 24 hours.
Can I grow a second crop from the same tray?
No. Microgreens are a single-harvest crop. Once cut, start a fresh tray. For continuous supply, start a new tray every 5 days — you'll always have something at harvest stage.
How to Use Your Broccoli Microgreens
Broccoli microgreens have a mild, earthy, slightly nutty flavor — approachable enough to add to almost anything.
Smoothies. A small handful blended into a green smoothie adds nutrition without noticeably changing the flavor. Works well with banana, spinach, and almond milk.
Sandwiches and wraps. Use in place of sprouts. They add crunch and nutrition without the sharp flavor of radish or the bitterness of arugula.
Grain bowls. Scatter over warm quinoa, rice, or farro bowls with roasted vegetables. The heat wilts them very slightly, which is pleasant.
Eggs. Add to scrambled eggs in the last 30 seconds of cooking, or pile onto fried eggs after plating. The warmth softens them and brings out the earthy flavor.
Avocado toast. Press a generous layer of broccoli microgreens into avocado toast before any other toppings. Finish with lemon juice, flake salt, and red pepper flakes.
Start Your First Broccoli Microgreens Tray This Week
Broccoli microgreens are as close as it gets to a daily superfood you can grow on your kitchen counter. The setup is minimal, the cost is low, and the return — especially the sulforaphane content — isn't something you can easily replicate with any other food at this price.
Start with one tray of broccoli microgreen seeds and the Aquager Microgreens Starter Kit. In 10 days, you'll have a full tray of dark green microgreens ready to cut.
Author: Aquager | Published: May 29, 2026 | Updated: May 29, 2026


0 comments