
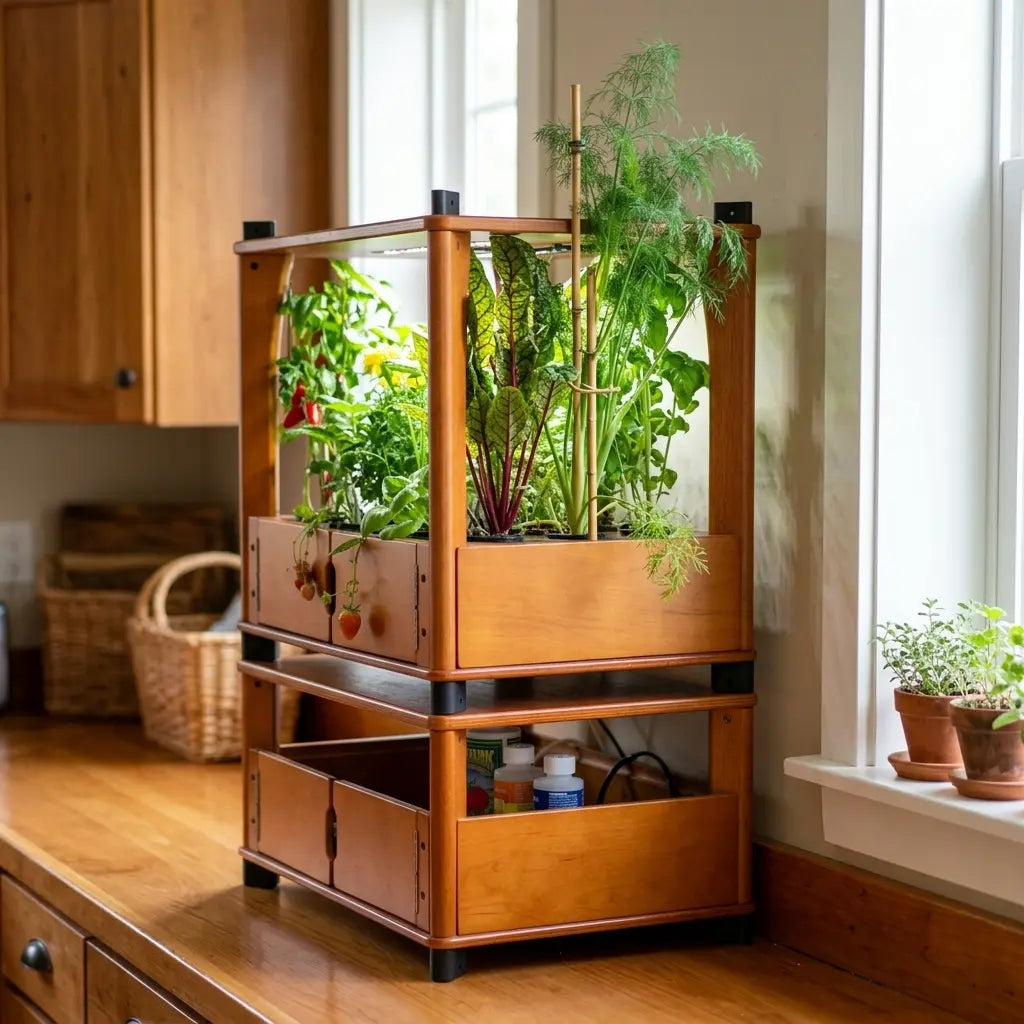
Dill has a reputation for being one of the trickier kitchen herbs to grow, and unlike some overblown plant myths, this one has some truth to it.
Good dill care comes down to respecting a few quirks most other herbs do not have. It grows a deep taproot that hates being disturbed, it germinates slowly, and it eventually gets tall and floppy enough to need support.
None of that makes dill hard. It makes dill specific. Get the setup right from the start and dill grows about as easily as anything else on a kitchen counter. Get it wrong, and you will spend a season fighting a plant that never quite settles in.
This guide covers exactly what dill needs, starting with the one decision that matters more than any other: how you start the seed in the first place.
By the end, you will know how to set dill up to succeed from the very first seed, how to keep it upright as it grows tall, and how to plan a rotation of plantings so you are never without fresh fronds.
Why Dill Is Trickier Than Other Kitchen Herbs
Most of the herbs people grow indoors, basil, mint, chives, tolerate being started in one container and moved to another without much complaint. Dill does not share that tolerance.
Dill develops a long, deep taproot early in its life, and that root does not like being disturbed. Transplanting a dill seedling from a starter tray into its permanent pot often shocks the root system badly enough to stall growth for weeks, or kill the seedling outright.
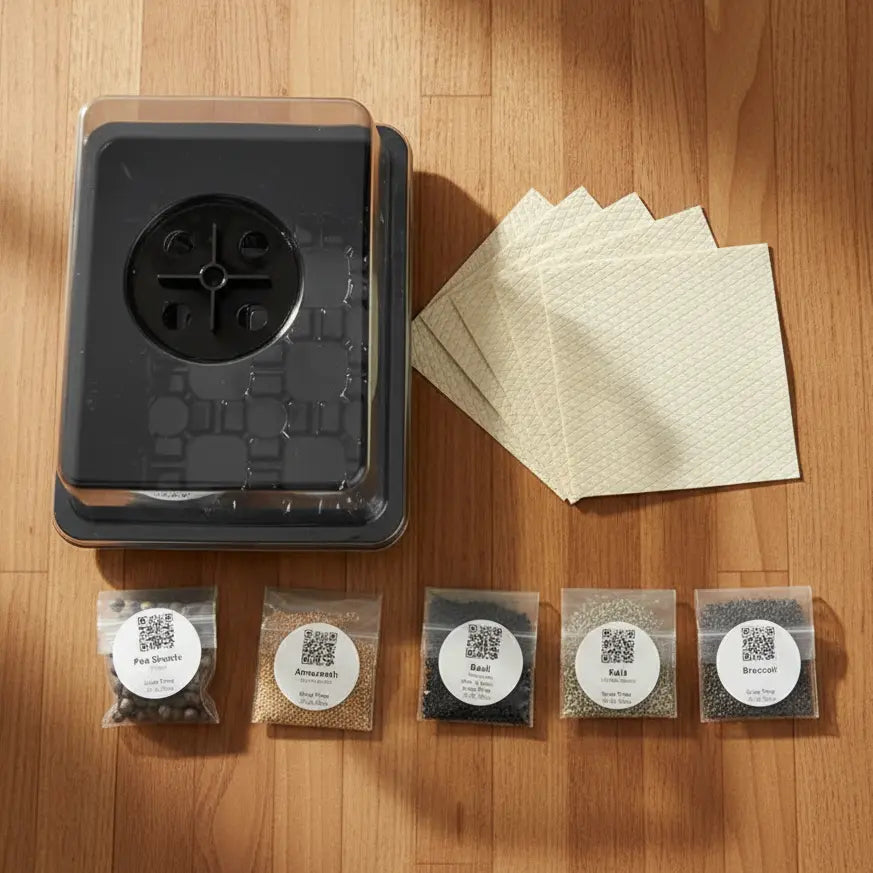
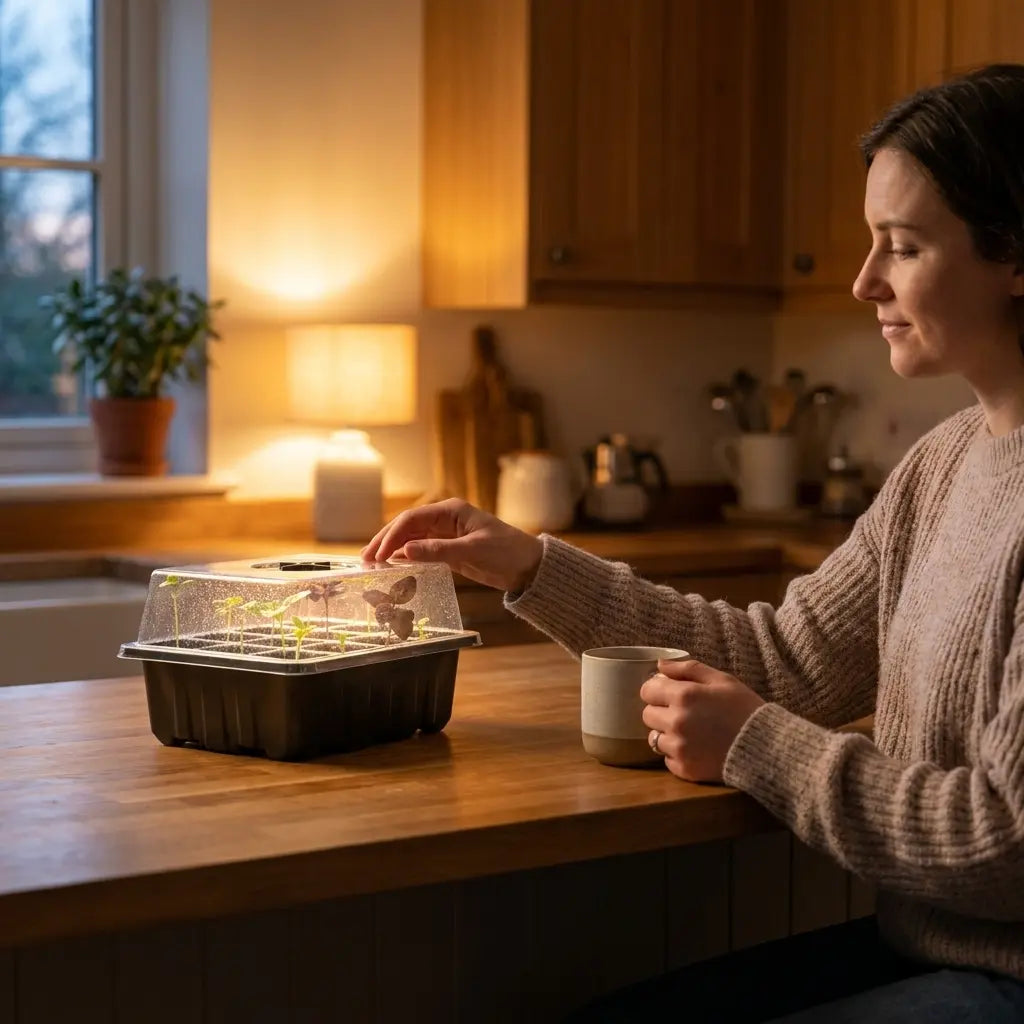
This is the single biggest reason dill earns its reputation as delicate. It is not that the plant itself is fragile once established. It is that the standard way most people start herb seeds, in a small tray, then transplanted later, works against dill's biology from the very first step.
The fix is simple once you know it: sow dill directly into the container it will live in permanently, and skip the transplant step entirely. Good dill care starts before the seed even goes into the growing medium.
It helps to compare dill to a carrot in this respect, since carrots share the same deep taproot structure and the same reputation for punishing transplants. Anyone who has tried to move a carrot seedling and watched it stall knows exactly what dill will do under the same treatment. Once you think of dill that way, the direct-sow rule stops feeling like an arbitrary restriction and starts making obvious sense.
What Dill Needs to Thrive
Once you get past the taproot issue, dill's other needs are fairly ordinary for a Mediterranean-adjacent herb.
Light matters most. Dill wants six or more hours of bright light a day to grow sturdy and productive. Too little light produces thin, leggy stems that flop over even before the plant gets tall enough to need staking for its normal growth habit.
A dill container needs real depth because of that taproot. A shallow pot restricts root growth and stresses the plant, so look for something at least eight inches deep rather than a shallow herb pot designed for shallow-rooted plants like thyme or oregano.
Soil should be loose and well-draining, similar to what most Mediterranean herbs prefer, though dill is a bit more tolerant of consistent moisture than drought-loving herbs like rosemary. It does not want to dry out completely between waterings the way rosemary does.
Temperature-wise, dill grows best in cooler conditions than many people expect, comfortable between 60 and 70 degrees Fahrenheit. It tends to bolt, meaning it flowers and goes to seed early, when temperatures run consistently warm, which shortens its productive window.
A hydroponic setup removes a lot of the guesswork around these preferences. Instead of estimating soil moisture by feel, the growing medium stays consistently damp without becoming waterlogged, which suits dill's slight preference for even moisture better than a container that swings between soaked and bone dry.
Airflow is a smaller factor worth mentioning too. Indoor spaces tend to have still air compared to an outdoor garden, and dill grown in perfectly still conditions develops thinner, weaker stems than dill exposed to at least some air movement. A small fan on a low setting, run for a short period each day, can noticeably improve stem strength and reduce how much a plant leans even before staking becomes necessary.
How to Grow Dill From Seed, Step by Step
Growing dill from seed is straightforward as long as you respect the direct sow rule from the start.
1. Choose a container with real depth
Since you will not be transplanting, pick the pot or net pot dill will live in for its entire life before you plant a single seed. Starting with Dill (Ella) Seeds in a properly sized container from day one avoids the root disturbance that causes most beginner failures.
2. Sow seeds directly, shallow and spaced
Press dill seeds lightly into the surface of the growing medium, since like many herb seeds they need light to germinate and should not be buried deep. Space seeds a few inches apart if planting more than one, since dill plants get bushy as they mature.
3. Be patient with dill germination time
Dill germination time typically runs 10 to 14 days, sometimes longer in cooler conditions, which is slower than many people expect from a seed packet. Keep the growing medium consistently moist during this window without letting it get soggy, and resist the temptation to add more seeds if nothing has sprouted after a week.

4. Thin seedlings if needed, do not transplant them
If multiple seeds sprout close together, thin the extras by snipping them at the soil line with small scissors rather than pulling them out. Pulling disturbs the roots of the seedlings you want to keep, which defeats the entire point of direct sowing in the first place.
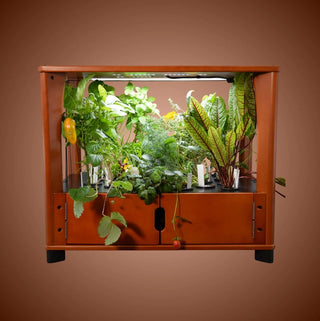
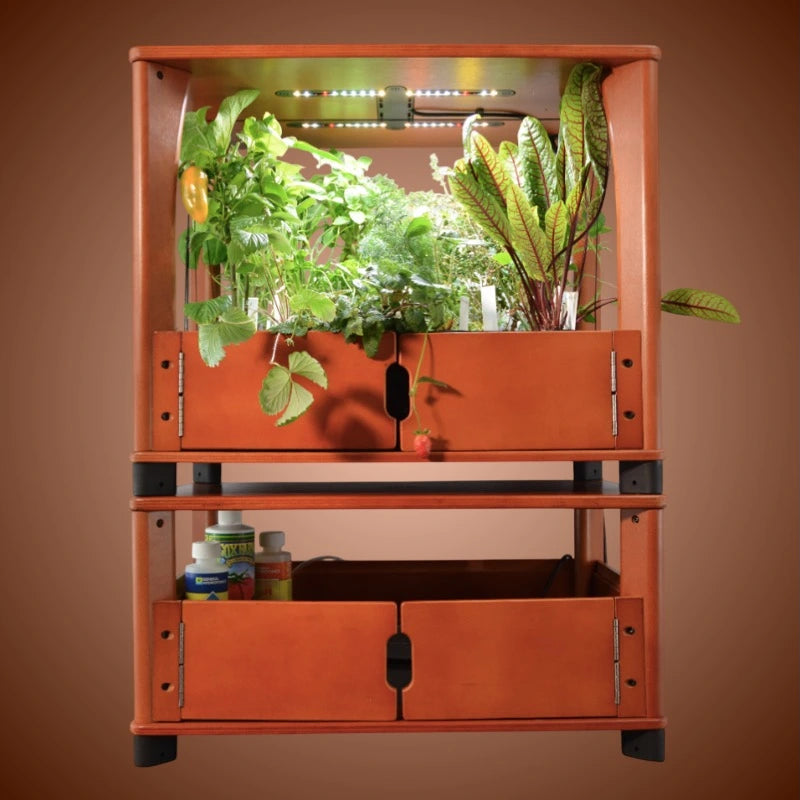
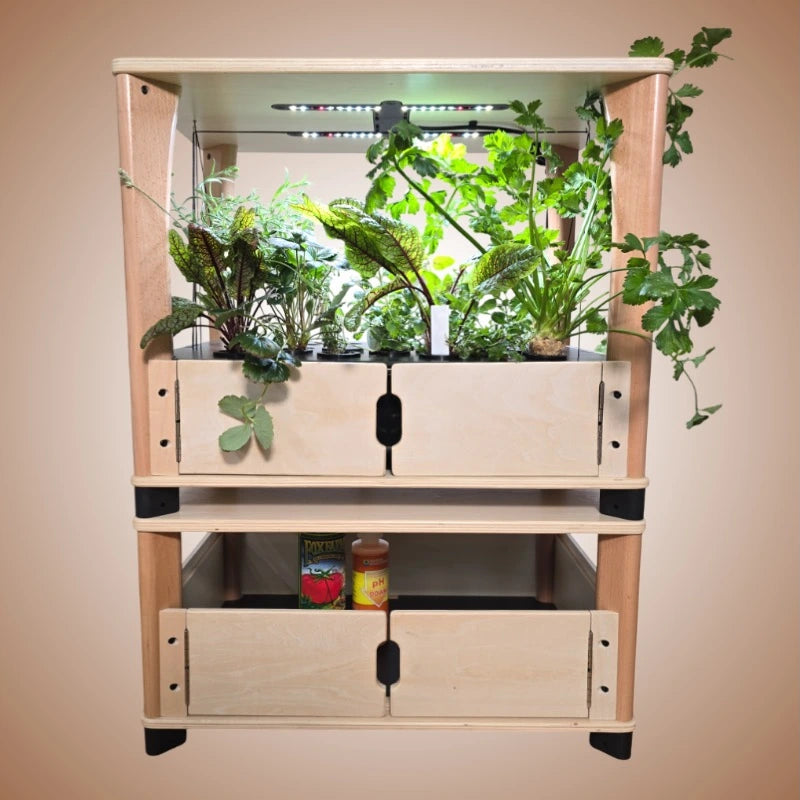
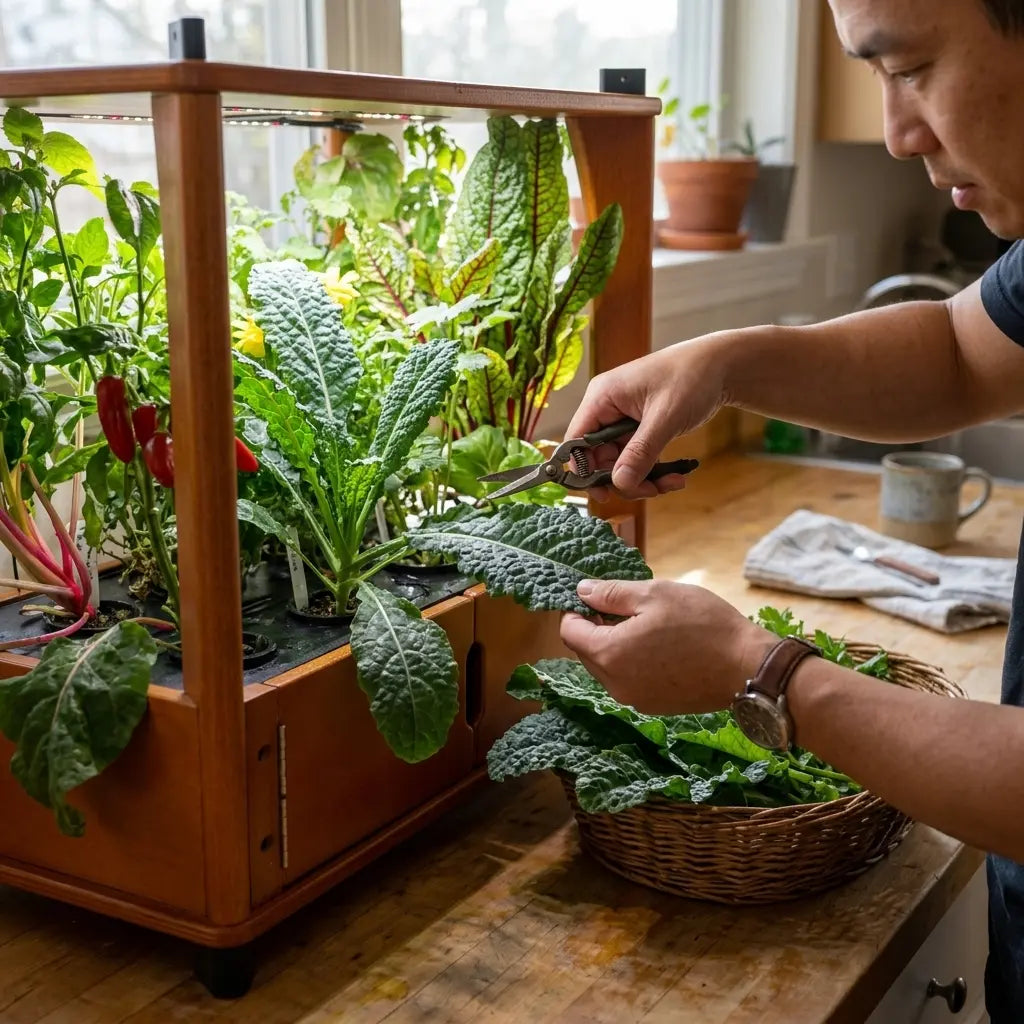
A hydroponic setup like the Aquager Hydroponic Home Farm works well for dill precisely because the net pot becomes the plant's permanent home from seed to harvest, with no transplanting required at any stage. If hydroponics is new to you, this beginner's setup guide covers what you need to know before starting.
5. Watch for the first true leaves before treating it as established
The first leaves a dill seedling produces look different from the feathery fronds that come later, and it is not fully established until those characteristic feathery leaves appear. Until then, keep handling to an absolute minimum and avoid any temptation to move, thin aggressively, or otherwise disturb the container.
Staking Dill for Support
Dill grows surprisingly tall, often two to three feet, on a stem that is thinner than you would expect for that height. Once it reaches that size, especially indoors where there is no wind to strengthen the stem naturally, it tends to lean or flop.
Support staking solves this cleanly. A single thin bamboo stake pushed into the growing medium near the base of the plant, with the main stem loosely tied to it, keeps dill upright without restricting its growth.
Add the stake early rather than waiting until the plant is already leaning. Trying to correct a badly bent stem after the fact rarely straightens it back out completely, while staking a young, still-flexible plant prevents the problem before it starts.
Loose ties matter here. A tie that is too tight can girdle the stem as it thickens, so use soft plant tape or twine with enough give to accommodate growth, checking every few weeks to loosen it if needed.
A figure-eight loop, with the tie crossed between the stem and the stake before being fastened, gives the stem room to sway slightly and thicken without rubbing directly against the stake. Multiple ties along the stem's height, rather than one near the top, distribute support more evenly and reduce the chance of the stem snapping at a single stress point.
Succession Planting for a Continuous Dill Supply
Unlike woody herbs that keep producing for months from a single planting, dill has a shorter useful window. It grows, produces usable fronds for several weeks, then bolts and goes to seed, especially once it gets warm or the light is strong and consistent.
Succession planting solves the gap this creates. Instead of relying on one dill plant for an entire season, start a new container every two to three weeks. By the time the first planting bolts, the next one is already established and producing fresh fronds.
This rotation also fits naturally with dill's direct-sow requirement, since each new planting just needs its own container from the start rather than any transplanting between batches. A small shelf of staggered dill plantings, each a few weeks apart, keeps fresh dill on hand continuously instead of feast-or-famine harvests.
Labeling each container with its start date makes the rotation much easier to track once you have more than one or two plantings going at once. A simple written label, or even a phone reminder set on a two-week repeat, is usually enough to keep the habit consistent without needing a complicated planting calendar.
Do not feel obligated to save a bolting plant. Once dill starts flowering, the leaves turn noticeably more bitter and the plant's energy shifts toward seed production rather than fresh growth. Letting a bolted plant finish and harvesting the seeds themselves, which have their own culinary use, is a better outcome than trying to force continued leaf production from a plant that has already moved on.

Common Dill Growing Problems and How to Fix Them
Dill runs into a smaller, more specific set of problems than most herbs, mostly tracing back to its taproot and its tendency to bolt.
- Seedlings that suddenly wilt or die after looking fine for weeks often suffered root disturbance, either from transplanting or from something physically bumping the container. There is no fix once this happens beyond starting a new planting with more care around the roots.
- A plant that flowers and goes to seed within just a few weeks of maturity is bolting, usually triggered by heat or inconsistent light. Cooler conditions and consistent light delay bolting, though some bolting is normal once dill reaches full maturity.
- Thin, pale, leggy stems point to insufficient light. Moving the plant closer to a light source, or adding a small grow light, produces sturdier growth that needs less staking to begin with.
- A leaning or snapped stem despite staking usually means the tie was too tight or added too late. Stake early and check ties periodically as the plant grows.
- Yellowing lower leaves combined with a musty smell point to overwatering, a smaller risk with dill than with drought-loving herbs but still possible in a container without adequate drainage. Let the top of the growing medium dry slightly between waterings.
Most dill problems trace back to one of two root causes: something disturbed the taproot early on, or the plant is fighting inconsistent light and temperature. Getting the container, the light, and the direct sowing right from the start prevents the majority of issues before they start.
Why Growing Your Own Dill Beats Store-Bought Seeds
Generic seed packets rarely account for dill's specific quirks, and instructions that tell you to start seeds in a tray and transplant later set beginners up to fail before they even get started.
Starting with a reliable variety and growing information built around how dill actually behaves solves that mismatch from day one. Dill (Ella) Seeds paired with a container sized for the taproot, direct sown from the start, removes the single biggest cause of beginner dill failures.
It is also worth pairing with a broader growing setup. Dill sits comfortably alongside other easiest herbs to grow indoors once its direct-sow requirement is respected, so it does not need to be treated as a special case beyond that first decision.
Dill Growing FAQ
Can I really not transplant dill at all?
Dill can technically survive a very careful transplant while still small, but the risk of root damage is high enough that direct sowing is strongly preferred. If you must move a seedling, do it as early as possible and disturb the roots as little as you can.
Why is my dill germination taking so long?
Dill germination time normally runs 10 to 14 days, longer than many other herbs. Cooler temperatures slow it down further, so consistent warmth and moisture, without waterlogging, speeds germination up.
Do I really need to stake dill indoors?
Most indoor dill benefits from staking once it passes about a foot tall, since there is no wind indoors to help the stem develop strength the way it would outdoors. A simple bamboo stake and soft tie is usually enough.
How often should I start new dill plants?
Every two to three weeks works well for most households, keeping a steady rotation of fresh plants as older ones bolt. Adjust the interval based on how much dill you actually use.
Can dill grow in the same container as other herbs?
It is possible, but dill's deep taproot and its bolting tendency make it a better candidate for its own dedicated container. Mixing it with shallow-rooted herbs can lead to root competition as the taproot develops.
What companion plants work well with dill if I am growing multiple containers together?
Dill is often paired with plants that benefit from the pollinators it attracts once it flowers, though indoors this matters less than in an outdoor garden. As long as each dill plant has its own dedicated container for the taproot, placing pots near each other on a shared shelf or grow light setup is fine.
How tall does dill actually get indoors?
Indoor dill often reaches one and a half to two and a half feet under good light, sometimes a bit less than it would outdoors where it gets more consistent sun. Even at the shorter end of that range, staking is usually worthwhile once the plant is producing a full head of fronds.
Conclusion
Dill only feels delicate if you fight its biology. Sow it directly where it will live, give it a deep enough container, stake it before it starts leaning, and keep new plantings coming every few weeks, and the plant that has a reputation for being fussy turns out to be fairly straightforward.
Starting with Dill (Ella) Seeds and a setup built around direct sowing from the beginning removes the guesswork and the most common point of failure. Once that first decision is right, everything else about growing dill falls into place.
Respect the taproot, give it real light, stake it before it needs staking, and keep a rotation going, and the herb with a reputation for being difficult becomes one of the more predictable plants on your counter.
Author: Aquager Team · Published: July 10, 2026 · Updated: September 11, 2026 · Reviewed: September 11, 2026 (Phase 2)












0 comments