One bunch of grocery store basil costs $4–$6, stays fresh for 3–5 days, and usually wilts before you use it all. One pack of basil microgreen seeds produces 20+ harvests at approximately $0.40 each — cut exactly as much as you need, exactly when you need it.
Beyond the economics, basil microgreens offer something a grocery store bunch never does: harvest-fresh flavor that's noticeably more intense than basil that's been cut, packaged, shipped, and stored. The concentration of essential oils at the seedling stage means the flavor punches well above the leaf size.
The guide below covers growing basil microgreens step by step, how they compare to full basil plants, what to do with your harvest, and when it makes sense to grow both formats side by side.
Basil Microgreens vs Full Basil Plants: When to Grow Which
| Basil Microgreens | Full Basil Plant | |
|---|---|---|
| Time to first harvest | 8–12 days | 6–8 weeks |
| Flavor | More intense, concentrated | Milder, more complex when mature |
| Yield | Large single-cut harvest, then replant | Continuous harvest for months |
| Space | One 10x20" tray | One net pod or 4–6" pot |
| Best use | Pesto, garnish, large-quantity cooking | Ongoing fresh leaves on demand |
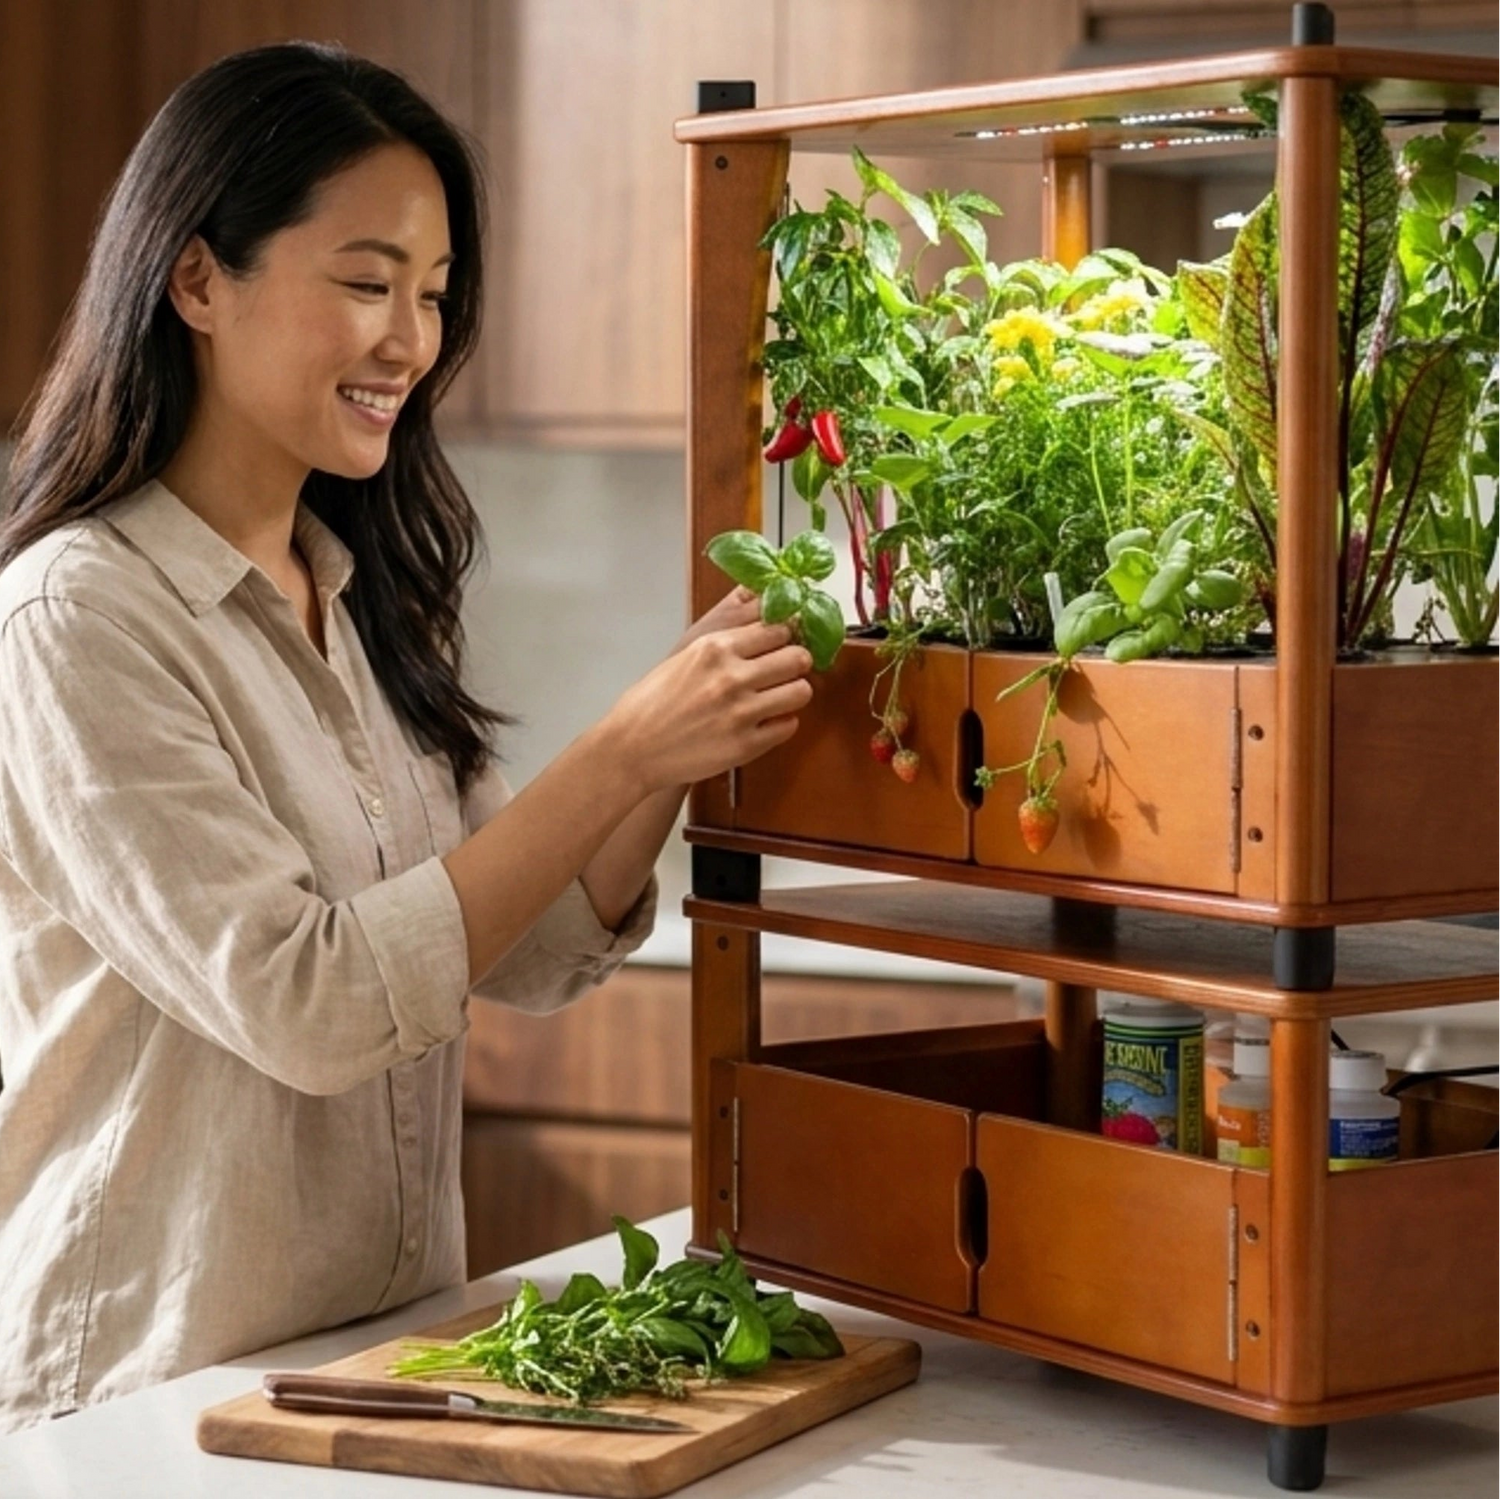
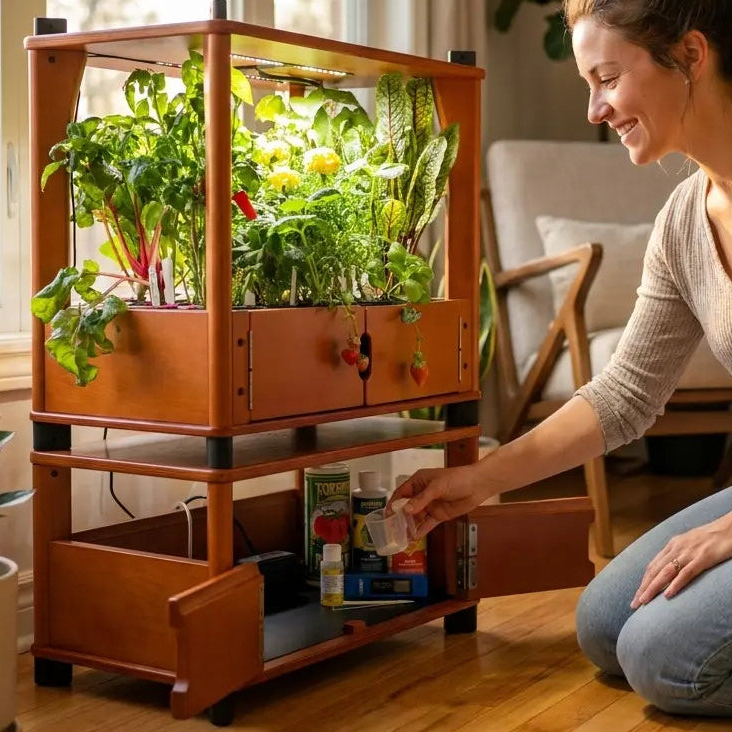
The practical answer for most home cooks: grow both. Basil Genovese Microgreen Seeds give you large, immediate harvests for pesto and recipes. Full Genovese Basil Seeds for the Aquager Home Farm give you a continuous supply of fresh leaves you can pinch off on demand. The two formats complement each other rather than compete.
What You Need to Grow Basil Microgreens
Basil microgreen seeds. Use food-grade seeds sourced for sprouting or microgreens. Aquager's Basil Genovese Microgreens use the classic Italian Genovese variety with germination rates above 95%. Use approximately 1 tablespoon per 10x20-inch tray — basil seeds are tiny and need less density than larger varieties.
A 10x20-inch grow tray with drainage holes, plus a solid-bottom outer tray for bottom watering.
An organic grow mat, pre-cut to fit the standard tray size.
A spray bottle with a fine mist setting. Basil seeds are very small and can be dislodged by heavy misting — a fine spray is essential.
Warmth — the critical variable. Basil is a heat-loving herb. It germinates best at 70–80°F and grows noticeably faster at 75°F than at 65°F. A cool kitchen will produce slow, uneven germination. If your home runs cool, place the covered tray on top of a refrigerator or near a warm appliance during the blackout phase.
Light. At least 6 hours of natural light or a grow light. Basil needs more light than broccoli or pea shoots to develop full color and flavor.
How to Grow Basil Microgreens Step by Step
Basil seeds don't require pre-soaking. The key variables are warmth, moisture consistency, and patience during a slower germination phase than most other microgreens.
Step 1 — Prepare the Tray
Wet the grow mat thoroughly until evenly damp throughout. Place flat in the growing tray. No water should pool on the surface.
Step 2 — Seed the Tray
Sprinkle basil seeds evenly across the mat — approximately 1 tablespoon for a 10x20-inch tray. The seeds are small enough that this creates nearly complete mat coverage. Mist gently with a fine spray bottle. Don't over-mist; wet basil seeds clump together and germinate unevenly.
Step 3 — Blackout Phase (Days 1–6)
Cover with a second tray or opaque cover. Basil germinates more slowly than most microgreens — expect 3–4 days before significant sprouting. This is normal.
Keep the tray somewhere warm — 72–78°F is ideal. If your kitchen runs cool, find a warmer spot. Check daily and mist if the mat is starting to dry. By day 3 or 4, small white root tips should be visible.
Step 4 — Light Phase (Days 6–10)
When sprouts show yellow-green shoots with seed leaves beginning to open, move to natural light or a grow light. Basil needs more light than other varieties — 6+ hours of direct or indirect natural light, or a grow light on a 16-hour cycle.
Switch to bottom watering: pour 1/3 cup of water into the outer tray and let the mat absorb it for 20–30 minutes, then drain. The shoots will green up and develop their characteristic basil aroma over the next 2–3 days. When you can distinctly smell basil when you lift the tray, harvest is approaching.
Step 5 — Harvest (Days 10–14)
Basil microgreens are ready when the cotyledon leaves are fully open and vibrant green. Unlike broccoli or pea shoots, you don't need to wait for first true leaves — the cotyledon stage delivers the best flavor and highest essential oil concentration.
Cut just above the mat with scissors. Store refrigerated in a dry container lined with paper towel. Basil microgreens stay fresh for 3–5 days — cut as close to use as possible.
What Basil Microgreens Taste Like and How to Use Them
The flavor is unmistakably basil, but more concentrated — stronger anise-clove character and brighter aromatics than full basil leaves. This makes them particularly effective wherever basil is the primary flavor, not just a garnish.
Pesto. Basil microgreens can replace mature basil leaves entirely, or blend 50/50. The flavor is stronger, so use slightly less than you would full leaves for a milder pesto. The resulting sauce has a brighter green color and more herbaceous character.
Caprese. A small pile of basil microgreens on sliced tomato and fresh mozzarella delivers more concentrated basil flavor than a single large leaf. Visually striking and noticeably better.
Pizza and pasta topping. Add after heat — scatter liberally over just-plated pasta or pizza. The warmth of the dish wilts them slightly, releasing essential oils without destroying the flavor from high heat.
Bruschetta. Mix basil microgreens into a fresh tomato bruschetta topping. They integrate better than whole leaves and distribute flavor more evenly.
For more on growing basil alongside other varieties, see: Pea Shoot Microgreens: The Complete Beginner's Growing Guide.
The Easiest Setup for Basil Microgreens
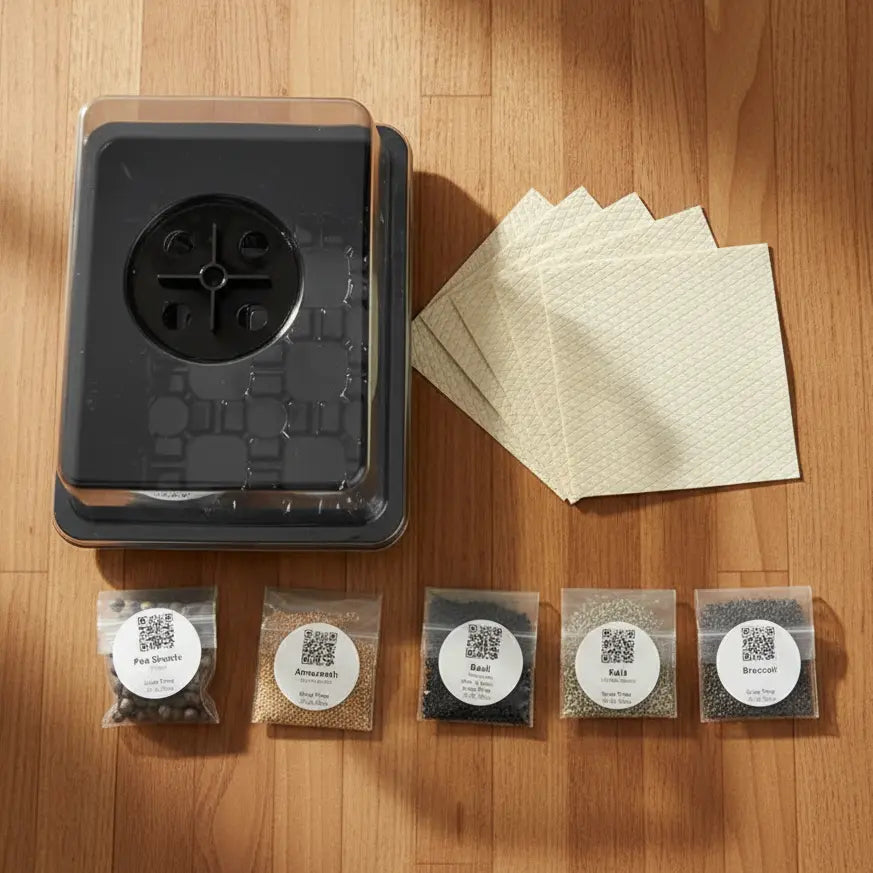
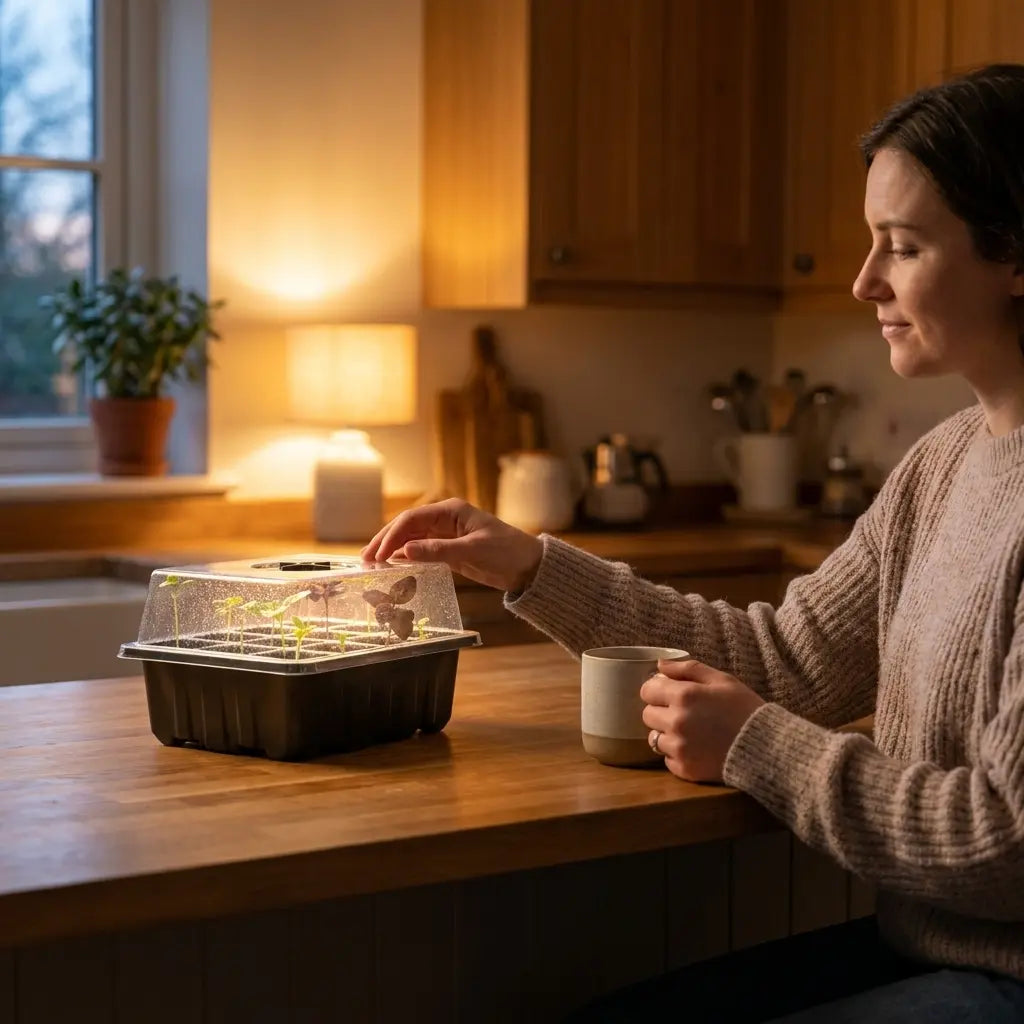
The Aquager Microgreens Starter Kit includes the tray, dome, and organic grow mat. The dome is especially useful for basil microgreens — it maintains warmth and humidity during the longer germination phase, reducing the risk of the mat drying out over 5–6 days.
Add Basil Genovese Microgreen Seeds for the microgreens tray. And if you want a continuous daily supply of fresh basil leaves beyond the tray, full Genovese Basil Seeds for the Aquager Home Farm give you a hydroponic plant that produces for months — a completely different format that complements rather than replaces the microgreens tray.
Frequently Asked Questions
Why are my basil microgreens growing so slowly?
Temperature is almost always the cause. Basil requires warmth — below 68°F, germination slows significantly. Move the tray somewhere warmer (72–78°F is ideal) and make sure it's covered during the blackout phase to retain heat.
Can I use regular basil seeds from the garden center?
Not recommended. Garden seeds may be treated with fungicide coatings designed for outdoor soil. Use seeds packaged for sprouting or microgreens — food-grade and untreated, like Aquager's Basil Genovese Microgreens.
Why do basil microgreens wilt faster than other varieties?
Basil has high water content and sensitivity to cold. Store harvested basil microgreens in the warmest part of the refrigerator — if your fridge is set very cold, the microgreens may blacken slightly from temperature stress.
Should I grow microgreens or a full basil plant in my farm?
Both serve different purposes and complement each other. Microgreens give you large, immediate harvests for cooking; a full basil plant gives you ongoing fresh leaves on demand. Many Aquager customers grow both simultaneously.
Start Growing Basil This Week
One pack of seeds, 12 days, 20+ future harvests at $0.40 each — versus $4–$6 per store bunch that wilts before you finish it.
Basil Genovese Microgreen Seeds and the Aquager Microgreens Starter Kit are all you need. For a broader look at variety deep-dives, see: How to Grow Broccoli Microgreens at Home.
Author: Aquager | Published: May 29, 2026 | Updated: May 29, 2026


0 comments