
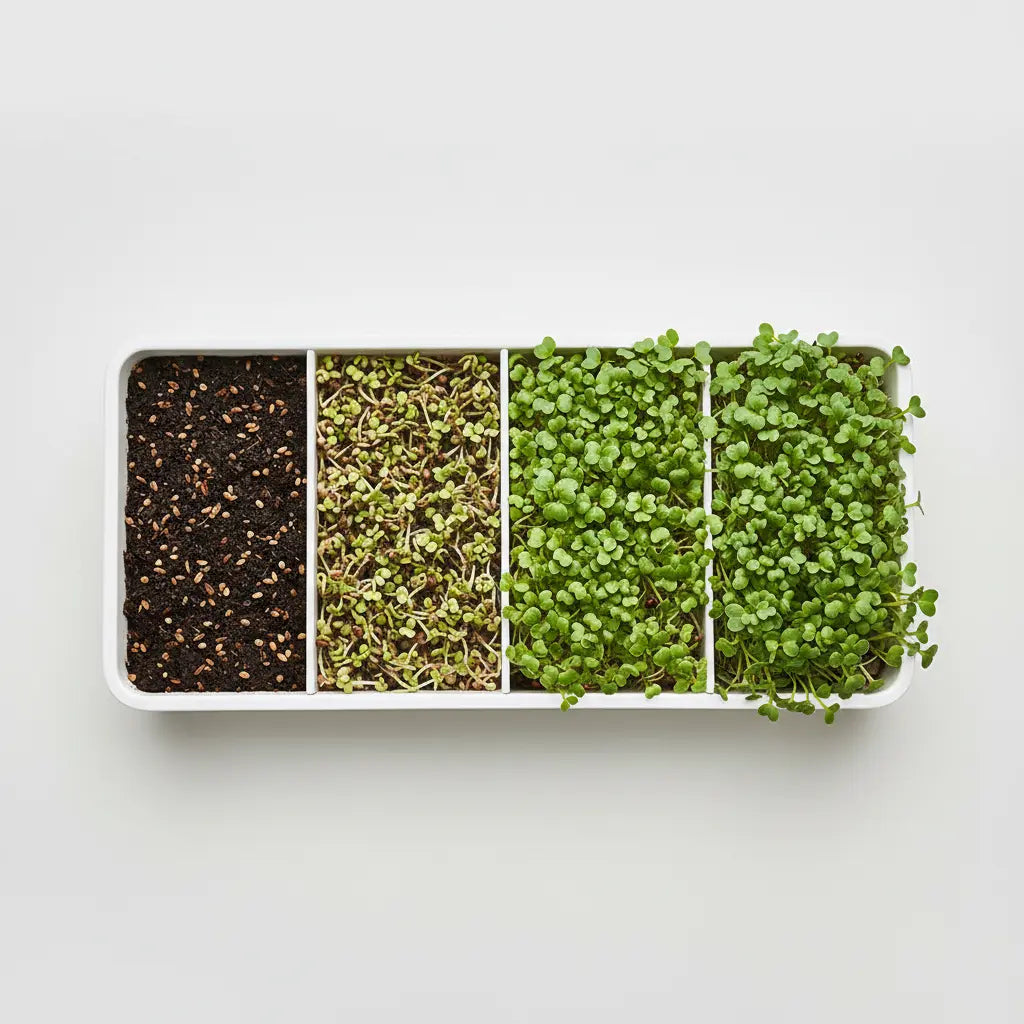
If you've ever planted microgreens and found yourself on day three staring at a damp tray wondering if anything was actually happening, this post is for you. The fastest-growing microgreens can reach full harvest in as little as 5 days. That's less time than most online orders take to arrive.
The first question most beginners ask isn't about nutrients or growing medium or pH levels. It's simpler: which microgreens grow the fastest? Because seeing results quickly is what turns a first-time grower into someone who fills an entire windowsill.
Below you'll find the 5 fastest growing microgreens: varieties that regularly hit harvest in 7 days or less under normal indoor conditions. Each one gets a full profile: exact timing, what it tastes like, how hard it is to grow, and where to get seeds so you can start this week.
The 5 Fastest-Growing Microgreens, Ranked by Speed
Speed depends on a few variables: room temperature, moisture consistency, and whether seeds are pre-soaked. The varieties below are consistently the fastest across most home growing conditions. All timing assumes indoor temperatures between 65 to 75°F with adequate airflow and indirect light.
#1. Radish Microgreens: 5 to 7 Days
Flavor: Bold, peppery, slightly spicy
Difficulty: Very Easy
Days to harvest: 5 to 7
Radish is the undisputed speed champion of the microgreen world. Seeds germinate within 24 to 48 hours, visible growth appears by day two, and by day five most growers are looking at a full, dense tray ready to cut. The flavor delivers exactly what you'd expect from a fresh radish: bright, peppery, with a sharp bite that works beautifully on tacos, grain bowls, avocado toast, and salads.
Radish also has one of the highest success rates of any microgreen. The seeds rarely fail to germinate, they resist mold, and they tolerate small variations in moisture and temperature without slowing down. If you've never grown microgreens before, this is where to start.
→ Radish Confetti Mix Microgreens Seeds: $3.99 (includes organic grow mat)
#2. Mustard Microgreens: 5 to 7 Days
Flavor: Spicy, horseradish-like, bold
Difficulty: Very Easy
Days to harvest: 5 to 7
Mustard is practically tied with radish for speed and is just as reliable for first-time growers. It germinates fast, grows tall quickly, and often develops a striking reddish-purple blush on the stem that makes it look as good as it tastes.
The flavor is more intensely spicy than radish: that distinctive horseradish heat that mellows slightly once cut and added to a hot dish. A small handful goes a long way on sandwiches, sushi rolls, and burgers. If you grow radish and want the next logical step, mustard is it.
→ Mustard Microgreens Seeds: $3.99 (includes organic grow mat)
#3. Arugula Microgreens: 7 Days
Flavor: Peppery, nutty, slightly bitter
Difficulty: Easy
Days to harvest: 7
Arugula microgreens deliver the same complex peppery-nutty flavor that makes full-grown arugula a restaurant staple, but in a fraction of the time. Under good conditions with consistent moisture and airflow, arugula is ready to harvest in exactly one week.
One thing worth knowing: arugula seeds are mucilaginous, meaning they produce a natural gel coating when wet. This is completely normal and actually helps them anchor to the grow mat. Don't rinse the coating off: sow the seeds evenly, keep moisture consistent, and they'll anchor and sprout reliably.
→ Arugula Microgreens Seeds: $3.99 (includes organic grow mat)
#4. Kale Microgreens: 7 to 10 Days
Flavor: Mild, earthy, slightly sweet
Difficulty: Easy
Days to harvest: 7 to 10
Kale microgreens regularly hit harvest by day 7 when temperatures are warm and moisture is steady. In cooler or lower-light conditions expect closer to 10 days, still one of the fastest options you can grow indoors.
Unlike full-grown kale, which can be tough and bitter, kale microgreens are genuinely mild and pleasant. The microgreen stage concentrates nutrients that are already high in full-grown kale, so you're getting a lot of nutritional value from a small amount. The Kalefetti Mix variety adds visual interest with multi-colored stems that look striking on a plate.
→ Kale Kalefetti Mix Microgreens Seeds: $3.99 (includes organic grow mat)
#5. Pea Shoots: 7 to 10 Days
Flavor: Sweet, tender, bright
Difficulty: Easy
Days to harvest: 7 to 10
Pea shoots are the sweetest variety on this list and the most visually dramatic: they grow tall, curling tendrils that look stunning garnished on a plate. They're also the most filling microgreen here, with enough bulk and crunch to be used as a standalone side salad.
One extra step: peas benefit from an 8 to 12 hour presoak before planting. Skip it and you'll add 2 to 3 extra days to germination. With a proper soak, germination starts within 24 hours and the first harvest arrives by day 7 or 8 in warm conditions. It's worth the planning.
→ Pea Shoots Field Microgreens Seeds: $3.99 (includes organic grow mat)
Microgreens Harvest Time: Quick Comparison Chart
Here's how the five fastest microgreens compare side by side:
| Variety | Days to Harvest | Flavor Profile | Difficulty |
|---|---|---|---|
| Radish | 5 to 7 days | Bold, peppery | Very Easy ⭐ |
| Mustard | 5 to 7 days | Spicy, horseradish | Very Easy ⭐ |
| Arugula | 7 days | Peppery, nutty | Easy ⭐⭐ |
| Kale | 7 to 10 days | Mild, earthy | Easy ⭐⭐ |
| Pea Shoots | 7 to 10 days | Sweet, tender | Easy ⭐⭐ |
Which Microgreen Should You Start With?
If you're choosing just one variety for your first grow, pick Radish. It's the fastest, the most forgiving, and the most consistent variety available. You'll see sprouts within 48 hours and have a full harvest in less than a week, which is exactly the kind of quick feedback that makes people want to immediately start a second tray.
Once you've done radish, mustard is the natural next step. Same speed, similar ease, completely different flavor profile. From there, arugula opens up a more complex, restaurant-quality growing experience at home. If you want a broader breakdown of which varieties are easiest across the board (not just the fastest), the guide 7 Microgreens You Can't Mess Up covers a wider range of beginner-proof options.
For those who want to grow multiple varieties at once, a simple stagger works well: start radish and mustard on the same day, then start a second tray of arugula or pea shoots three days later. Within two weeks you'll have a continuous harvest rotation running.
Get Everything You Need to Start This Week
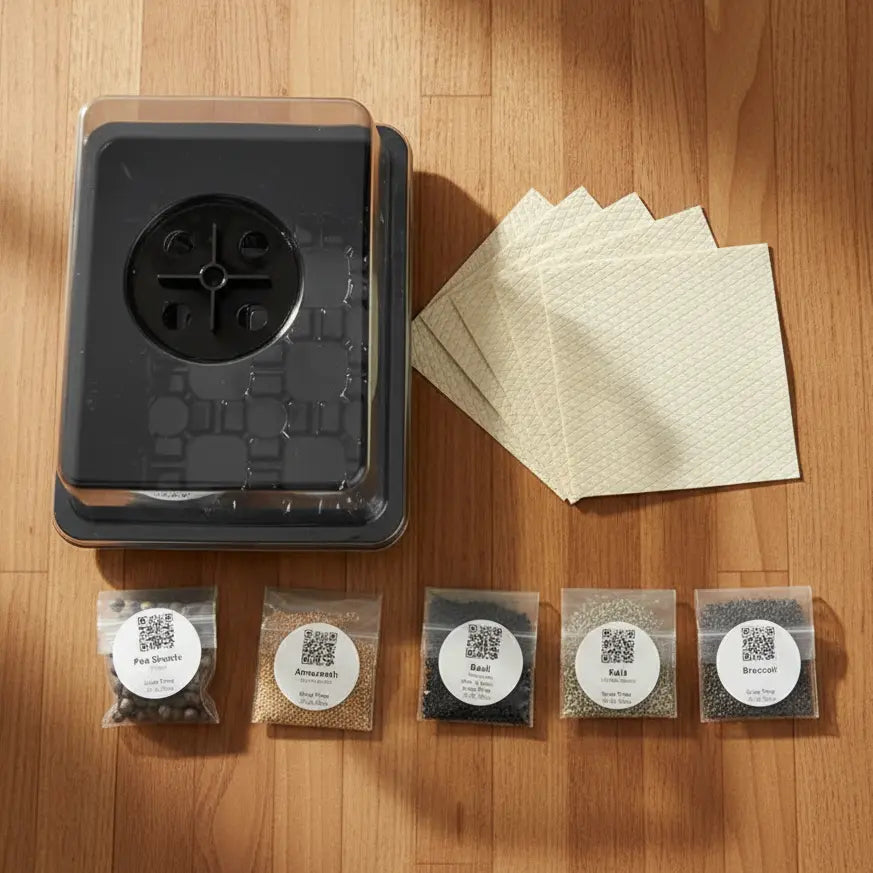
The hardest part of growing microgreens isn't the growing: it's having the right setup before you begin. You need a tray that holds moisture evenly, a dome that keeps humidity consistent during germination, and a grow mat the seeds can anchor into and draw water from without becoming waterlogged. Without all three, even the fastest varieties slow down.
The Aquager Microgreens Starter Kit includes exactly those three things: a 10×20" grow tray, a clear humidity dome, and an organic grow mat: no soil, no mess, no guessing about which supplies go together. Add seeds, add water, and you're growing.
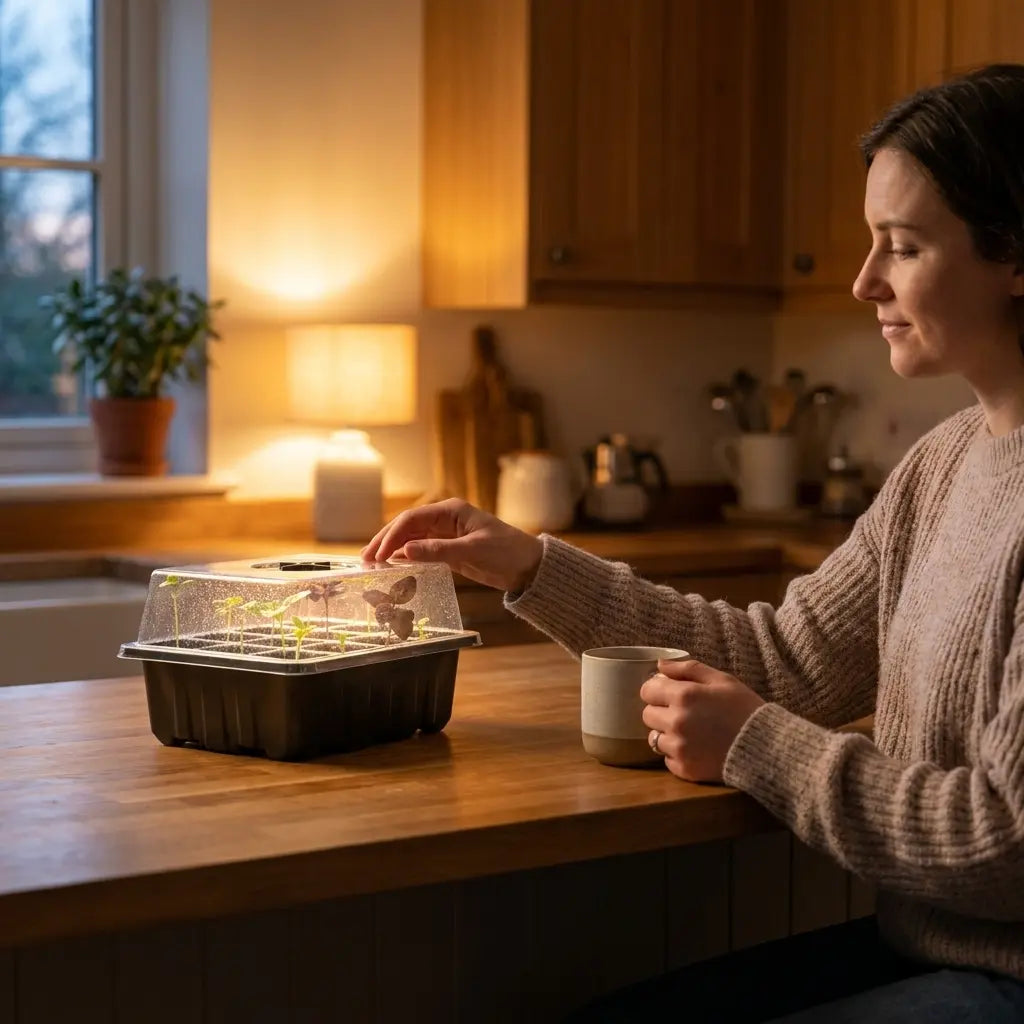
It's built specifically for beginners who want to see results fast. Pair it with any of the five varieties above and you'll have your first harvest on the kitchen counter within the week.
Frequently Asked Questions
What is the absolute fastest microgreen to grow?
Radish and Mustard are the fastest microgreens, regularly ready to harvest in 5 to 7 days under normal indoor conditions (65 to 75°F). Both germinate within 24 to 48 hours and reach full harvest height faster than any other commonly grown variety.
Can microgreens really be harvested in 7 days?
Yes. Radish, mustard, and arugula regularly hit harvest in 7 days or less when grown at room temperature with consistent moisture and a few hours of light daily. Timing varies slightly based on temperature and seed quality, but 5 to 7 days is a realistic expectation for the two fastest varieties on this list.
Why are my microgreens taking longer than expected?
The most common cause is temperature. Microgreens grow fastest between 68 to 72°F. If your space is below 65°F, germination slows significantly. The second most common cause is moisture imbalance: the grow mat should be consistently moist but never waterlogged. A soggy mat restricts root development and adds days to harvest.
Do pea shoots really need a presoak?
Yes, and it makes a real difference. An 8 to 12 hour water soak softens the seed coat and speeds germination significantly. Without the soak, pea shoots can take 10 to 12 days to harvest. With a proper soak, you're back to the 7 to 10 day range. It's the easiest way to make the slowest variety on this list competitive.
Do I need a grow light to grow these varieties?
Not to start. All five varieties on this list grow well on a bright windowsill: they don't require artificial light for the first few harvests. Once you're growing multiple trays simultaneously, a basic grow light helps maintain consistency. The full beginner setup is covered in detail in Microgreens for Beginners: How to Start Growing Indoors in 7 Days.
The Bottom Line
Growing microgreens doesn't have to feel like a test of patience. The five varieties on this list (radish, mustard, arugula, kale, and pea shoots) prove that you can go from seed to harvest in a week or less, with beginner-level equipment, in a kitchen with no garden access required.
Start with one variety. See how fast it moves. Then try two at once and stagger the starts. Within a few weeks you'll have a system running that produces fresh greens on a rolling basis. If you're still deciding whether microgreens are the right starting point for growing your own food at home, the guide Microgreens vs Full Plants: Why Beginners Should Start Small lays out the case clearly.
The fastest path to your first harvest starts with the right tray. The Aquager Microgreens Starter Kit has everything in one box: add seeds, add water, and you'll be harvesting before the week is out.
Author: Aquager Team · Published: May 24, 2026 · Updated: August 8, 2026 · Reviewed: August 8, 2026 (Phase 2)












0 comments