
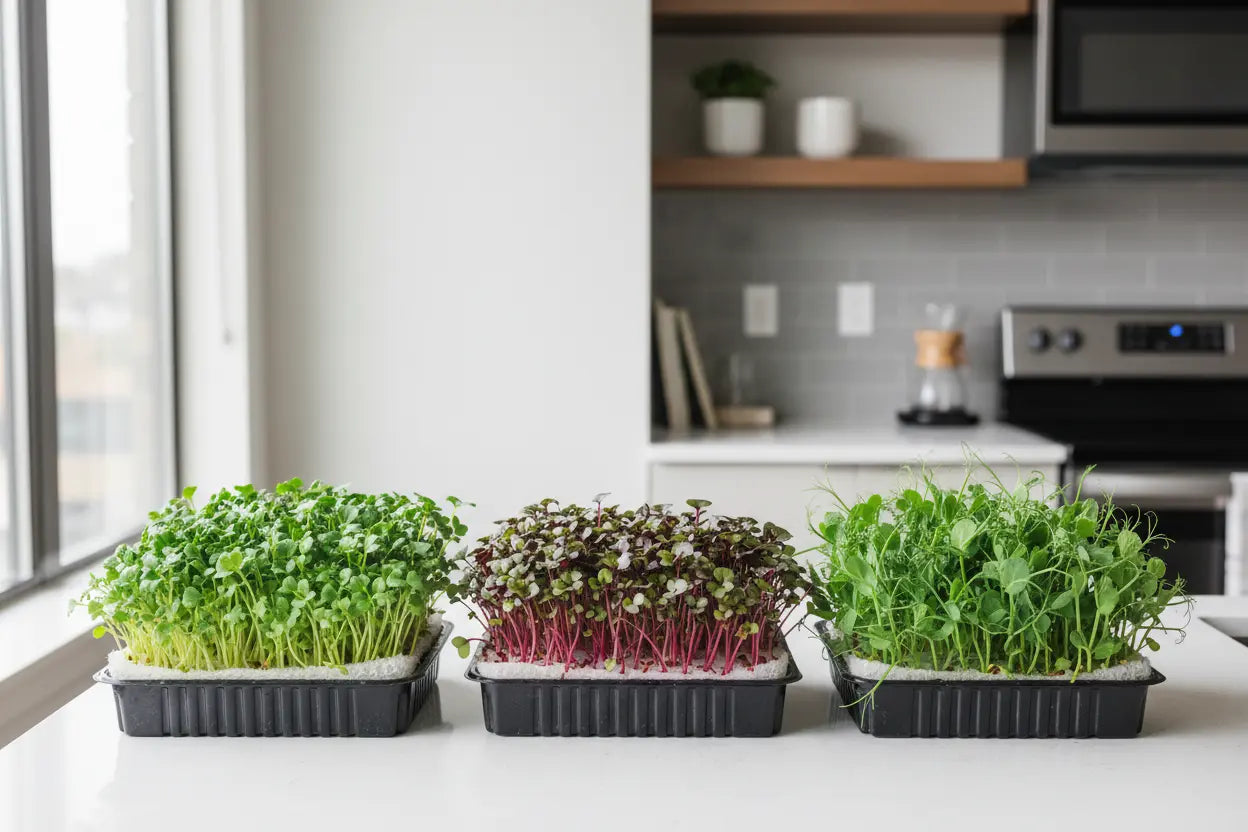
If you've tried growing plants before and watched them decline within days, you're not alone.
Leaves stretch. Mold appears. Seeds don't sprout evenly. It's easy to assume you're just "bad with plants."
But microgreens are different, and some varieties are significantly more forgiving than others.
If you're looking for the easiest microgreens to grow, the goal isn't perfection. It's choosing varieties that tolerate small mistakes and still produce a dense, harvestable crop in under two weeks.
Below are seven microgreens that are extremely hard to mess up, even if you've struggled with every plant before.
Why Some Microgreens Are Easier Than Others
All microgreens follow the same basic cycle: soak (if required), germinate, grow vertically, develop cotyledon leaves, harvest. But the speed and stability of that cycle varies by seed type.
The easiest microgreens to grow indoors share three traits:
- Fast, uniform germination
- Strong stems that resist collapse
- Low mold susceptibility
They don't demand perfect watering or lighting. That's what makes them ideal for beginners.
Quick Comparison: Easiest Microgreens at a Glance
| Variety | Days to Harvest | Difficulty | Best For |
|---|---|---|---|
| Radish | 5 to 7 days | Very Easy | Speed, first-timers |
| Broccoli | 7 to 10 days | Very Easy | Consistent results |
| Pea Shoots | 8 to 12 days | Very Easy | Thick stems, high yield |
| Mustard | 5 to 8 days | Easy | Fast visual feedback |
| Kale | 8 to 12 days | Easy | Reliable, low maintenance |
| Arugula | 7 to 10 days | Easy | Peppery flavor, quick harvest |
| Sunflower | 10 to 14 days | Easy | Dramatic growth, satisfying yield |

1. Radish Microgreens
Harvest in 5 to 7 days. One of the fastest microgreens available.
Radish germinates aggressively and grows thick, upright stems that resist collapse even when watering isn't perfectly timed.
Rapid growth shortens the window for mold to develop, which is why radish is the top pick for hesitant beginners who want fast, visible proof that they can do this. If speed is what you're after, see The 5 Fastest-Growing Microgreens for the full ranked list.
Beginner-proof and ready in under a week: Radish Confetti Mix Seeds.

2. Broccoli Microgreens
Ready in 7 to 10 days. The most consistent beginner microgreen.
Broccoli doesn't require soaking and germinates evenly across the tray, no patchy spots, no uneven canopy.
Its stems handle moderate moisture fluctuations without going fragile. If your goal is steady, reliable results tray after tray, broccoli delivers, try Broccoli Microgreens Seeds for even germination every time.

3. Pea Shoots
Ready in 8 to 12 days. Large seeds mean stronger, more forgiving growth.
Larger seeds contain more stored energy. That energy fuels aggressive early growth: thick, upright stems that grow visibly taller within days of germination.
Pea shoots forgive inconsistent watering better than most small-seed varieties. That structure is hard to knock down. Try Pea Shoot Seeds for thick stems and fast vertical growth.

4. Mustard Microgreens
Visibly sprouting in 2 to 3 days. One of the fastest-growing varieties.
Mustard establishes strong stems early and tolerates minor seed density inconsistencies better than delicate varieties.
Seeing clear progress within the first few days builds confidence fast, making mustard a great second tray after radish. Ready in under a week: Mustard Microgreens Seeds.

5. Kale Microgreens
Ready in 8 to 12 days. Extremely reliable, very low maintenance.
Kale behaves similarly to broccoli: even germination, stable canopy, tolerates indoor conditions well.
Less dramatic than radish, but it rarely fails. For growers who want a set-it-and-forget-it variety that produces consistent results, try Kale Kalefetti Mix Seeds.

6. Arugula Microgreens
Ready in 7 to 10 days. Fast harvest, peppery flavor, quick turnaround.
Arugula forms thin but stable stems and is slightly more sensitive to overwatering than radish or pea shoots, but still forgiving under consistent moisture.
Quick harvest timing without complex adjustments makes it a natural next step for anyone who's finished their first tray. Bold flavor, minimal fuss: Arugula Microgreens Seeds.

7. Sunflower Microgreens
Ready in 10 to 14 days. Thick stems, dramatic growth, satisfying harvest.
Sunflower requires a soak before planting but rewards that extra step with the most visually impressive growth of any variety on this list.
Large seeds mean large stored energy. The stems are thick and sturdy. Hulls may occasionally stick to leaves, but the plant itself is resilient. Grow your own with Sunflower Black Oil Seeds.

Common Beginner Mistakes (And Why These Varieties Survive Them)
Most microgreen failures come from four things:
- Overwatering
- Overcrowding seeds
- Insufficient airflow
- Inconsistent light
More delicate varieties collapse under these conditions. The seven above tolerate mild inconsistency, the failure threshold is wider.
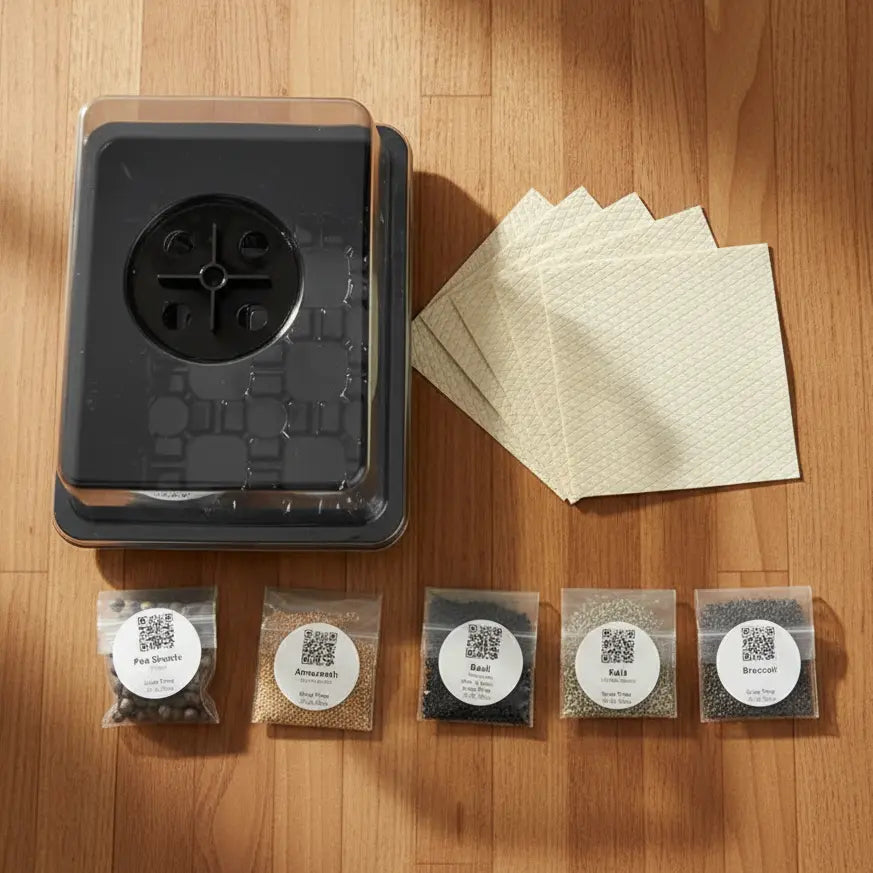
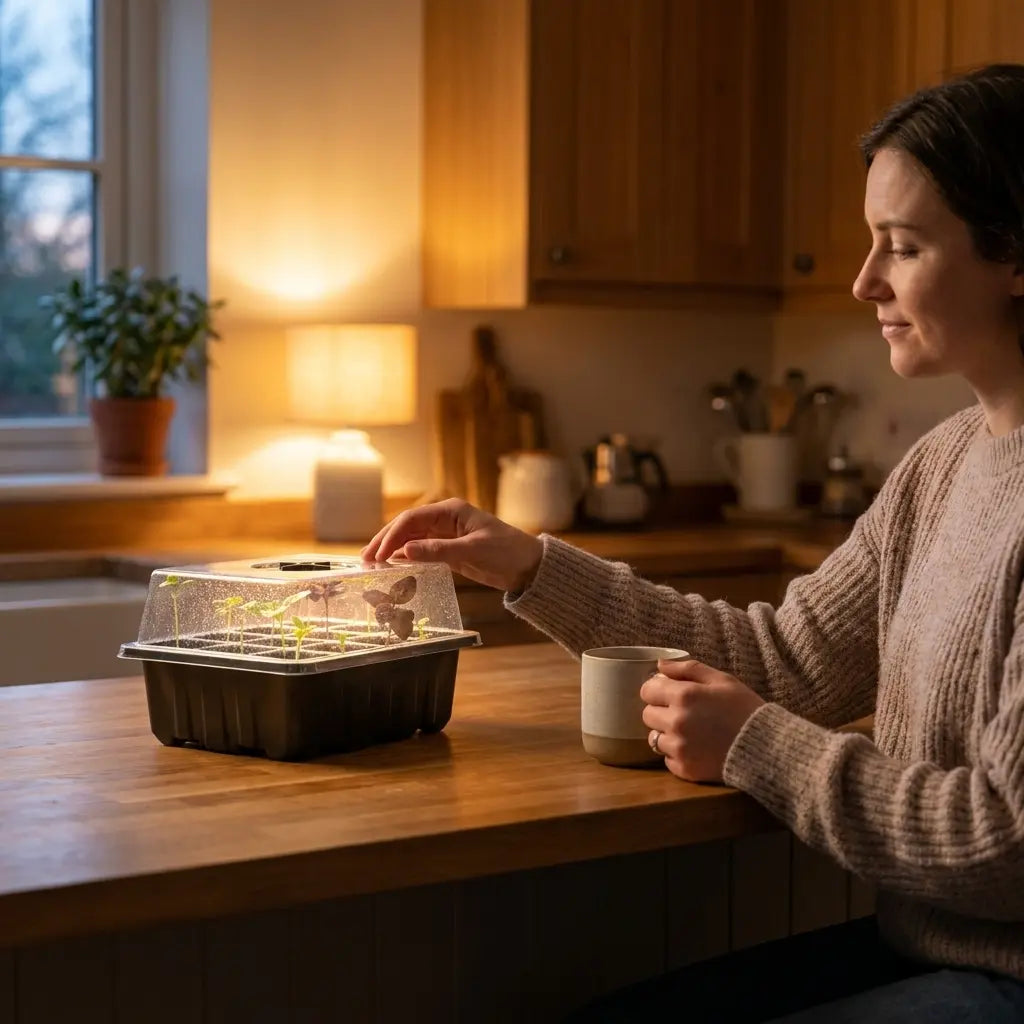
The right tray setup makes a big difference too. A shallow tray with drainage prevents overwatering from becoming a crisis. The Microgreens Starter Kit includes the tray, dome, and grow mat, designed to give these varieties the best possible start.
If You've "Killed Every Plant"
Microgreens are different from mature plants.
They're harvested early, before root expansion, flowering, or long-term stress cycles develop. When a tray is ready in 7 to 10 days, small mistakes don't compound for months. You reset quickly. You learn faster.
The easiest microgreens to grow aren't just biologically resilient, they compress the feedback loop. The fastest way to build that loop: start with the right seeds and the right setup at the same time.
How to Improve Your Odds Even More
Resilient varieties help. Your setup matters too.
Stable indoor success requires:
- Shallow trays with drainage
- Even seed distribution
- Consistent moisture, not saturation
- Moderate airflow
- A steady light source
The goal isn't perfection. It's repeatability: getting the same result tray after tray.
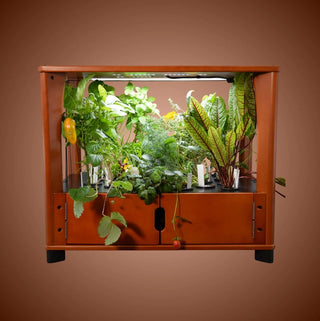
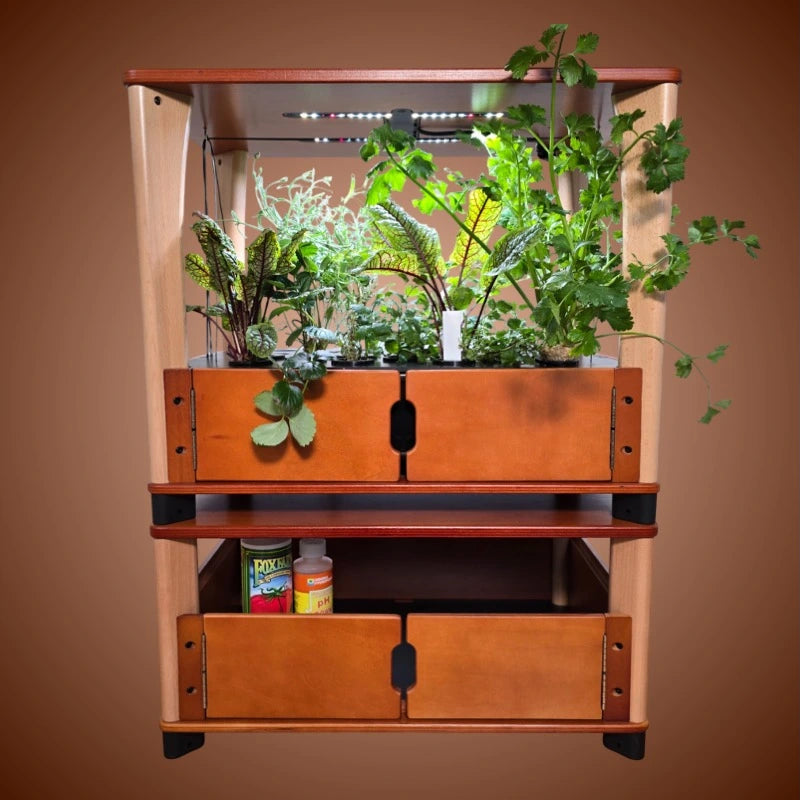
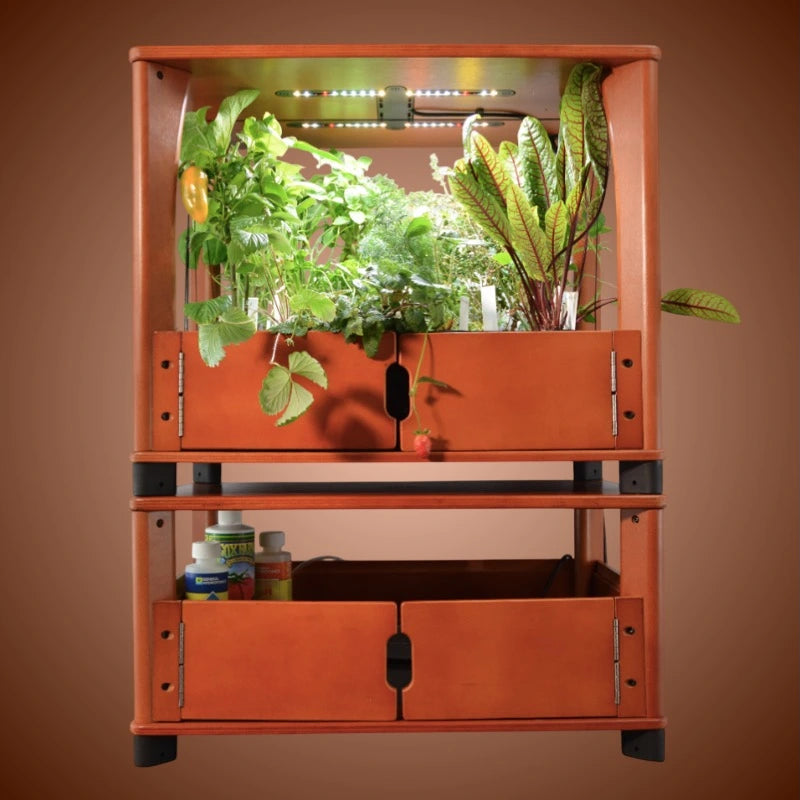
If you want to remove the setup guesswork, the Microgreens Starter Kit handles the tray, dome, and grow mat so you only need to add seeds and water. For built-in lighting, the Aquager Indoor Farm eliminates the light variable entirely. And if you want the full step-by-step setup process from tray to harvest, see How to Grow Microgreens at Home in Less Than 10 Days.
Mini FAQ
What is the absolute easiest microgreen to grow?
Radish. It germinates in 1 to 2 days, harvests in 5 to 7, and its thick stems resist collapse even if watering isn't perfectly timed. Shop Radish Confetti Mix Seeds here.
What are the fastest growing microgreens?
Radish and mustard are the fastest, both ready in 5 to 8 days. Shop Mustard Seeds or Radish Seeds.
Are pea shoots beginner-friendly?
Yes. Their thick stems and large seed size make them structurally resilient and very forgiving. Shop Pea Shoot Seeds here.
Do I need a grow light?
Not always, but consistent supplemental lighting improves uniform growth. The Aquager Indoor Farm has built-in LED lighting designed specifically for microgreens.
What do I need to get started?
A shallow tray with drainage, a grow mat, seeds, and water. The Microgreens Starter Kit includes everything except the seeds, pair it with any variety above.
Growing microgreens doesn't require a green thumb. It requires starting with resilient varieties and building rhythm.
Choose forgiving seeds. Keep your setup simple. Learn from short cycles.
Ready to grow? Pick your first variety from the list above, or grab the Starter Kit and add seeds separately.

Author: Aquager Team · Published: February 24, 2026 · Updated: August 24, 2026 · Reviewed: August 24, 2026 (Phase 3)












0 comments