Fresh pesto has a completely different flavor than the jarred version — and if you've ever made it at home, you know exactly what I mean. The color is brighter, the aroma is almost intoxicating, and the taste actually reminds you why basil exists.
The problem is that fresh basil is expensive, wilts within days of purchase, and never quite arrives in the quantity you need for a real basil pesto batch. A single recipe calls for two packed cups of leaves — that's two or three $4 grocery store bunches, gone in a single bowl of pasta.
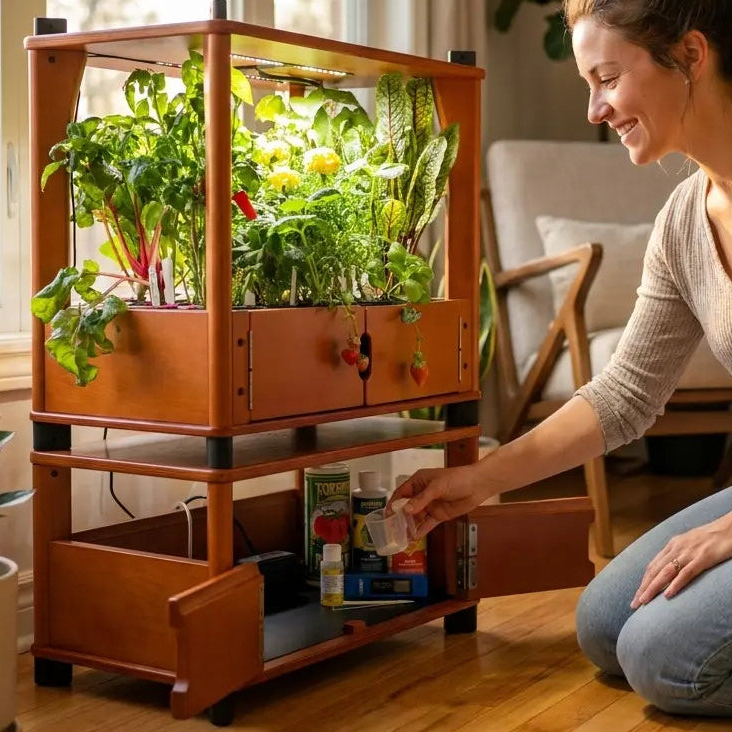
There's a better way. Growing your own Genovese basil indoors means you pull from a living plant exactly when you need it, at peak essential oil concentration, in whatever quantity the recipe demands. This post covers the classic recipe first — then walks you through growing the basil that makes it exceptional.
What Makes Fresh Basil Pesto Different
The difference between fresh and jarred pesto comes down to one thing: volatile aromatic compounds.
Basil contains linalool, eugenol, and several other compounds that are highly sensitive to heat, light, and time. The moment basil is cut, these compounds begin to degrade. By the time basil reaches a grocery store — picked, packaged, shipped, and shelved — a significant portion of that aromatic complexity is already gone.
Basil pesto made with leaves cut thirty minutes ago tastes different because chemically it is different. The color stays vivid green instead of oxidizing to dull brown. The flavor has layers — slightly sweet, faintly peppery, unmistakably Italian — rather than the flat, muted taste of jarred alternatives.
This is not a subtle difference. Anyone who has made homemade pesto immediately after harvesting will not go back to store-bought.
The Classic Basil Pesto Recipe
This is the traditional Ligurian version — no shortcuts, no cream. Serves 4 with pasta.
Ingredients:
- 2 cups packed fresh Genovese basil leaves
- ½ cup freshly grated Parmigiano-Reggiano
- ¼ cup toasted pine nuts (or walnuts for a budget-friendly option)
- 2 cloves garlic, roughly chopped
- ½ cup good-quality olive oil
- ¼ teaspoon sea salt
- Optional: a small squeeze of lemon juice to slow oxidation
Method:
- Toast pine nuts in a dry pan over medium heat for 2–3 minutes until golden. Let cool.
- Combine basil, garlic, pine nuts, and salt in a food processor or blender.
- Pulse 5–6 times to rough-chop the ingredients without heating them.
- With the processor running, stream in the olive oil slowly until emulsified.
- Transfer to a bowl and fold in the Parmesan by hand — folding (not blending) keeps the cheese from turning grainy.
- Taste and adjust salt. Use immediately, or press plastic wrap directly onto the surface to minimize oxidation.
Storage tip: Pesto keeps in the fridge for up to 5 days with the plastic-wrap method, or up to 3 months frozen in ice cube trays.
If your pesto turns brown, it's still perfectly edible — just oxidized. A few drops of lemon juice during blending prevents this entirely.
Why Homegrown Basil Makes Better Pesto
Two cups of fresh basil leaves sounds like a modest amount until you're standing in a grocery store holding a $4 bunch that barely fills a half-cup.
Grocery store basil is typically harvested early — before its essential oils fully develop — so it can survive packaging and shipping. It's picked for shelf life, not for flavor. By the time it reaches your kitchen, you're already working with a degraded ingredient.
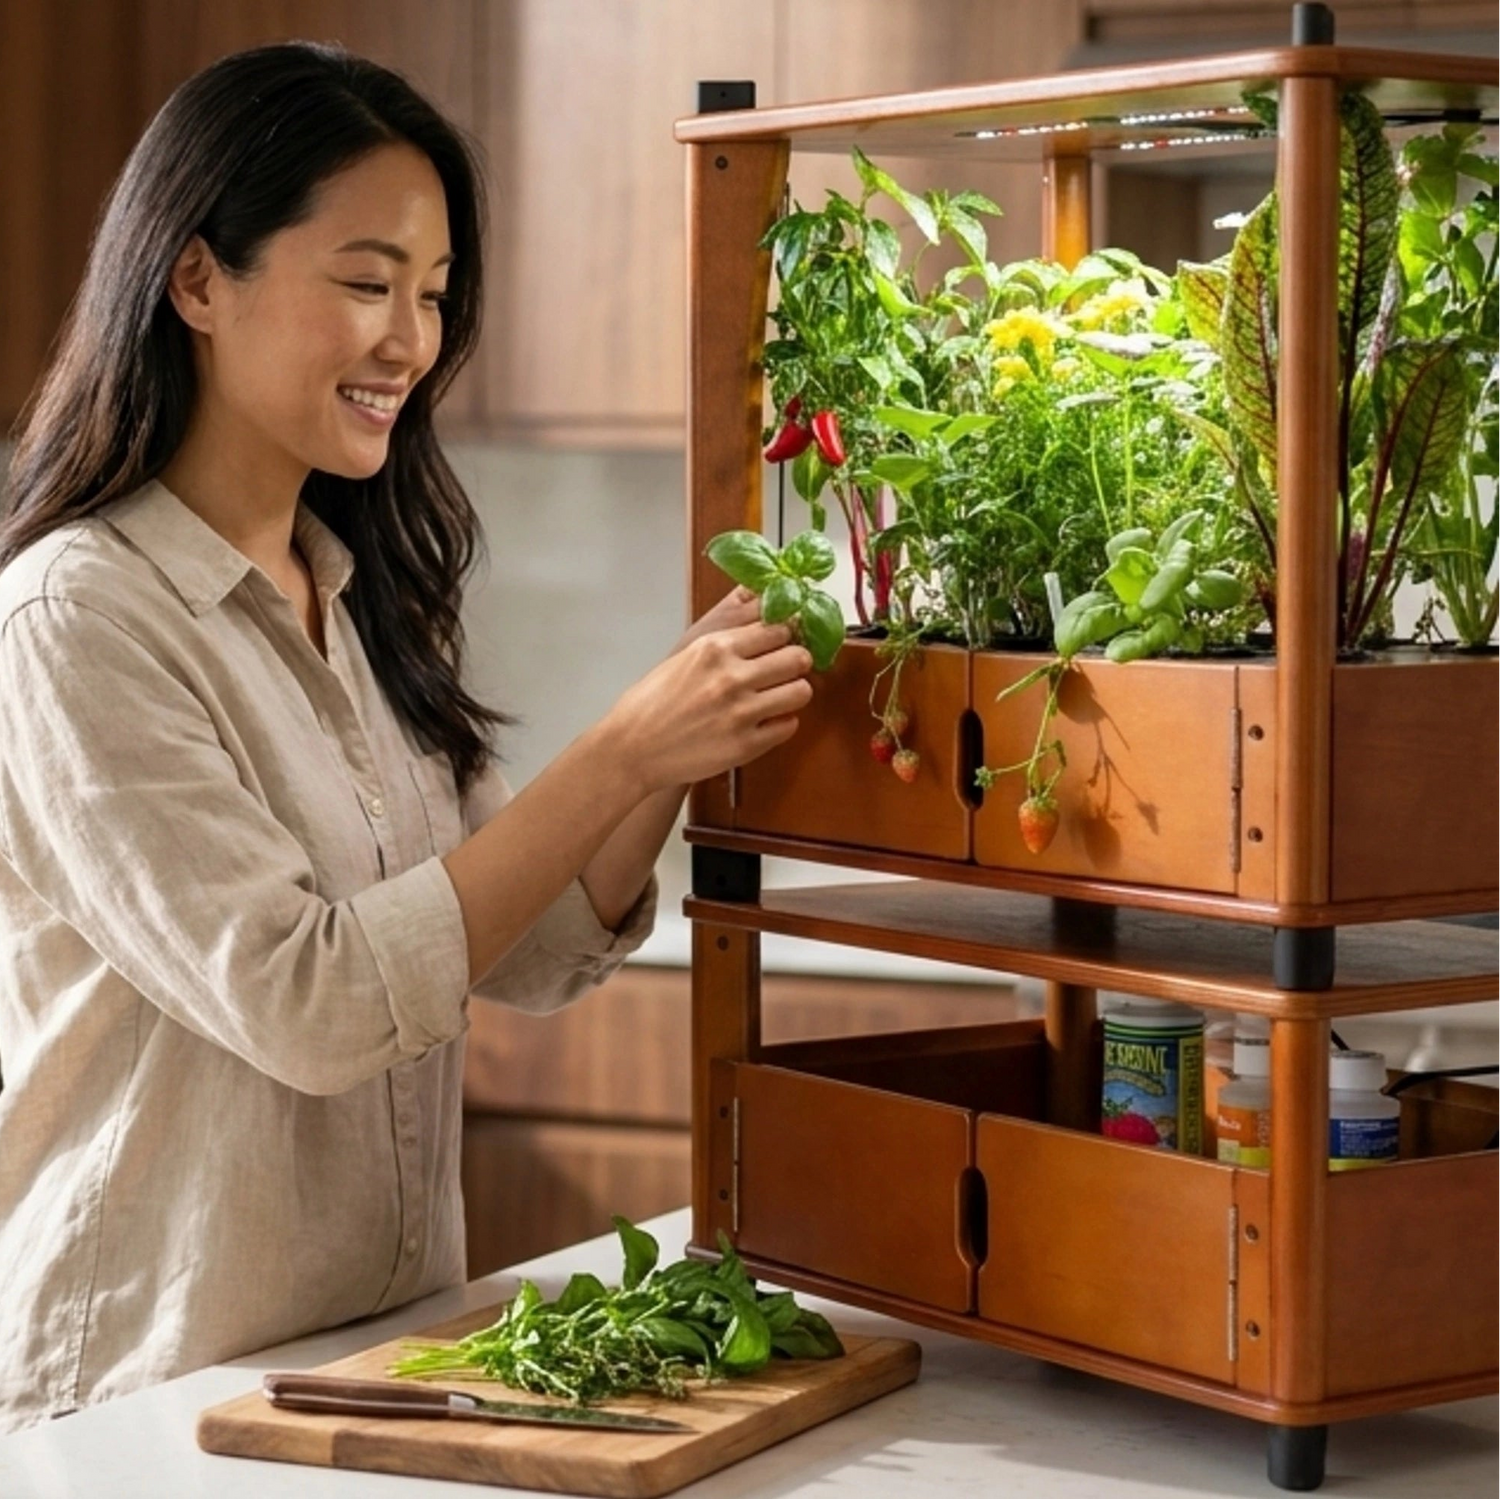
Basil you grow yourself is the opposite. You harvest it at the exact stage of peak flavor development: when the leaves are large, fully green, and fragrant enough to notice from across the room. That's when you cut it, not three days before.
The practical math works out too. A mature basil plant in a hydroponic system produces enough leaves for a full pesto batch every two to three weeks — indefinitely, as long as you harvest correctly. Four plants running simultaneously creates a near-continuous supply through the entire summer.
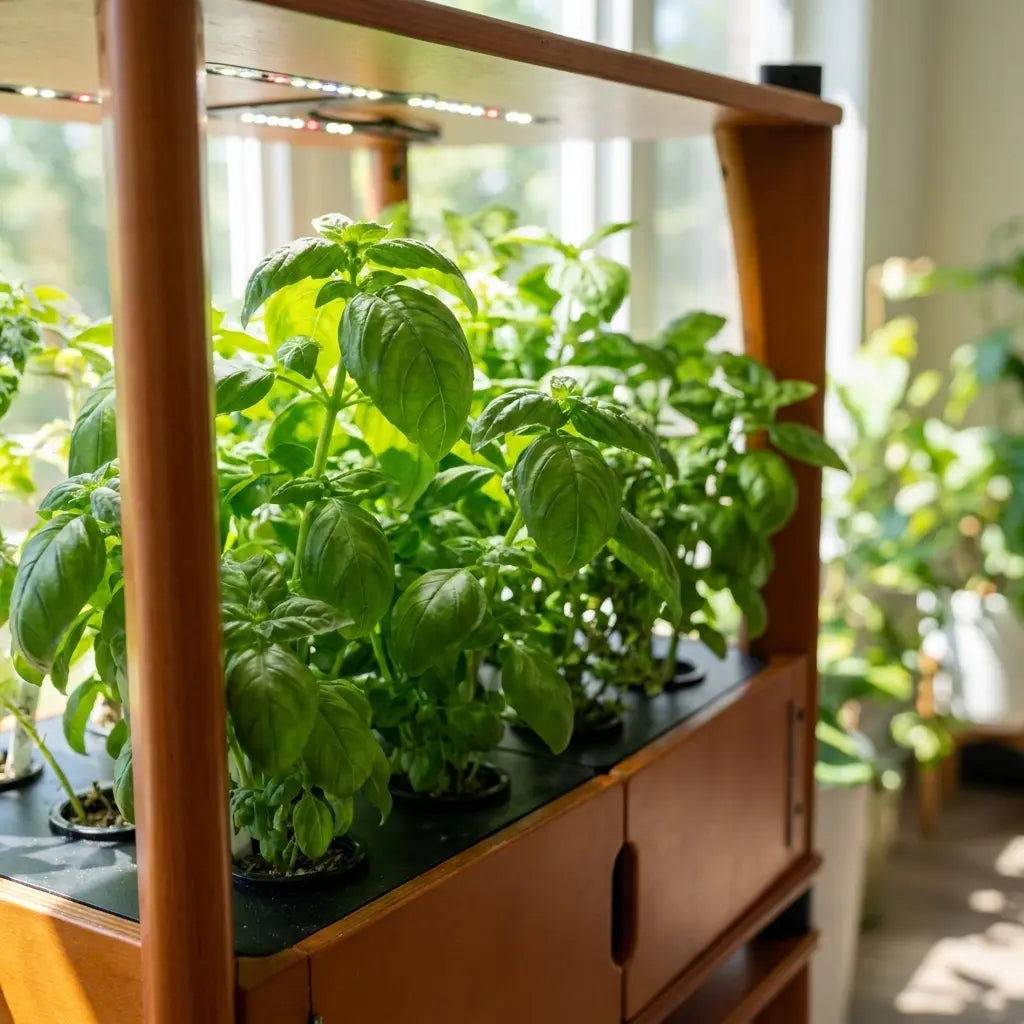
How to Grow Basil for Pesto at Home
Genovese basil is one of the most reliable crops you can grow hydroponically. It thrives in warm, humid conditions with consistent moisture — exactly what an indoor hydroponic system provides year-round.
Variety matters. For classic Italian pesto, grow Genovese Aroma 2 basil specifically. It's the standard culinary pesto variety for a reason: large leaves, high essential oil content, and the clean sweet Italian flavor profile the sauce was built around. Thai, Holy, and Lemon basil all make excellent food, but they'll produce distinctly different-tasting pesto.
Growth timeline:
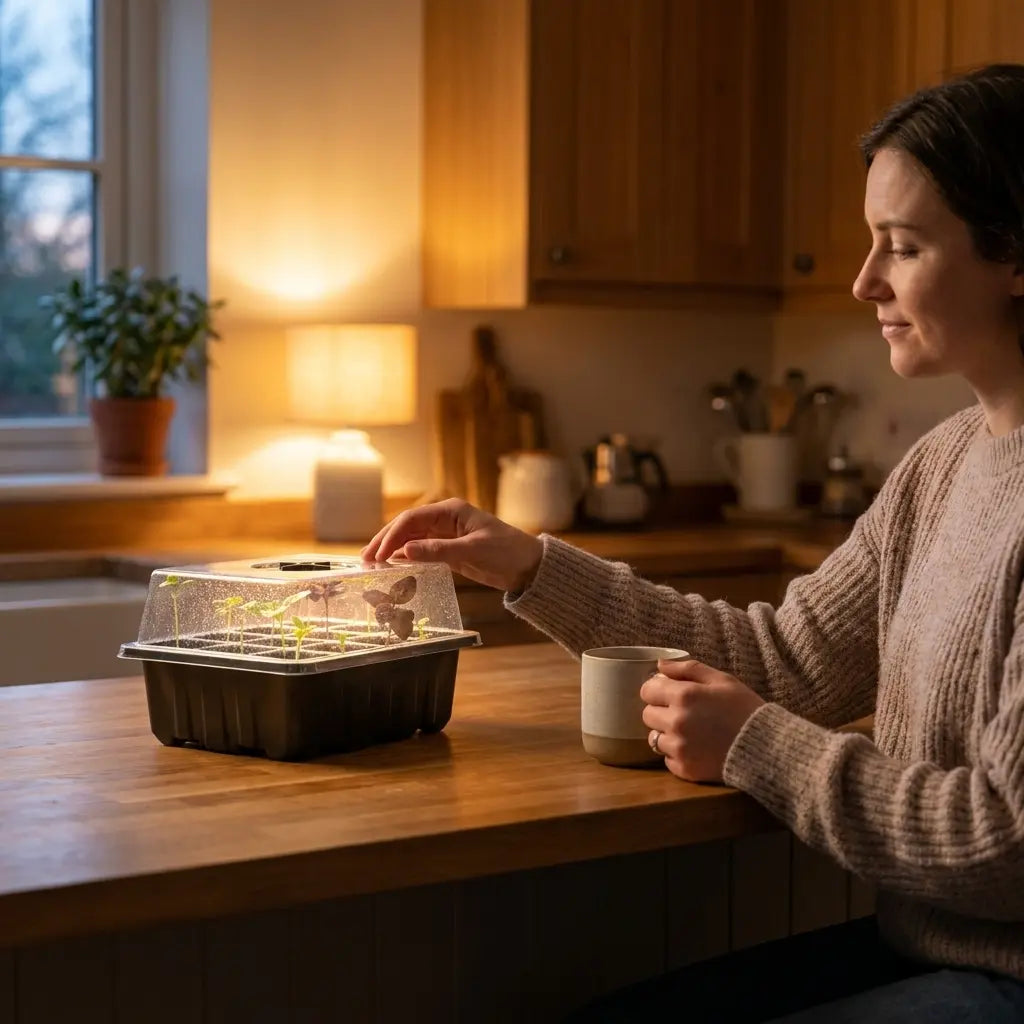
- Germination: 5–7 days
- First harvest-ready: approximately 3–4 weeks after germination
- Peak pesto harvest window: weeks 4–10
- After week 10: prune aggressively to prevent flowering and extend production
How to harvest for pesto. Always cut from the top, just above a leaf node. This prompts two new stems to grow from the cut point, doubling your next basil harvest. Never remove more than one-third of the plant in a single session.
How many plants do you need? A single mature plant yields roughly ½ to 1 cup of packed basil per harvest. For a full two-cup batch, plan on 3–4 plants at staggered stages of maturity so at least one is always ready.
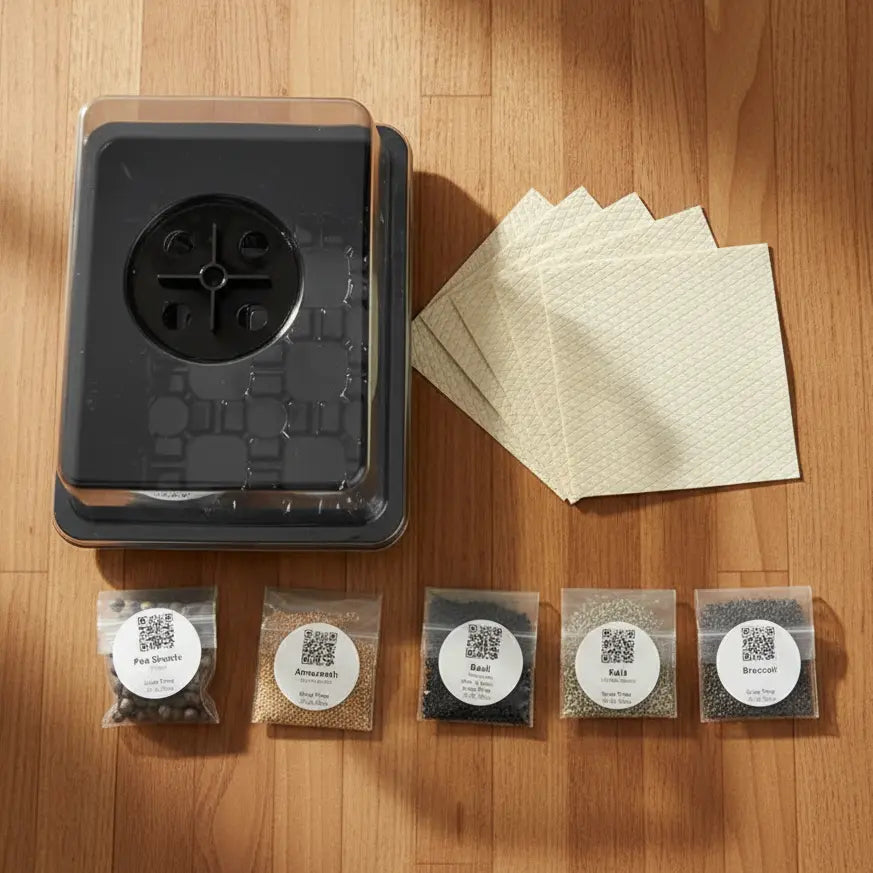
The Basil (Genovese Aroma 2) Seeds — 4x Pack includes four pre-seeded grow pods ready to drop directly into your Aquager Home Farm. The seeds are already embedded in organic coco coir and peat — no separate growing medium, no pre-soaking required. Start all four at one-week staggered intervals for a rolling harvest window from late spring through fall.
Timing Your Basil Harvest for Continuous Pesto
The easiest way to build a steady homemade pesto supply is to harvest on a loose schedule rather than waiting until the plant is overloaded.
Every 10–14 days, do a light basil harvest: remove the top 3–4 inches of the main stem and all large side shoots. This keeps the plant compact and vegetative — focused on leaf growth rather than flowering. Set a phone reminder, collect the leaves, and either make a small fresh batch or freeze individual portions in an ice cube tray.
Once you see flower buds forming, pinch them off immediately. Flowering redirects the plant's energy from leaves to seeds, and the leaf flavor becomes noticeably more bitter within days. Consistent bud removal extends productive life by 4–6 weeks.
For a full pesto batch, harvest all four plants simultaneously at weeks 6–8 when they're at peak production. Then replant with a fresh set of seed pods and restart the cycle. Done this way, homemade pesto is on continuous rotation all season long.
For a complete growing breakdown — variety comparisons, pruning technique, and troubleshooting — see: How to Grow Basil Indoors — Complete Guide (2026).
Frequently Asked Questions
What is the best basil for making pesto?
Genovese basil is the traditional choice — large, sweet leaves with high essential oil content. The Aroma 2 variety is specifically bred for culinary and pesto production. Thai, Holy, and Lemon basil all make excellent food but produce very different-tasting results in pesto.
Can I make basil pesto with basil that has started to flower?
Yes, but the flavor will be more bitter. If your plant is already flowering, pinch off the buds and give it two more weeks before harvesting for pesto. The flavor recovers significantly once the plant refocuses on leaf growth.
How much basil do I need for one batch of pesto?
A classic recipe calls for 2 cups of tightly packed leaves — roughly 50–60 large leaves. That's approximately ½ to 1 cup of basil harvest per mature plant per cutting session.
How do I keep homemade pesto from turning brown?
Two methods work well: (1) add a small squeeze of lemon juice before blending — acidity slows oxidation; (2) press plastic wrap directly onto the pesto surface so no air contacts it. Both preserve the vivid green color significantly longer.
Can I freeze homemade pesto?
Absolutely. Pour pesto into an ice cube tray, freeze until solid, then transfer cubes to a freezer bag. Each cube is roughly one portion. Frozen pesto lasts up to 3 months and thaws in minutes. For best texture, freeze without the Parmesan and stir it in fresh after thawing.
Grow the Basil. Make the Pesto.
Store-bought pesto is convenient. Homemade pesto with grocery basil is noticeably better. Homemade pesto with basil you grew yourself — cut that morning, at peak essential oil concentration — is in a different category entirely.
The flavor is brighter. The aroma fills the kitchen when you blend it. And there is something genuinely satisfying about pulling leaves from a plant growing on your counter and turning them into a sauce that disappears at the dinner table.
Start a continuous basil rotation with the Genovese Aroma 2 — 4x Pack, and pair it with the Chef's Organic Set if you want the full indoor herb garden — basil, cilantro, oregano, and more, growing on the same countertop system.
For everything else that grows beautifully alongside basil: How to Grow Herbs Indoors Year-Round (No Sunlight Needed).
Author: Aquager
Published: May 28, 2026
Updated: May 28, 2026


0 comments