
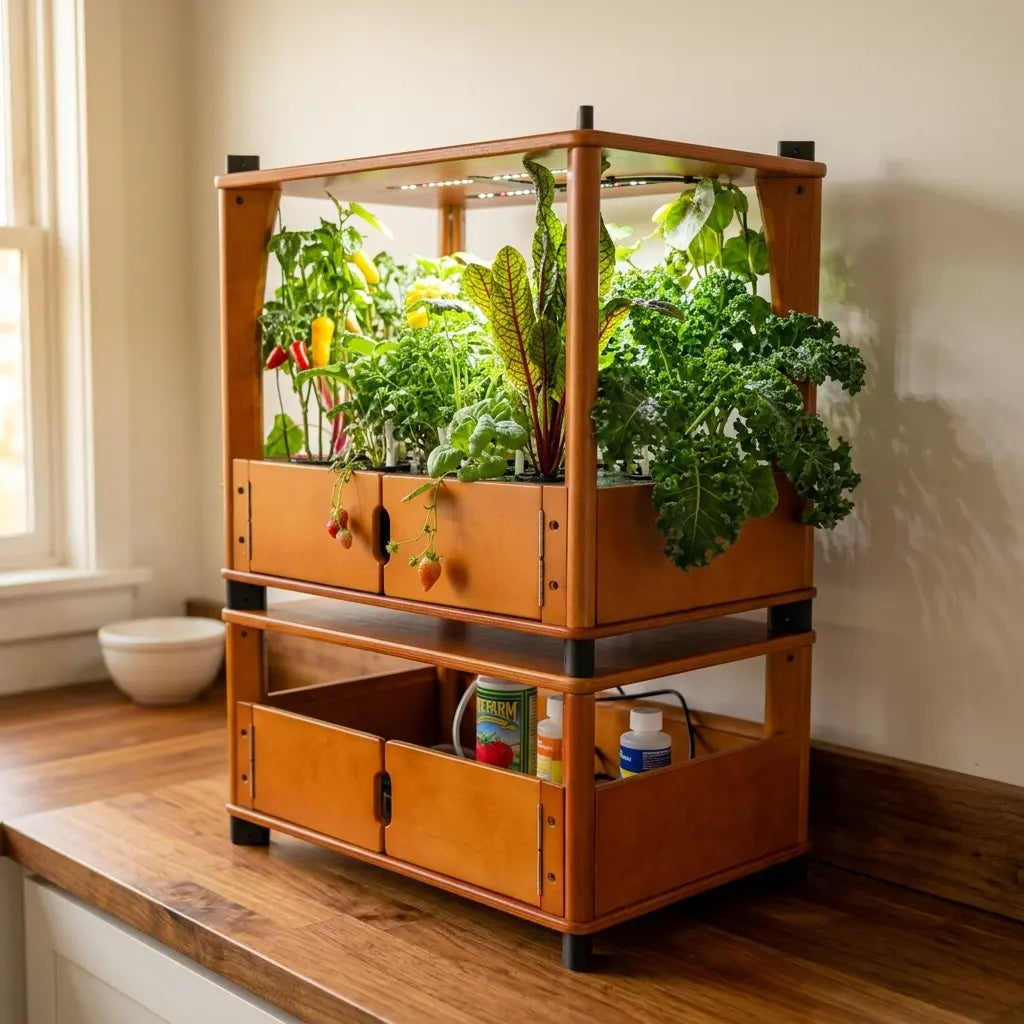
Most leafy vegetables sulk the moment light gets scarce. Kale doesn't.
That single trait is why hydroponic kale is such a forgiving crop for anyone growing indoors without a sunny south-facing window. Kale tolerates lower light than spinach, lettuce, or most fruiting vegetables, and it rewards that patience with a continuous supply of tender baby leaves instead of one big harvest and a bare plant.
This guide covers what kale actually needs to thrive indoors, a full step-by-step process for growing it from seed, and how to harvest it the right way so one plant keeps producing for months instead of weeks.
Why Kale Tolerates Low Light Better Than Most Vegetables
Kale is a cool-season brassica, related to broccoli and cabbage, and that lineage shows up in how it handles light. Where fruiting vegetables like peppers need intense, sustained light to set flowers and fruit, kale only needs enough light to keep producing leaves, a much lower bar.
This makes kale one of the more practical choices for apartments, offices, or any spot that gets indirect light rather than hours of direct sun. It still grows faster and fuller under a dedicated grow light, but it won't stall out the way a tomato or strawberry plant would in the same low light conditions.
That tolerance also means kale is more forgiving of inconsistent light schedules. A few dim days won't set it back the way it would a more light-hungry crop, which matters if your growing setup isn't getting perfectly even exposure every day.
None of this means kale grows well in true darkness. It still needs a reasonable amount of light each day to photosynthesize and produce new leaves. Low light tolerant simply means it performs acceptably in conditions that would leave other vegetables leggy and pale.
What Hydroponic Kale Needs to Thrive
Kale grown hydroponically needs four things in place: consistent moisture at the roots, a nutrient solution suited to leafy greens, decent airflow, and enough room for its leaves to spread without crowding neighboring plants.
A hydroponic system removes most of the guesswork around watering, since the roots sit in a nutrient solution or wicking medium that stays consistently moist without the swings between soggy and bone-dry that trip up soil-grown kale. That consistency is a big part of why hydroponic kale tends to grow faster and more evenly than its garden-bed counterpart.
Kale spacing matters more than most new growers expect. A mature kale plant needs real room, its leaves fan out wide as it grows, and crowding plants too close together cuts light and airflow to the lower leaves, which slows growth and invites problems like mildew.
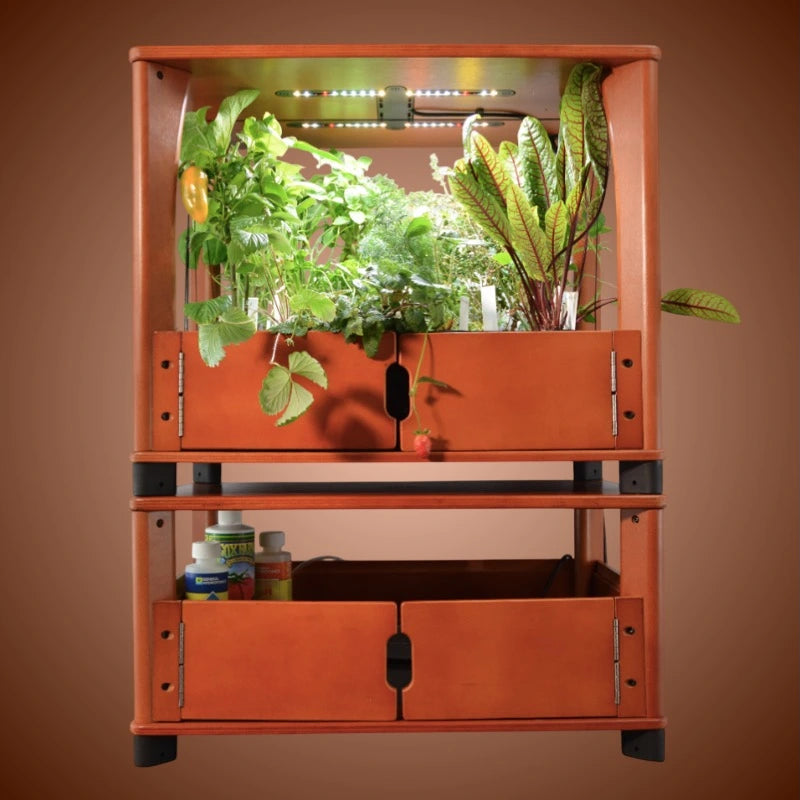
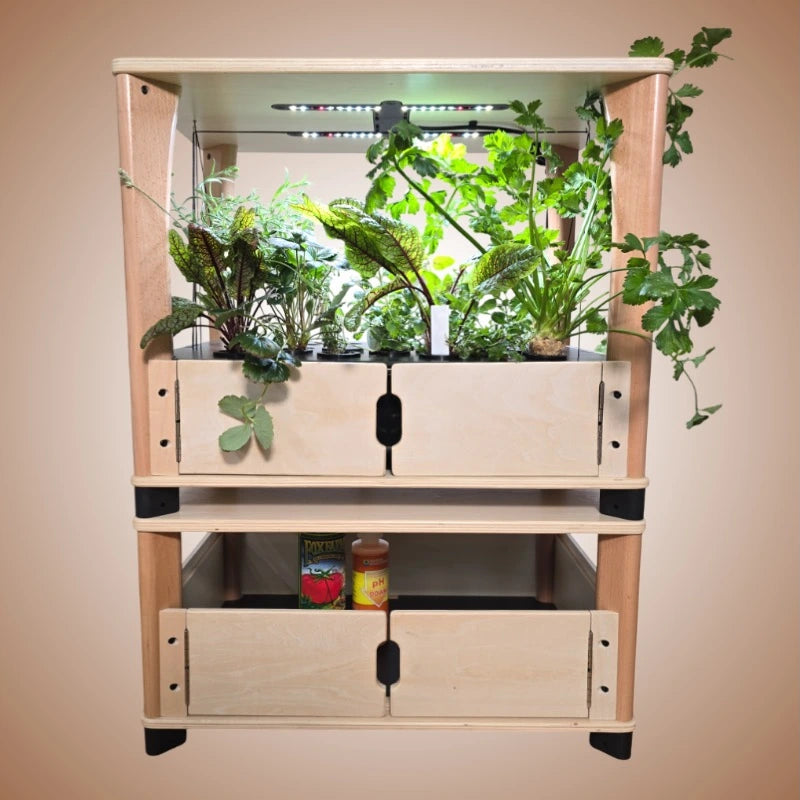
A system like the Aquager Hydroponic Home Farm is built with individual pods spaced to give each plant, kale included, enough room to fill out without shading its neighbors. That spacing, combined with steady nutrient delivery, is what lets one kale plant stay productive for months instead of bolting early from stress.
Temperature also plays a role. Kale prefers cooler conditions than many kitchen crops, generally happiest between 60 and 70 degrees Fahrenheit. Normal indoor room temperature works fine; kale just won't thank you for a spot next to a heating vent or a sunny window that overheats in summer.
Nutrient solution strength matters more for kale than for smaller herbs, since it's a larger, faster-growing plant with correspondingly higher demands. Leafy greens generally prefer a slightly less acidic solution than fruiting vegetables, and most all-in-one hydroponic systems handle this balancing automatically so you aren't testing pH and EC levels by hand every few days.
Choosing the Right Kale Variety for Indoor Growing
Not all kale looks or behaves the same, and picking a variety suited to indoor conditions makes the whole process easier. Kale (Mamba) is a classic curly-leaf type, compact, fast to establish, and forgiving of the kind of moderate light most indoor setups provide.
A frisé-style red kale offers the same easy-growing profile but with deep reddish-purple leaves that add visual interest to a kitchen counter setup, along with slightly higher levels of the anthocyanins responsible for that color. Flavor-wise, the two are close, with the red variety leaning a touch more peppery once leaves mature past the baby stage.
Either variety works well with the cut and come again method described later in this guide. The choice mostly comes down to preference, curly green kale reads as more familiar and traditional, while the red variety stands out if you're growing kale somewhere visible, like an open kitchen counter rather than a closet or basement corner.
How to Grow Kale From Seed, Step by Step
Growing hydroponic kale from seed is straightforward once you understand the sequence. Here's the full process from seed to first harvest.
Step 1: Start With Pre-Seeded or Fresh Kale Seeds
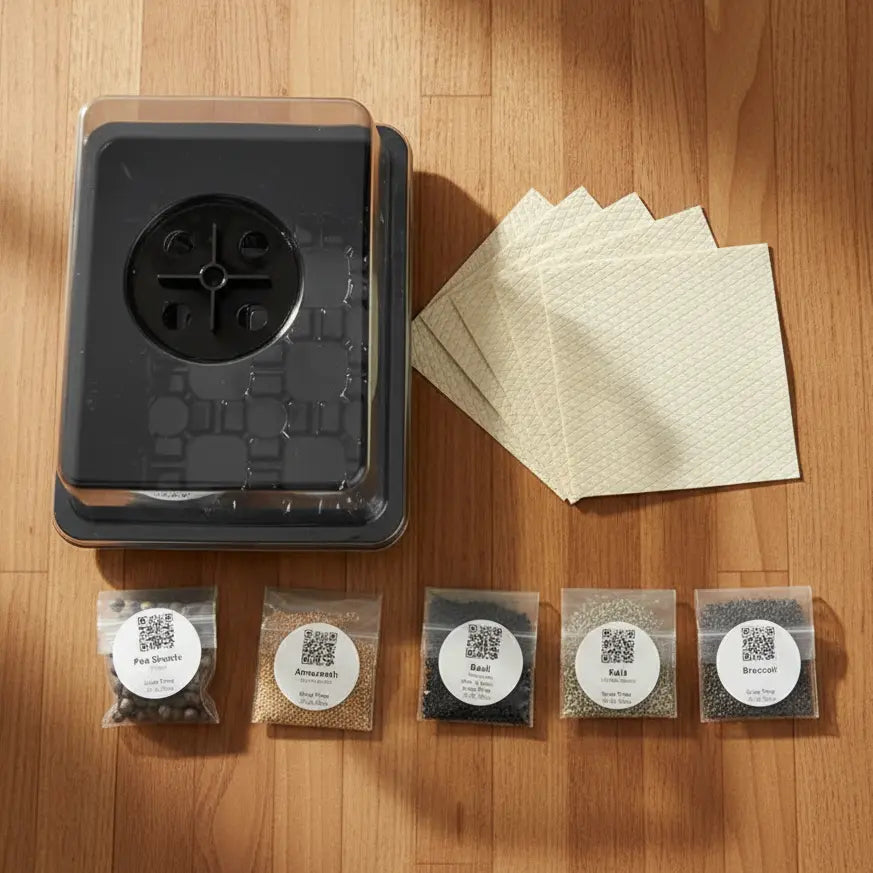
Kale (Mamba) Seeds give you a reliable, tightly curled classic kale variety that performs well in hydroponic setups. If you want a more colorful option, Kale (Frisé Rouge) Seeds offers the same easy growing profile with striking reddish-purple leaves.
Both varieties germinate reliably in a moist grow medium without needing any special pre-treatment. Press the seeds gently into the medium rather than burying them deep, kale seeds need light and shallow contact with moisture to sprout.
Step 2: Keep the Medium Consistently Moist
Germination typically takes 5 to 10 days under the right conditions. During this window, the grow medium should stay damp but not waterlogged, since kale seeds that dry out even briefly during germination often fail to sprout.
A hydroponic system with automatic water delivery removes the daily guesswork here, keeping moisture levels steady without requiring you to check in constantly.
Step 3: Provide Light as Soon as Seedlings Emerge
Once you see the first true leaves, move the seedlings into consistent light, whether that's a bright window or a grow light set on a 12 to 14 hour daily cycle. Kale's low light tolerance means it will survive dimmer conditions, but stronger light in this early stage produces sturdier, more compact seedlings instead of tall, leggy ones reaching for a light source.
This is also the stage where proper kale spacing starts to matter. If you started multiple seeds close together for insurance against poor germination, thin the weakest seedlings now so the strongest ones have room to develop full-sized leaves.
Step 4: Feed With a Leafy-Green Nutrient Solution
Kale is a moderately heavy feeder once established, benefiting from a balanced hydroponic nutrient solution formulated for leafy greens. Most all-in-one systems handle this automatically, dosing nutrients on a schedule tuned to what leafy vegetables need at each growth stage.
Watch the leaf color as a rough guide. Pale or yellowing lower leaves often signal a nutrient deficiency, while consistently deep green leaves mean the feeding schedule is working.
Step 5: Let the Plant Establish Before the First Harvest
Resist the urge to harvest too early. A kale plant needs roughly 3 to 4 weeks of steady growth after germination before its baby leaves are substantial enough for a meaningful first cut. Harvesting too soon stunts the plant and delays the productive cycle that makes kale worth growing in the first place.
Step 6: Maintain Steady Care Between Harvests
Once a kale plant is established and producing, ongoing care is mostly about consistency rather than active intervention. Check the reservoir or moisture level every few days, top off water as needed, and refresh the nutrient solution on whatever cycle your system recommends, typically every couple of weeks.
Rotate the plant occasionally if it's near a single-direction light source like a window, so growth stays even on all sides rather than leaning and stretching toward the light. A quarter turn every few days is enough to keep the plant balanced.

Cut and Come Again: Harvesting Kale for Continuous Baby Leaves
The single biggest advantage of growing kale yourself is the cut and come again harvest method, and it's worth understanding well before your first harvest day arrives.
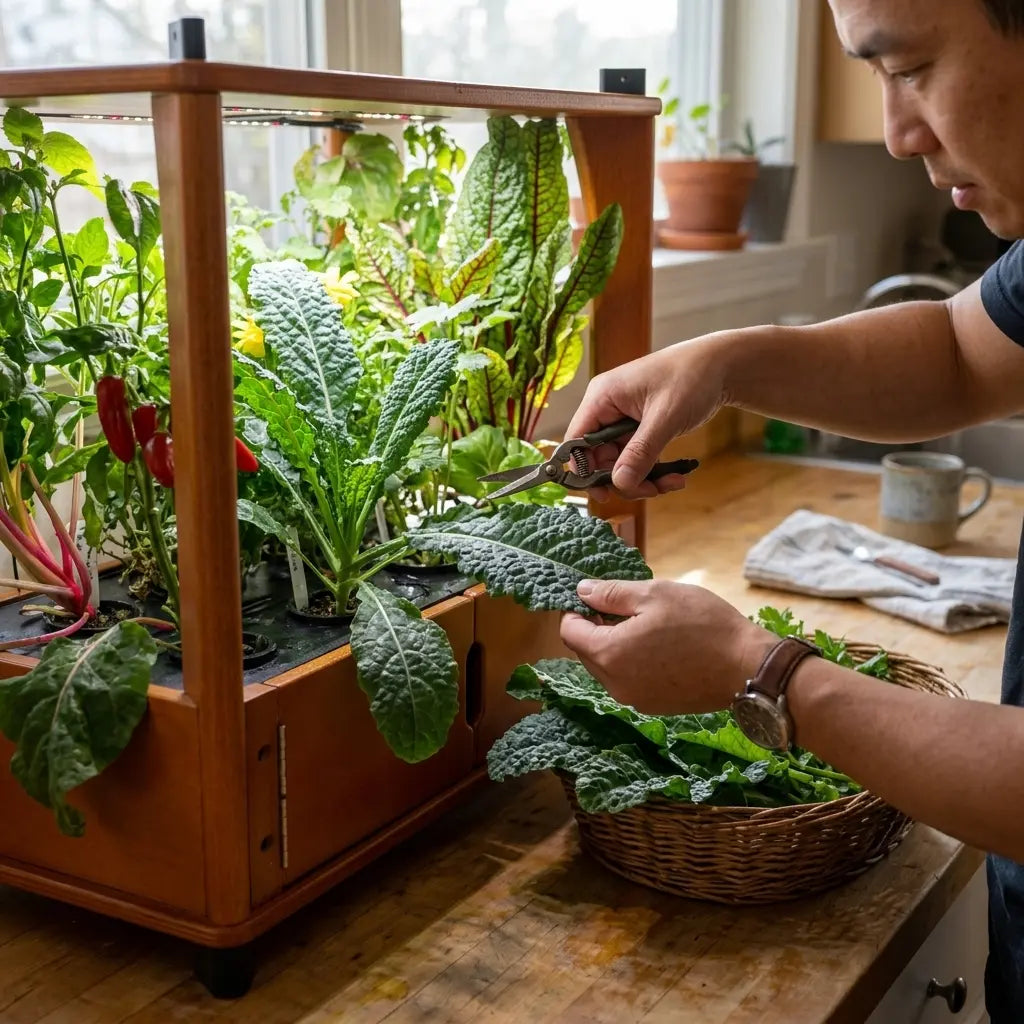
Rather than pulling the whole plant, you snip individual outer leaves once they reach 3 to 4 inches, the classic baby kale size, and leave the small inner leaves and growing center untouched. Those remaining leaves keep photosynthesizing and producing new growth, so the plant simply regrows what you took.
This is fundamentally different from a one-and-done harvest. A single healthy kale plant, harvested this way, can keep producing fresh baby leaves for months rather than giving you one bowl of greens and then bolting to seed.
A few rules make cut and come again harvesting work well:
- Always harvest from the outside in, taking the oldest, largest outer leaves first and leaving the newest, smallest leaves at the center intact.
- Never remove more than about a third of the plant's total leaves at once, taking too much at one time stresses the plant and slows regrowth.
- Harvest regularly rather than letting leaves grow oversized, baby leaves in the 3 to 4 inch range are more tender and mild than mature, fully grown kale leaves.
- Use clean scissors or shears for a clean cut rather than tearing, which reduces stress on the remaining stem tissue.
Once you settle into a rhythm, a single kale plant can support a light harvest every 5 to 7 days, giving you a small but steady supply of fresh greens instead of one large batch that wilts in the crisper drawer before you use it all.
Common Kale Growing Problems and How to Fix Them
Kale is a fairly forgiving plant, but a few issues show up often enough to be worth knowing in advance.
Yellowing lower leaves usually point to a nutrient deficiency or simply the natural aging of older leaves, which is normal as a plant matures. If newer leaves are also pale, check the nutrient solution strength and feeding schedule first.
Leggy, stretched seedlings almost always mean insufficient light during the early growth stage. Moving young plants closer to a grow light or extending the daily light cycle usually corrects this within a week or two of new growth.
Bitter-tasting leaves are typically a sign of heat stress or leaves left to grow too large before harvest. Kale grown in cooler conditions and harvested at the baby leaf stage stays noticeably milder than kale that's been sitting in warm temperatures or left to mature fully.
Slow or stalled growth after a strong start often traces back to overcrowding. If plants were started too close together and never thinned, competition for light, nutrients, and root space eventually catches up with all of them.
Soft, mushy stems near the base of the plant usually point to excess moisture and poor airflow around the root zone, conditions that encourage rot. Making sure the growing area isn't sealed off from any air movement, even a small fan on low, helps prevent this.
Small holes or ragged edges on leaves are typically pest damage, most commonly aphids or small caterpillars, though indoor hydroponic setups see this far less often than outdoor gardens. Wiping leaves down periodically and checking the undersides catches most issues before they spread.
Why Growing Your Own Kale Beats the Bagged Kind
Bagged kale from the grocery store starts losing nutrients and crisping the moment it's harvested, and by the time it reaches your kitchen it's often days or weeks old. Growing your own means every leaf you eat was on the plant minutes earlier, not sitting in cold storage and transit.
There's also the cost-per-harvest math. A single seed packet paired with a productive hydroponic setup can produce far more kale over its lifespan than the equivalent spent on repeated bags from the store, especially once you factor in how much bagged kale gets tossed after wilting before it's used.
A dedicated hydroponic setup is built for exactly this kind of continuous, low-maintenance production, keeping kale and other leafy greens actively growing year-round regardless of the season outside. If you're new to hydroponics generally, this beginner's setup guide covers the basics before you get started.
For growers curious about scaling up beyond a single plant, our breakdown of how much kale you can realistically grow per plant covers what to expect from a mature, well-maintained setup over a full growing cycle.
Hydroponic Kale FAQ
How much light does hydroponic kale actually need?
Kale tolerates lower light than most vegetables, but it still grows best with at least 12 to 14 hours of light daily, whether from a bright window or a grow light. Low light tolerant does not mean no light needed.
How often can I harvest kale using the cut and come again method?
Once a plant is established, a light harvest every 5 to 7 days is typical, taking only the outer leaves and leaving the center growth point intact. Overharvesting at once slows the plant's ability to regrow.
What is the ideal spacing for kale plants?
Kale needs more room than smaller herbs since its leaves fan out wide as it matures. A dedicated hydroponic pod system with pre-set spacing removes most of the guesswork here.
How long until kale is ready for its first harvest?
Expect roughly 3 to 4 weeks of growth after germination before the first baby leaves are ready to cut. Harvesting earlier than that stunts the plant's productivity going forward.
Does kale grow year-round indoors?
Yes, that's one of its biggest advantages over outdoor growing. A hydroponic setup with consistent light and temperature keeps kale productive regardless of the season outside, unlike garden-grown kale, which is limited by cold snaps and summer bolting.
Why does my homegrown kale taste better than store-bought?
Fresh-cut baby kale is milder and more tender than mature kale that's been harvested, bagged, and shipped, since bitterness tends to increase as leaves age and grow larger. Harvesting your own at the baby leaf stage keeps the flavor consistently mild.
Can I grow kale hydroponically without a dedicated system?
Yes, kale can grow in simpler setups like a wicking container or basic deep water culture bucket, though a dedicated system with automated feeding and lighting produces more consistent results with less daily maintenance.
What's the difference between curly kale and red frisé kale?
The two varieties are similar in care and flavor, with curly kale being the more familiar, classic choice and red frisé offering a striking purple-red color along with a slightly more peppery bite once leaves mature past the baby stage.
Conclusion
Kale's tolerance for lower light and its cut and come again harvest style make it one of the most practical vegetables to grow indoors, especially for anyone without a bright, south-facing window to work with. A little attention to spacing, consistent moisture, and regular light harvesting turns one plant into months of fresh baby leaves.
Starting with reliable Kale (Mamba) Seeds in a system built for steady leafy-green production takes most of the guesswork out of the process from the first sprout to your first harvest.

Author: Aquager · Published: July 11, 2026 · Updated: July 11, 2026












0 comments