If you’ve been growing herbs and greens on the Aquager farm and haven’t tried microgreens yet, you’re one tray away from one of the simplest and most nutritious things you can grow at home.
Microgreens are not a separate complicated system. They don’t require the hydroponic farm. They grow on a kitchen counter in a tray, from seed to harvest in 7–14 days, with almost nothing required between planting and cutting. And research shows they contain up to 40 times more nutrients per gram than the fully grown vegetables they become.
This guide covers what are microgreens, why they’re worth adding to your growing routine, which ones to start with, and how to grow them — starting today.
What Are Microgreens?
Microgreens are seedlings of vegetables and herbs, harvested at the cotyledon stage — when the first two seed leaves have fully opened but before the first true leaf develops. This happens anywhere from 7 to 21 days after planting, depending on the variety.
They’re not sprouts. Sprouts are grown entirely in water, harvested after 3–5 days, and eaten root-to-tip. Microgreens are grown in a growing medium, harvested by cutting just above the medium, and include only the stem and leaf. They’re a middle point between a sprout and a baby green — more developed than one, less than the other.
They’re also not baby salad greens. Baby greens are harvested later (21–40 days) from the same varieties you’d grow to full maturity. Microgreens are significantly younger and smaller.
The practical result: microgreens are a fresh, concentrated, flavor-forward version of whatever plant you’re growing. Radish microgreens taste sharply peppery. Pea shoot microgreens taste sweet. Broccoli microgreens are mild with a subtle earthy bite. Basil microgreens are intensely herby. Each variety delivers a recognizable, amplified flavor of its mature counterpart.
Why Are Microgreens So Nutritious?
In 2012, researchers at the University of Maryland and the USDA published a study analyzing 25 microgreen varieties for vitamins C, E, K, and beta-carotene. The finding: across all varieties tested, microgreens contained significantly higher concentrations of vitamins and carotenoids than their mature counterparts — ranging from 4x to 40x higher.
The reason is straightforward biology. When a seed germinates, it mobilizes every nutrient it has stored into the first two leaves — the cotyledons. Those leaves are loaded with the energy the plant needs to establish its first photosynthetic systems. At cotyledon stage, you’re eating the seed’s entire reserve of vitamins, minerals, and phytonutrients in a concentrated form.
As the plant matures, those nutrients get distributed across a much larger mass. The concentration per gram of edible material naturally drops.
This is why broccoli microgreens contain dramatically more sulforaphane per gram than mature broccoli. Why red cabbage microgreens contain 40x more vitamin E. Why pea shoot microgreens are among the highest plant-based sources of vitamin C by weight.
For more on the nutritional comparison by variety, see our full microgreens nutrition guide.
Which Microgreens Should You Start With?
The most common beginner mistake is starting with a difficult variety. Start with something fast and forgiving — it builds confidence and gets you to a first harvest quickly.
Pea Shoots — The most beginner-friendly microgreen available. Large seeds that are easy to handle, near-perfect germination, fast growth (8–10 days), and a sweet, mild flavor that works on everything from grain bowls to soups. Pea shoots are also dramatic growers — you’ll see progress every single morning. Pea Shoots Field Microgreens Seeds — $3.99.
Radish Confetti Mix — The fastest microgreen: ready in 5–7 days. Bold, peppery flavor. The Confetti Mix produces red, purple, and white stems that make every tray visually striking. If you want your first harvest within a week, this is the pick.
Sunflower — Slower (10–12 days) but produces the most impressive tray. Thick stems, broad leaves, nutty flavor. A pre-soak of 8–12 hours before planting dramatically improves germination. Favorite for people who want the most visually satisfying first grow.
For maximum nutrition first: Broccoli Microgreens Seeds — $3.99. The most nutritionally studied variety, with high sulforaphane content associated with cancer prevention and inflammation reduction in multiple peer-reviewed studies. Not the most forgiving beginners variety, but if nutrition is the primary motivation, start here.
Avoid for your first grow: Basil (slow, fussy), cilantro (requires pre-soak), dill (delicate). All worth growing eventually — just not first.
How Do You Grow Microgreens at Home?
The process is simple. Five steps, no complicated equipment.
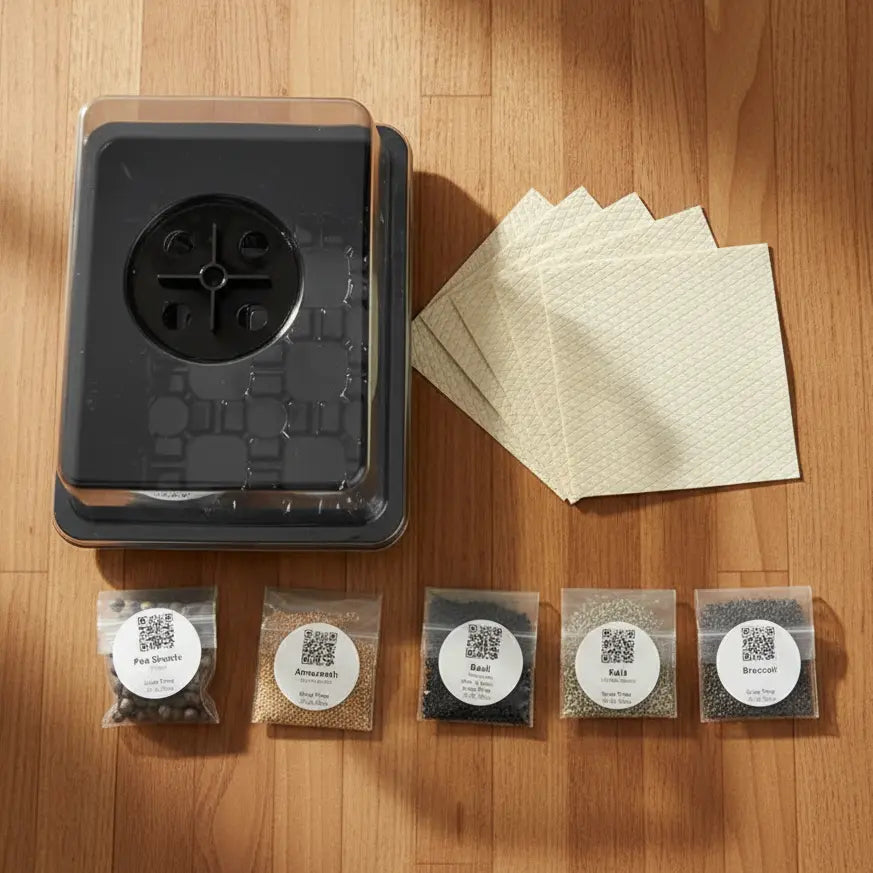
What you need: A growing tray, a humidity dome, an organic coco coir grow mat, seeds, and water.
Step 1 — Wet the mat. Place the coco coir grow mat flat in the tray. Wet it thoroughly — it should feel uniformly damp, not soaking.
Step 2 — Seed. Scatter seeds evenly across the mat surface. A single, even layer is best — piling seeds causes uneven germination and can lead to mold. Cover the tray with the humidity dome.
Step 3 — Germinate (Days 1–4). Move the covered tray to a dark spot at room temperature. Check moisture daily. By Day 2–3, most varieties will show white root tips.
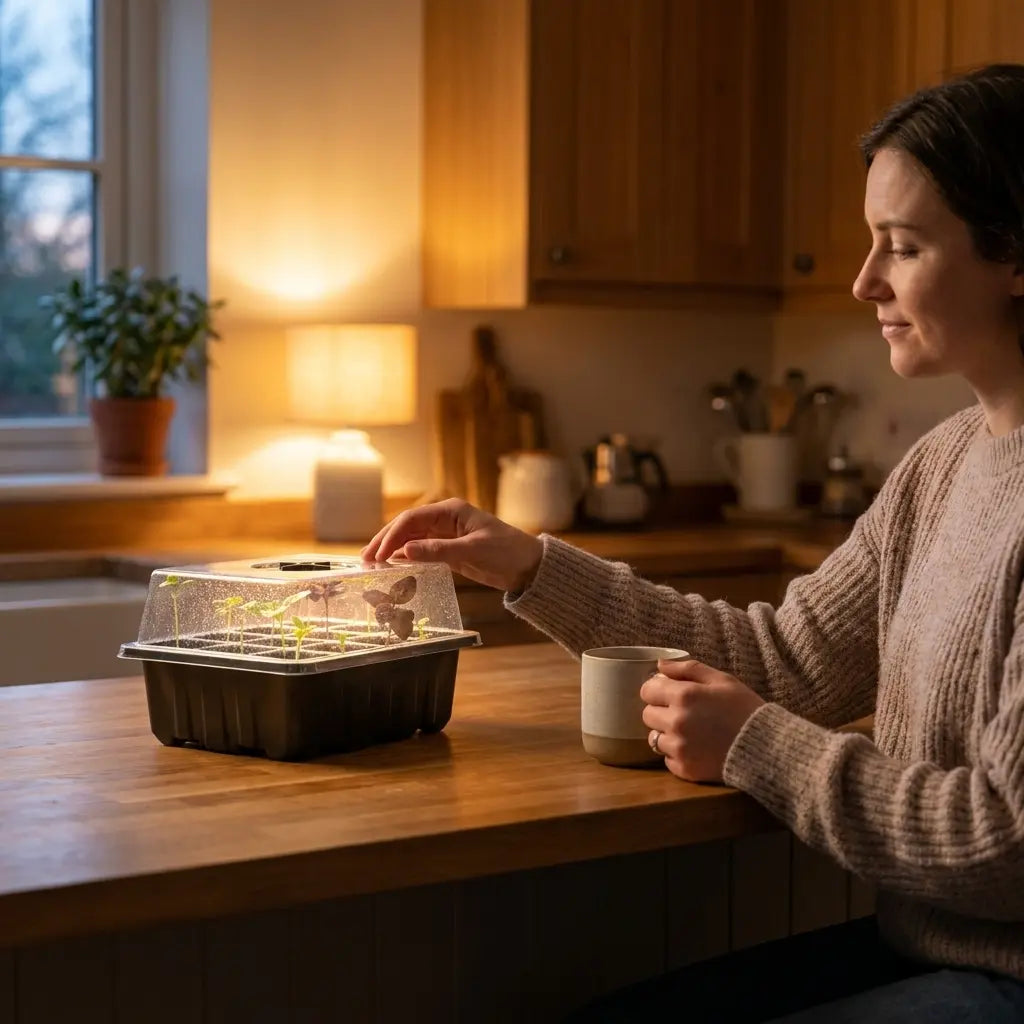
Step 4 — Light (Days 4–7). Once germination is visible and the first pale stems appear, remove the dome and move the tray to a bright windowsill or under a grow light. The stems will turn green within 12–24 hours.
Step 5 — Harvest (Days 7–14). When the cotyledons (seed leaves) are fully open, cut just above the grow mat with clean scissors. Rinse with cool water and eat fresh, or store refrigerated in a dry sealed container for up to 7 days.
No pH adjustment, no nutrients, no monitoring. The seed provides everything the plant needs through the cotyledon stage. For more detail on the hydroponic growing method that makes microgreens especially clean and low-maintenance, see our guide on hydroponic microgreens.
The Two Best Ways to Start
Aquager offers two different entry points for microgreens, depending on whether you want to choose your own seeds or just want something ready to plant immediately.
Option 1 — The Microgreens Starter Kit ($24.99). Everything you need to run your own microgreens cycles: 10×20" tray, humidity dome, and organic coco coir grow mat. Add whatever seeds you want. This is the foundation for a continuous rotation — once you have the tray and dome, all you need to reorder are seeds and new grow mats. Best for people who want to choose their varieties and establish an ongoing system.
Option 2 — The Grab & Grow Pre-Seeded Starter Kit ($39.99). Seeds are already embedded in the growing medium — just add water. Available in three variants: Pollinator Defense, Basil Overload, and Cat Grass. Designed for the fastest possible start: no seeding step required. Best for people who want to try microgreens immediately without sourcing seeds separately, or as a gift.
Frequently Asked Questions
Do microgreens need a grow light?
Not for a 7–14 day grow cycle. A south-facing window with 4+ hours of indirect daylight is sufficient for most varieties. A basic LED grow light on a 12-hour timer is a useful supplement in darker rooms or during winter, but it’s not required to start.
Do microgreens grow back after cutting?
No. Microgreens are harvested once. After cutting, the grow mat and roots are composted and the tray is cleaned for the next cycle. Each tray starts clean, which eliminates mold and contamination risks from reused growing media.
How many seeds should I use per tray?
For a 10×20" tray, most seed recommendations run from 1 tablespoon (small seeds like broccoli, kale) to 3–4 tablespoons (large seeds like sunflower, pea shoots). The goal is a dense but single-layer coverage — no bare spots, no piling.
Can I grow microgreens alongside my Aquager farm herbs?
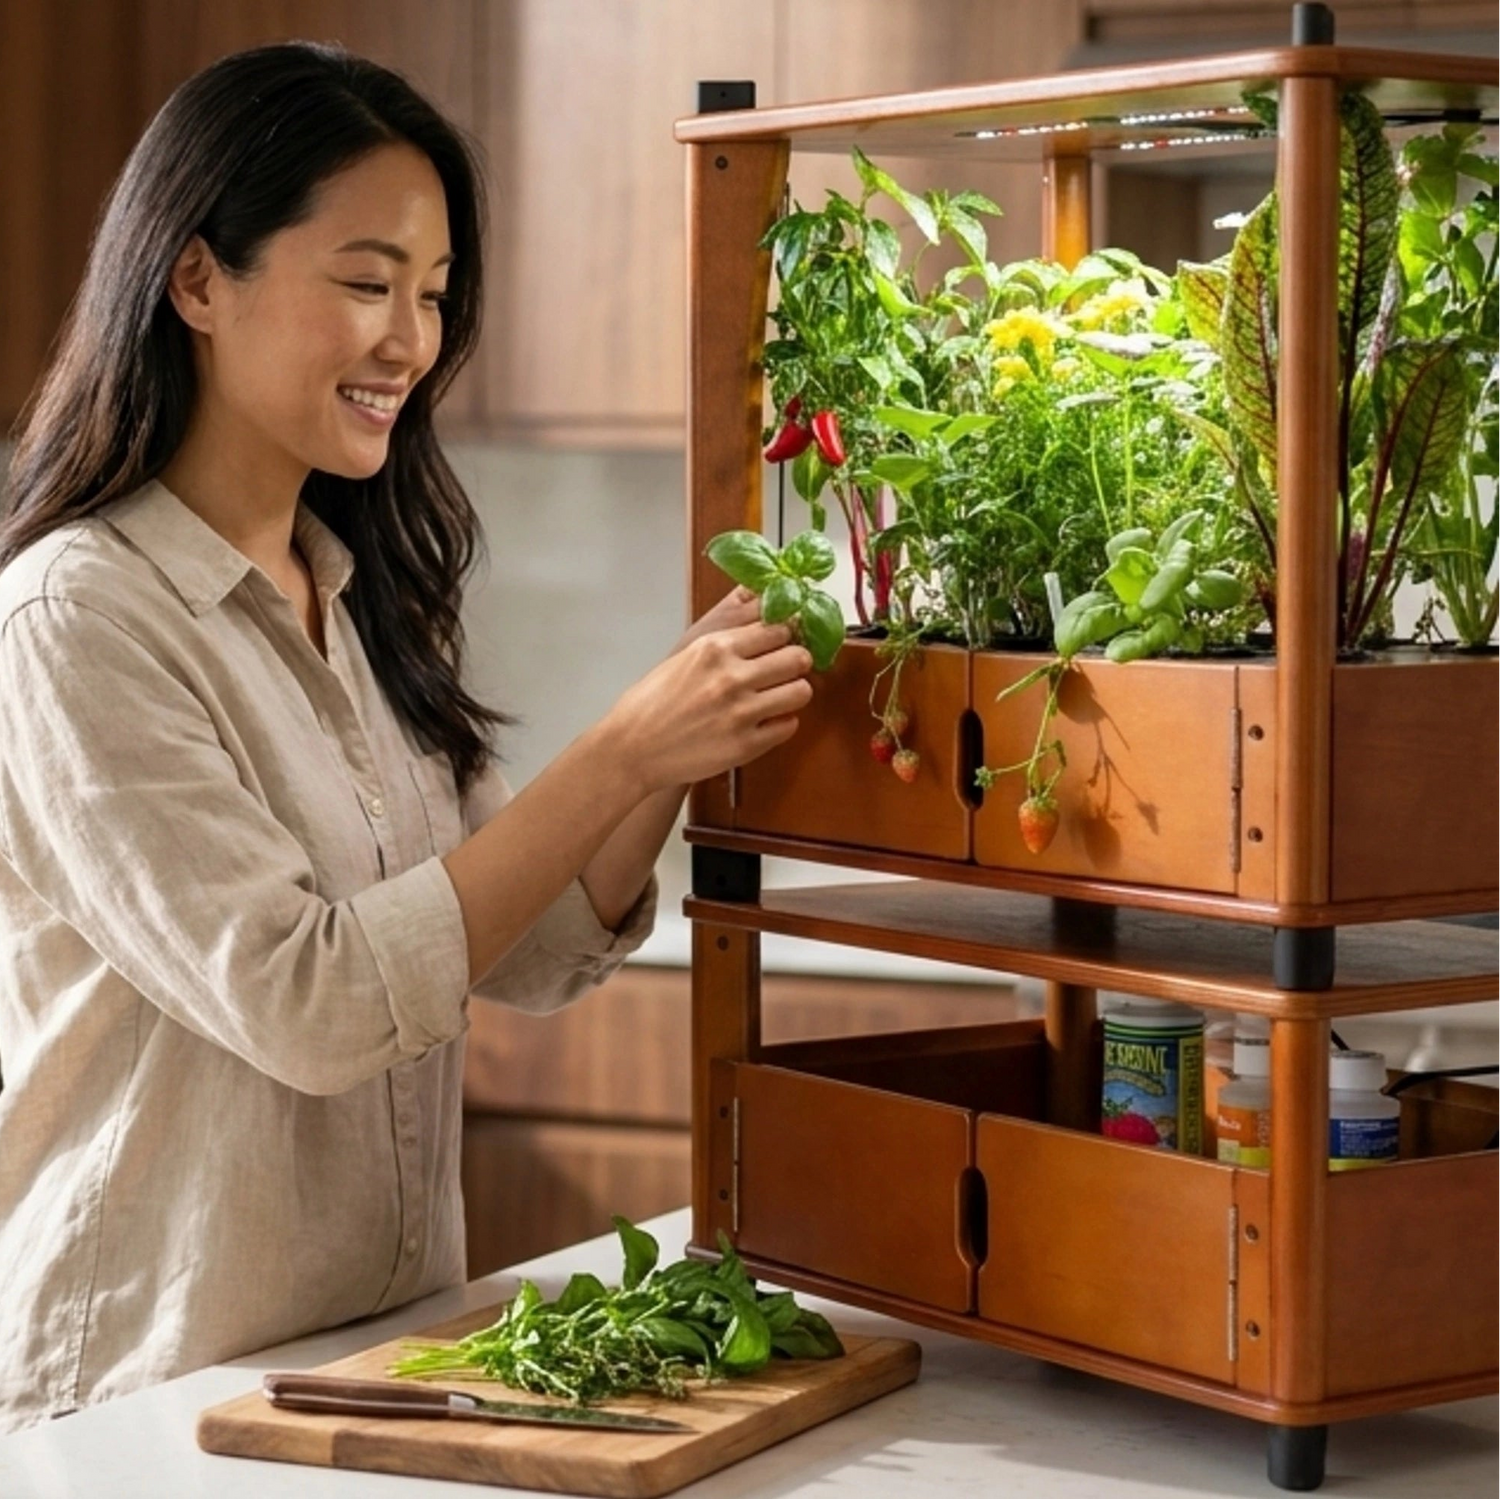
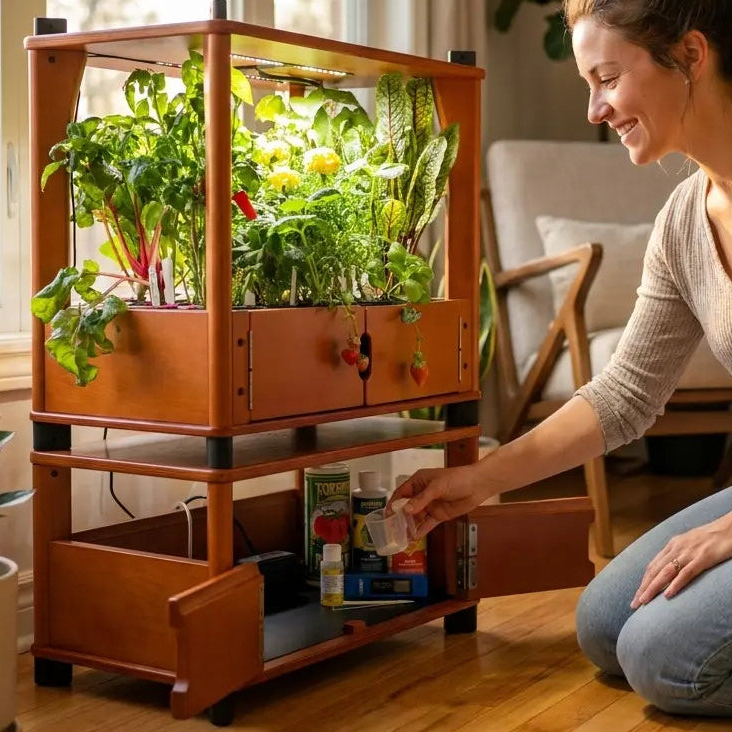
Absolutely — and this is the most practical approach. The farm handles herbs that take weeks to months to grow (basil, oregano, parsley, thyme). The microgreens tray handles crops ready in 7–14 days. They complement each other perfectly: the farm gives you herbs for cooking, the tray gives you fresh nutritious greens for garnishing and eating raw.
What do microgreens taste like compared to the full-grown plant?
Most microgreens taste like a concentrated, slightly milder version of the mature plant. Broccoli microgreens are earthy and mildly peppery. Radish microgreens are sharply peppery. Pea shoots are sweet and fresh. Kale microgreens are mild and very gentle. The flavor is usually more approachable than the mature vegetable, which makes them easy to add to dishes without overpowering them.
The Easiest Thing You Can Add to Your Growing Routine
If you’re already growing herbs on the Aquager farm, microgreens are a natural next step: a different format, a faster cycle, and a nutritional return that’s hard to match with anything else you can grow at home.
The Aquager farm takes care of the herbs that need weeks to reach productive size. The microgreens tray takes care of everything you want to harvest and eat fresh in under two weeks. Both systems run side by side with minimal effort.
Start with the Microgreens Starter Kit and a pack of Pea Shoots for the easiest first grow — or grab the Grab & Grow Pre-Seeded Kit if you want to start today with zero setup. Your first harvest will be ready in under two weeks.
Author: Aquager | Published: May 30, 2026 | Updated: May 30, 2026


0 comments