
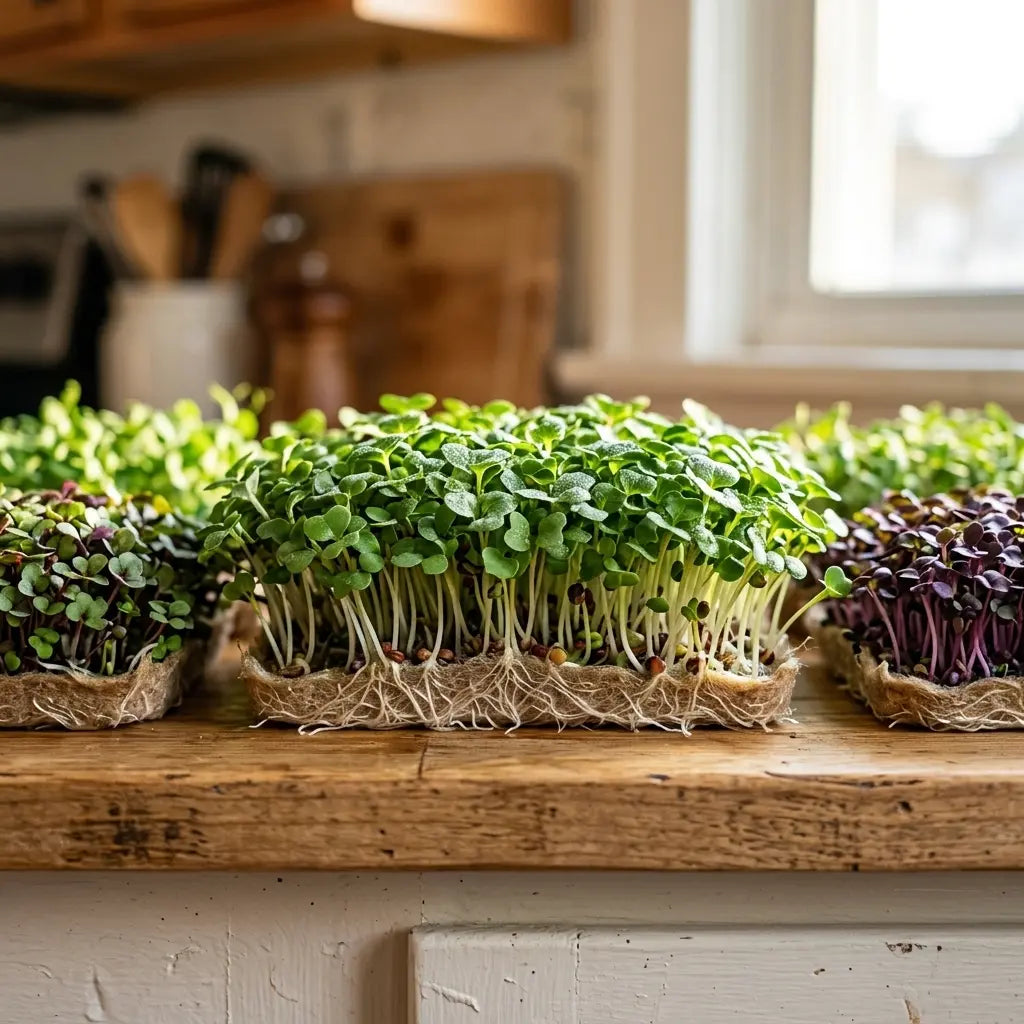
You check your tray on day four, ready for another day of watching your microgreens fill in, and there it is: a fuzzy white haze around the base of every stem. Your stomach drops. Did the whole tray just mold?
This single moment is probably the number one reason beginners quit growing microgreens. They see the fuzz, assume the worst, dump the tray, and decide the hobby is not for them.
If you have ever pulled a tray and wondered whether you just wasted a week of growing for nothing, you are not alone. It is one of the most common questions in every microgreens group and forum.
Here is the honest, calmer answer. Most of the time, that fuzz is not mold at all. This guide breaks down how to prevent mold on seedlings, how to tell real mold from a normal part of the growing process, and what to do if it really is mold.
None of this is complicated once you know what to look for. It just is not something most people learn until they have already had a small scare of their own.
Mold Identification: Root Hairs vs the Real Thing
The fuzz that scares most beginners is usually root hairs, not mold. Root hairs are tiny, natural structures that grow out from the base of the stem and root zone to help the seedling pull in more water and nutrients.
Root hairs are fine, white, and uniform. They show up in a neat ring right where the stem meets the grow mat, and they tend to look shiny or glassy, almost like a thin layer of frost.
Real mold looks different once you know what to check. It often shows up as gray, blue-green, or black fuzzy patches, and it spreads unevenly across the mat surface or seed hulls rather than staying neatly at the stem base.
Texture is another giveaway. Root hairs feel soft and almost silky if you touch them gently, while mold often has a slightly raised, cottony texture that looks different under close inspection.
There is a simple test that settles the question in seconds. Mist the area lightly with water. Root hairs will flatten out and look glassy or disappear temporarily. Mold will not flatten, and it often looks the same or worse after misting.
Smell is another clue. Root hairs have no odor at all. Real mold usually carries a musty, damp smell that is hard to miss once you notice it.

Which Microgreens Show the Most Root Hairs
Some varieties are far more likely to trigger a mold scare than others, simply because they grow more visible root hairs. Sunflower, pea shoots, and radish are the usual suspects, all known for thick, obvious root hair growth around day three to five.
If you are just starting out, our guide on growing your first tray indoors in 7 days is worth reading alongside this one, since knowing what to expect from your specific variety removes a lot of the guesswork in that first week.
Finer, smaller-seeded varieties like broccoli, arugula, and basil tend to show less dramatic root hair growth, so a heavy white fuzz on one of these is more worth a closer look with the mist test. Kale and mustard usually fall somewhere in the middle, with a light but visible ring of root hairs by the middle of the grow.
Either way, root hairs are never a food safety issue. They only become a visual concern because beginners have not seen them before and assume the worst.
What Actually Causes Mold in Microgreens
Real mold does happen, and it almost always comes down to a handful of preventable habits rather than bad luck. Overwatering is the biggest one. Microgreens only need the grow mat kept evenly moist, not sitting in a puddle.
Poor airflow is a close second. A humidity dome left sealed for too long, or a tray sitting in a stuffy corner with no air movement, traps moisture right at the surface where mold spores thrive.
Overcrowded seeding also plays a role. Packing too many seeds into one tray leaves no space for air to move between seedlings, so the whole surface stays damp longer than it should.
Warm, humid rooms make everything above worse. Mold spores are always present in the air at some level, and they only need warmth, moisture, and stagnant air to take hold. A cool, well-ventilated room is naturally more forgiving than a warm, closed-off one.
Direct sun hitting a sealed tray can also raise the temperature and humidity inside quickly, creating a small greenhouse effect that favors mold over healthy growth. Bright but indirect light is safer while the dome is still on.
Old or poorly stored seed can also carry a higher spore load into the tray from day one. Buying seed in reasonable quantities and storing it in a cool, dry place keeps this risk low.
A reused, unwashed grow mat can carry mold spores or residue from a previous grow straight into your next one. Starting with a fresh Microgreens Grow Mat each time removes that risk entirely instead of hoping a rinsed mat is clean enough.
Cross-contamination between trays is easy to overlook. A moldy tray sitting right next to a healthy one can pass spores through the air, especially if a fan is pushing air from one toward the other, so isolate any suspect tray right away.
Mold Prevention: Building Habits That Actually Work
Water Less Than You Think You Need
Mist or bottom-water just enough to keep the mat evenly damp. If you can squeeze visible water out of the mat, it is too wet, and that excess moisture is exactly what mold needs to get started.
Bottom watering, where you add water to a tray underneath and let the mat soak it up, tends to be more forgiving than top misting, since it is harder to oversaturate the mat by accident.
Improve Airflow Around the Tray
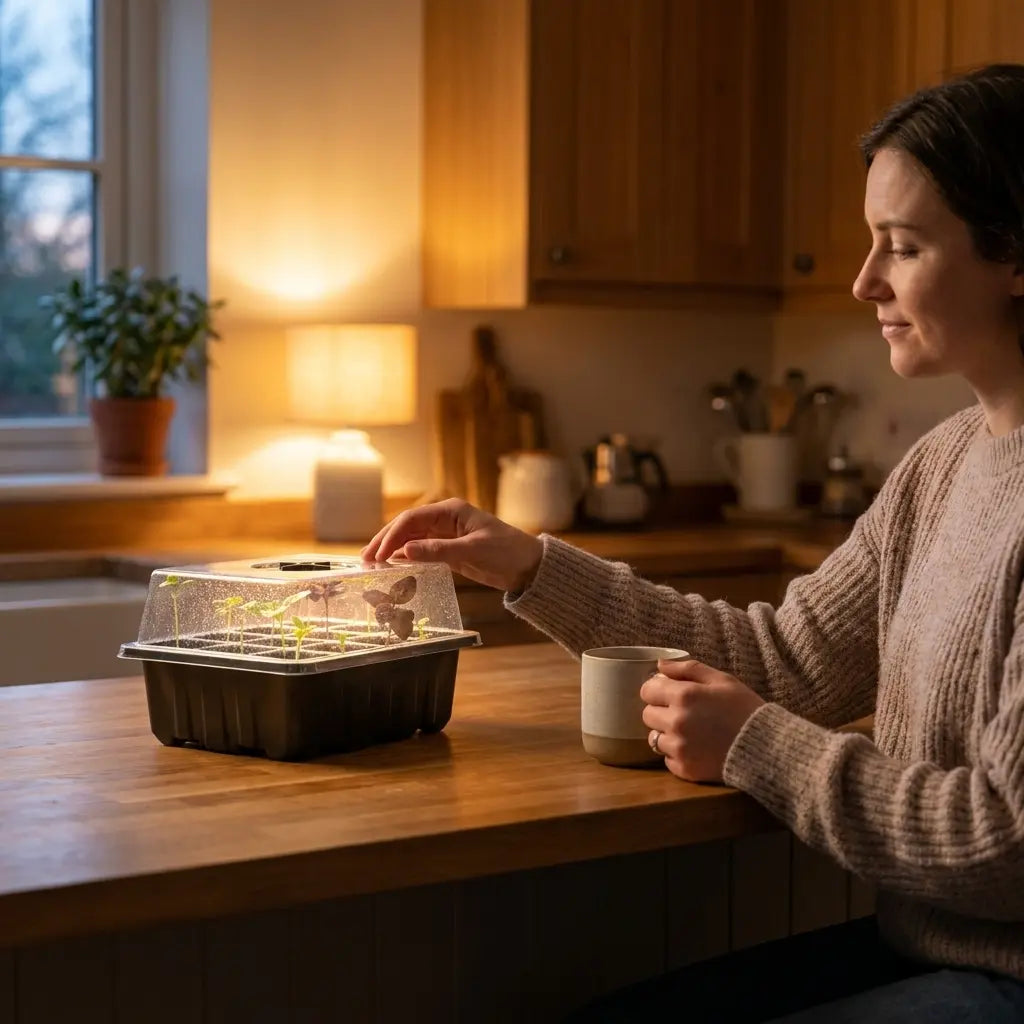
Prop the dome open slightly once seeds germinate, or remove it entirely after the first couple of days. A small fan on low, aimed near but not directly at the tray, keeps air moving without drying things out too fast.
Even a cracked window or an open door nearby can make a noticeable difference if a dedicated fan is not an option. The goal is simply to keep the air over the tray from sitting still for hours at a time.
Don't Overseed the Tray
Follow the seeding density on the package instead of packing the tray as full as possible. A slightly thinner seeding gives every seedling room to breathe, which matters more than squeezing out a bit of extra yield.
Start With a Fresh Mat Every Time
Do not reuse a grow mat from a previous batch, even if you rinse it. Spores and residue can survive a quick rinse, and a fresh mat costs very little compared to losing an entire tray.
A Mold-Resistant Tray Setup
Your tray choice matters here too. The Microgreens Tray (Set of 6) has no built-in drainage holes, which is common for standard microgreens trays, but it does mean you need to be a little more deliberate about not overwatering.
Pour off any standing water after misting instead of letting it pool at the bottom, and tilt the tray briefly to check for hidden puddles under the mat. That one habit removes most of the overwatering risk that a no-drainage tray design can create.
Stacking multiple trays close together can also trap humidity between them. Leave a small gap for air to move if you are running more than one tray at once, rather than pushing them edge to edge.
Washing your hands and rinsing any tools between trays is a small habit that pays off if you are growing several varieties at once. It keeps a problem in one tray from quietly hitching a ride into the next.
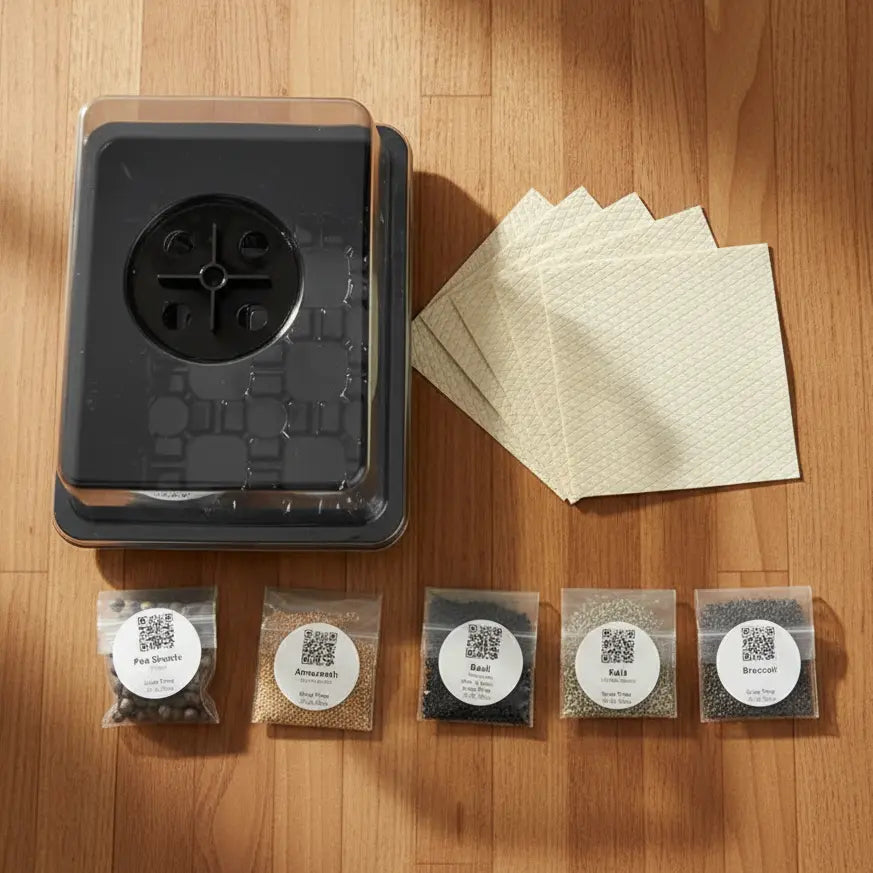
If you are setting up for the first time, the Microgreens Starter Kit pairs trays, a dome, and a fresh organic mat together, so you are not guessing whether your parts are a good match for each other. Our guide on growing microgreens indoors covers airflow and humidity basics in more depth if you want the fuller setup picture.
What to Do If You Already Have Mold
If you have confirmed real mold using the smell and misting test, the honest answer is to toss the tray. Do not try to rinse off mold and eat the unaffected-looking parts, since mold can spread through a growing medium well beyond what is visible on the surface.
Clean the tray thoroughly before reusing it. A one part vinegar to four parts water rinse, or a mild bleach solution followed by a thorough rinse and full dry, both work well for sanitizing a tray between grows. Let the tray dry completely before adding a new mat and seed.
Throw out the old mat rather than trying to salvage it, since mat material tends to hold onto spores.
Before starting a new batch, walk back through the habits above: water less, improve airflow, thin out your seeding, and start with a fresh mat. One bad tray does not mean you are bad at growing microgreens. It usually means one specific habit needs a small adjustment.
Our guide on how to harvest microgreens the right way is worth a look too, since a clean, well-timed harvest reduces the window where excess moisture can sit around and cause problems in the first place.
FAQ: Microgreens Mold, Answered
Is the white fuzz on my microgreens mold or root hairs?
It is almost always root hairs if it is fine, white, and sitting right at the base of the stems. Mist it lightly. Root hairs flatten and look glassy, while mold stays fuzzy and unchanged.
How do I prevent mold on seedlings?
Water less than feels intuitive, improve airflow around the tray, avoid overcrowded seeding, and always start with a fresh grow mat instead of reusing an old one.
Can I still eat microgreens if I see root hairs?
Yes. Root hairs are a normal, harmless part of the plant and are completely safe to eat along with the rest of the microgreen.
What does real mold smell like on microgreens?
Real mold usually has a musty, damp smell, unlike root hairs, which have no smell at all. If you catch a musty odor, treat it as mold rather than root hairs.
Does a humidity dome cause mold?
A dome itself is not the problem, but leaving it sealed too long after germination traps moisture right where mold wants it. Prop it open or remove it once seeds have sprouted.
Should I throw away a tray with mold, or can I save part of it?
Throw away the whole tray. Mold can spread through the grow mat and roots in ways that are not visible from the surface, so trying to salvage part of the tray is not worth the risk.
The Bottom Line: Prevent Mold on Seedlings
Most of the fuzz that scares beginners away is root hairs, not mold, and a quick mist test settles the question in seconds. Real mold is rarer than it seems and almost always traces back to overwatering, poor airflow, overcrowded seeding, or a reused mat.
Fix those four habits and mold stops being a recurring problem. Your tray stays exactly as low maintenance as it was supposed to be from the start.
Treat the first tray that spooks you as a learning moment rather than a reason to quit. Nearly every grower has mistaken root hairs for mold at least once, and it gets easier to tell the difference at a glance after that.
Give the next tray a fair shot with these habits in place before deciding microgreens are not for you. Most people who stick around past that first scare end up growing trays for years.

Author: Aquager · Published: July 19, 2026 · Updated: July 19, 2026













0 comments