
You've been watching your tray for 10 days. The seeds germinated, the stems shot up, and now there's a dense mat of green in front of you. But when do you actually cut it?
Knowing how to harvest microgreens, when exactly, how to cut, and what to do afterward, is the step that trips up more first-time growers than any other. Cut too early and the flavor isn't fully developed. Cut too late and the plants start to decline. Cut from the wrong spot and you leave usable greens on the mat. And if you're expecting them to grow back, they won't, and it's better to know that now.
This guide covers everything: the right harvest stage, how to cut cleanly, how to store what you've grown, and how to set up the next cycle as soon as you're done.
When to Harvest Microgreens: The Cotyledon Rule
The most reliable harvest signal for almost every microgreen variety isn't a calendar day, it's a leaf stage.
Harvest at the cotyledon stage. Cotyledons are the first two leaves that emerge from a germinated seed. They look like small, rounded paddles, not the more complex shapes that develop later. When both cotyledons are fully open and standing upright, the plant has reached optimal flavor, nutrient concentration, and harvest quality.
Don't wait for the first true leaf. The first true leaf, the third to emerge, shaped like the plant's mature leaf, signals the plant is moving past its peak. Nutrient concentration begins declining as energy shifts toward continued vegetative growth. Flavor can also change at this point: some varieties become more bitter, others lose intensity.
The one exception: pea shoots and sunflower microgreens are often harvested slightly later, when the shoots are taller and the second pair of cotyledons is developing. For these, a taste test is the most reliable signal, the flavor will tell you clearly when they're right.
Typical timing by variety:
| Variety | Harvest Range | Visual Cue |
|---|---|---|
| Radish Confetti Mix | 5 to 7 days | Cotyledons fully open, stems straight |
| Pea Shoots | 8 to 10 days | 4 to 6 inches tall, first curly tendril visible |
| Broccoli | 8 to 10 days | Both cotyledons open, no true leaf yet |
| Kale | 8 to 12 days | Cotyledons fully open, stems firm |
| Sunflower | 10 to 12 days | Thick stems, cotyledons fully expanded |
| Cilantro | 10 to 14 days | Cotyledons open, slight feathering beginning |
| Dill | 10 to 14 days | Feathery fronds beginning to expand |
| Basil | 10 to 14 days | Both oval cotyledons fully open |
For grow-time comparisons across all varieties, see our guide to the fastest-growing microgreens.

How to Tell Exactly When Your Microgreens Are Ready
Beyond the cotyledon rule, four quick checks confirm the tray is ready.
The visual check from above. Look at the canopy of the tray from a top-down angle. If you see a dense, even surface with both leaf paddles open on most plants, it's time. If many cotyledons are still folded or semi-open, wait one more day.
The height check. Most microgreens are ready at 2 to 4 inches. Pea shoots and sunflower are exceptions, 4 to 6 inches is normal. If a small-seeded variety like radish or broccoli has topped 5 inches, you may have waited slightly too long.
The tray edge check. The edges often lag the center by half a day due to slightly lower density and moisture variation. If the center looks past peak but the edges are still catching up, harvest the whole tray now. The center will have begun declining before the edges catch up.
The taste test. Snip a single stem and eat it. Fully developed microgreens taste intense, clean, and true to the variety. Mild or bland flavor means one more day. Bitter or off-tasting means you've overgrown it slightly, harvest immediately and use right away.
How to Cut Microgreens: Step by Step
Three variables matter: what you cut with, where you cut, and how you handle the greens immediately after.
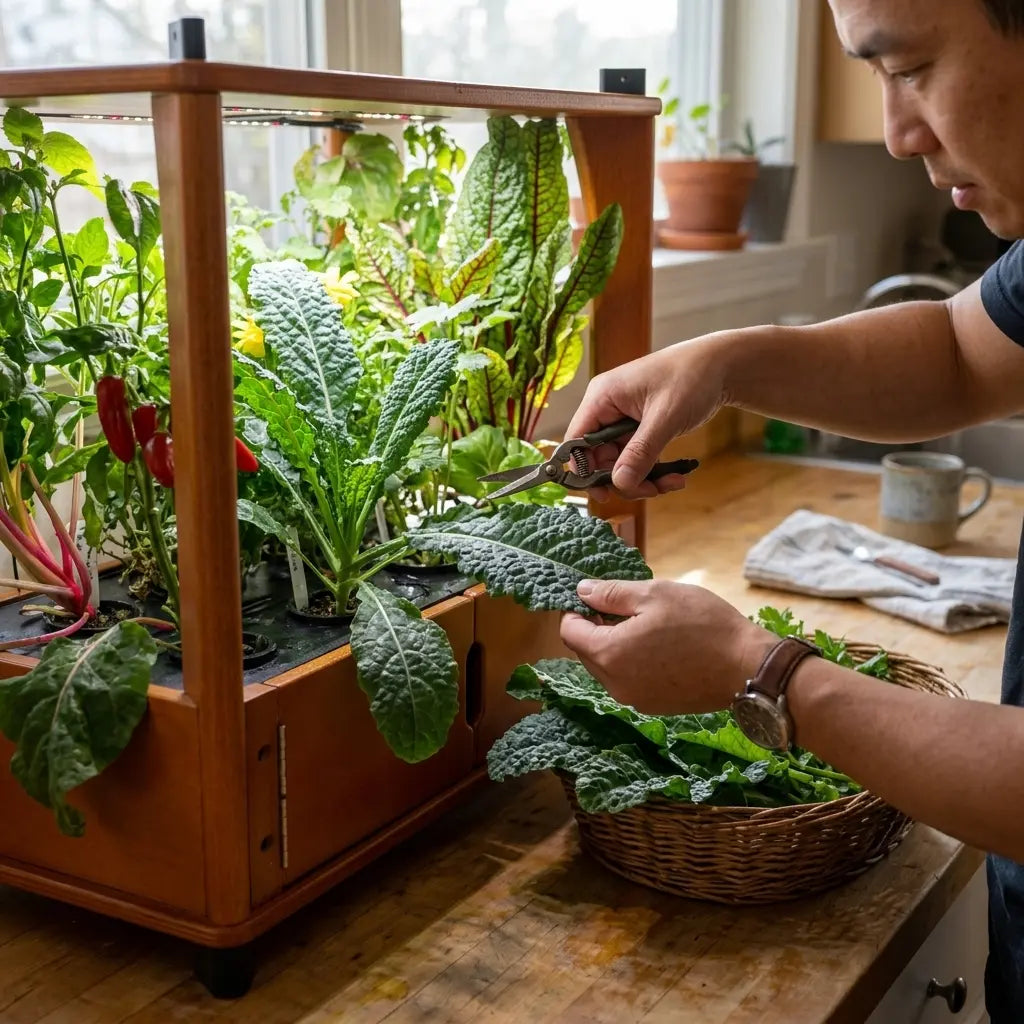
What to cut with. Clean, sharp scissors are the best tool. A straight blade makes a cleaner cut with less bruising than a serrated edge. The Pruning Shears (6.5") from Aquager are purpose-built for tray harvesting, stainless steel, curved blade, sized to work efficiently in a 10×20" tray without tearing the stems.
Whatever you use, make sure it's clean. Wipe scissors with rubbing alcohol or run them through the dishwasher before each harvest. Bacteria on the blade transfers directly to the cut end of the stem.
Where to cut. Aim for approximately ¼ inch above the grow mat surface. This captures the maximum harvestable greens while leaving minimal stem attached to the mat. Cutting too high wastes usable greens. Cutting into the mat itself risks contaminating the harvest with mat fibers.
How to cut. Work section by section across the tray. Hold the greens gently with your free hand to keep them from toppling forward as you cut. One slow, deliberate pass is better than rushing. The whole tray takes about 60 to 90 seconds.
Immediately after. Don't compress the cut greens. Move them gently into a wide, shallow container, not a deep jar where the weight of the pile will bruise the bottom greens. Handle them like fresh salad greens.
How to Store Microgreens After Harvest (Up to 7 Days)
Harvested microgreens are still living tissue, they continue to respire after cutting. Proper storage slows that process and keeps them fresh for as long as possible.
The core rules:
- Don't wash before storing. Rinse just before eating, not after harvest. Moisture in the container is the single biggest cause of early decay.
- Dry container. Use a glass or plastic container with an airtight lid. Place a dry paper towel in the bottom to absorb any residual moisture.
- Refrigerate immediately. Get the greens into the refrigerator within 30 minutes of cutting. Cold temperature is the most important storage variable.
- Temperature. Standard refrigerator temperature (36 to 40°F) is ideal. Don't freeze, it destroys the cell structure entirely.
Shelf life by variety:
- Radish, broccoli, kale, cilantro, dill, pea shoots: 5 to 7 days
- Sunflower, basil: 3 to 5 days, more fragile, use these first
- Kohlrabi, clover: 5 to 7 days
If your microgreens are wilting faster than expected, the cause is almost always residual moisture in the container. Empty it, lay the greens on a dry paper towel for a few minutes, and return them to a fresh dry container.
Do Microgreens Regrow After Cutting? (The Honest Answer)
No. Microgreens do not regrow after cutting, and planning for a second harvest will leave you disappointed.
This surprises growers familiar with herbs like basil or mint, which regrow after pruning. Microgreens are different. The germination process consumes the seed's stored energy. Once the cotyledons open, the seed is spent. There's no stored resource base to drive new growth from the cut stem.
Even if you cut above the base and leave small stubs, those stubs will not produce new growth. They'll simply sit there and eventually mold.
The practical implication: After harvest, your grow mat and the root material attached to it are done. Remove the mat from the tray, compost it (coco coir mats break down well), and the tray is ready to clean and use again for the next cycle.
The one real exception. Pea shoots occasionally produce a thin secondary flush from the base, inconsistent, much lower yield, noticeably reduced quality. It's not worth planning for. Leave half an inch of stem above the mat if you want to try, keep the mat moist for another 5 to 7 days, and manage expectations. A fresh tray is a better use of the same time.
Common Harvest Mistakes and How to Fix Them
Harvested too early. Flavor is bland, texture is floppy. For the next tray: wait for full cotyledon opening and do the taste test before cutting. If you've already cut an early harvest, refrigerating for 12 to 24 hours sometimes allows the flavor to develop slightly.
Harvested too late. Third leaf visible on many plants. Stems starting to hollow or pale at the base. Harvest immediately, still edible, just at reduced quality. Learn the cue for next time: the first hint of a true leaf emerging is your final warning, not a signal to wait longer.
Mold on the mat before harvest. White fuzzy growth at the base of the stems. This is typically surface mold on the grow mat from too much moisture and too little airflow. The microgreens themselves are almost always still fine, harvest immediately, cut slightly higher than normal, rinse well. Prevention: ensure airflow around the tray once the dome is removed on Days 4 to 5.
Uneven germination. Some sections ready, others still lagging. Usually traces to uneven seed distribution or moisture when seeding. Harvest the ready sections, check the lagging areas daily, they typically catch up within 1 to 2 days. See our guide on microgreens that are hard to mess up for variety recommendations that minimize this issue.
Greens wilt immediately after harvest. Cut in a warm spot, left out too long, or stored wet. Move them into the refrigerator within 30 minutes of cutting and make sure the container is dry before sealing.
Ready for Your Next Tray?
The tray is clean. The mat goes to compost. The next cycle starts now.
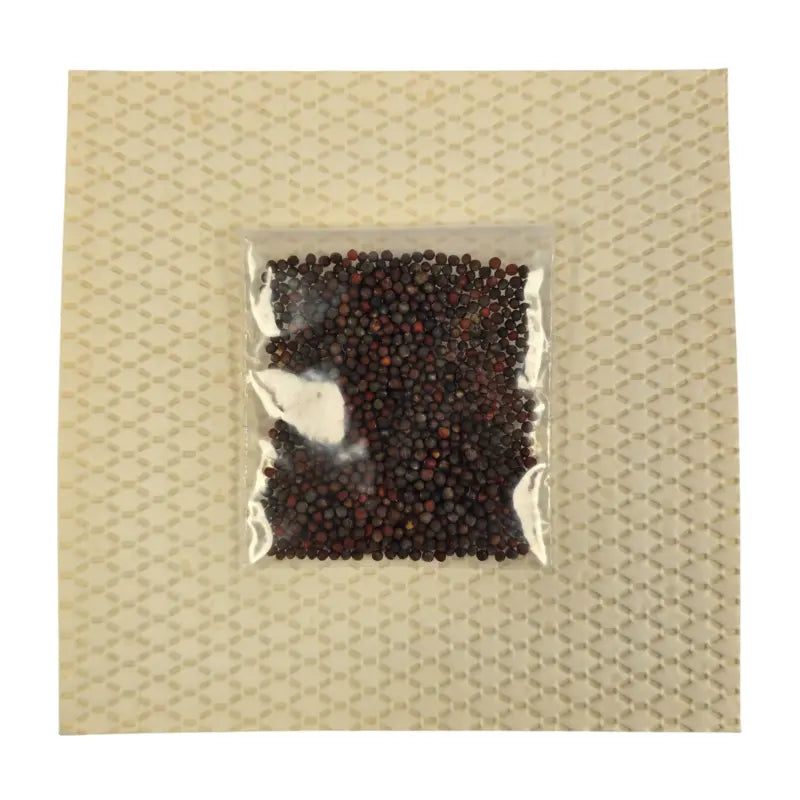
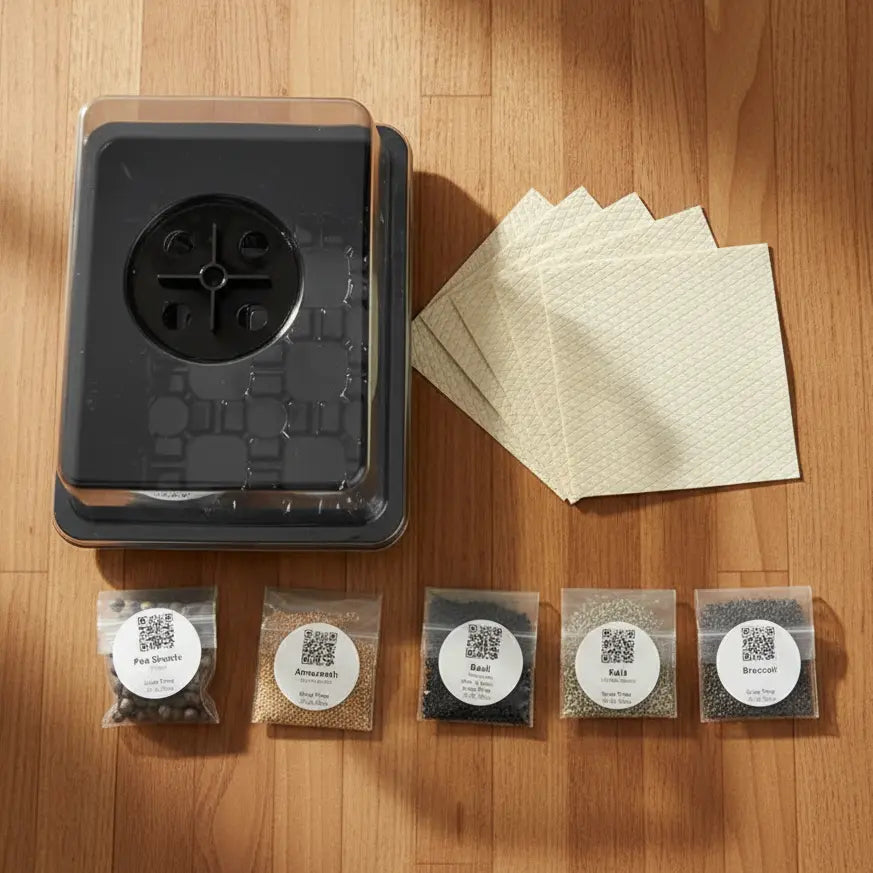
The Microgreens Grow Mat (5-Pack) is $7.99 for five mats, one per grow cycle, enough for five complete back-to-back harvests. If you're growing one tray per week, a single order keeps you running for over a month.
For seeds, the fastest back-to-back varieties are Radish Confetti Mix (ready in 5 to 7 days) and Pea Shoots (ready in 8 to 10 days). Both are extremely beginner-consistent and the most popular reorder varieties for a reason.
If you're looking to branch out to new varieties or starting from scratch, see our complete guide to growing microgreens at home for the full cycle from seed to harvest.
Frequently Asked Questions
Do microgreens grow back after you cut them?
No. Once you cut a microgreen tray, that's the complete harvest, there's no second flush to expect. The seed's stored energy is used up during germination, so the cut stems have nothing left to regrow from. The one minor exception is pea shoots, which occasionally produce a thin, lower-quality secondary flush, but it's not worth planning for.
What is the cotyledon stage exactly?
Cotyledons are the first two leaves to emerge from a germinating seed, they look like small rounded paddles and are structurally different from the true leaves that develop later. The cotyledon stage (both paddles fully open) is the optimal harvest point for microgreens: peak flavor, peak nutrient density, before the quality decline that comes with continued growth.
What happens if I harvest too late?
The flavor changes, often becoming more bitter or less intense, and nutritional concentration begins declining as the plant shifts energy toward vegetative growth. The greens are still edible, just at lower quality. Harvest immediately when you notice the true leaf beginning to develop.
Should I rinse microgreens before storing?
No, rinse just before eating. Moisture in the storage container is the primary cause of early decay. Harvest dry, store dry, rinse at the last moment before serving.
Why are my stored microgreens wilting after one day?
Almost always residual moisture in the container, or a container that isn't fully airtight. Place a dry paper towel in the bottom, make sure the lid seals completely, and refrigerate within 30 minutes of cutting.
Can I harvest just part of a tray and let the rest keep growing?
Yes, though results vary. Harvest the sections that are ready, leave the rest in the tray, and check daily. Lagging sections typically catch up within 1 to 2 days. Works best for varieties with staggered germination like cilantro or dill.

Every Harvest Is a Fresh Start
Microgreens don't regrow, that's what makes them simple. Each tray is a complete, self-contained cycle: seed, grow, harvest, done. The mat goes to compost, the tray gets a rinse, and you start again.
No pruning strategy. No waiting for a second flush. No maintenance between harvests. Just a clean cycle from seed to plate in 7 to 14 days, every time.
The Microgreens Grow Mat (5-Pack) is everything you need to keep the cycle running. Start a fresh tray today with Radish Confetti Mix or Pea Shoots and your next harvest will be ready before the end of next week.
Author: Aquager Team · Published: May 30, 2026 · Updated: August 26, 2026 · Reviewed: August 26, 2026 (Phase 3)












0 comments