There's one science project that grows in 10 days, requires zero chemicals, produces visible results every single morning, and ends with something you can eat for lunch.
That's microgreens.
Whether you're a parent searching for a back-to-school activity, a teacher building a classroom unit on plant biology, or a homeschooling family looking for hands-on science, growing microgreens hits every mark. Fast germination, observable growth stages, real scientific concepts, and a tangible result to be proud of.
This guide gives you a complete day-by-day observation framework, the three best varieties for a first grow project, and everything you need to set up one clean grow cycle from seed to harvest.
Why Microgreens Make the Perfect Easy Science Project
Most school science projects involve watching something slowly happen, or observing a chemical reaction for 30 seconds. Microgreens are different.
The full grow cycle — seed to harvestable greens — takes 10–14 days for most varieties. Fast enough to complete within a typical school unit, but long enough that daily observations stay meaningful throughout.
Every stage is distinctly visible and measurable:
- Day 1: Dry seeds placed on a growing medium
- Days 2–3: Seeds crack open, white roots appear
- Day 4: The stem connecting root to leaf emerges
- Days 5–7: Stem elongation, pale yellow before light exposure
- Days 7–10: Leaves open, green color develops as chlorophyll activates
- Days 10–14: Cotyledons fully open — harvest ready
Each stage teaches a different biology concept: seed anatomy, germination triggers, photosynthesis onset, plant structure, and what "harvest stage" means in agriculture. The question "what happens when seeds get water and warmth?" gets answered in one neat, observable loop.
These are also among the fastest-growing microgreens you can grow at home — which is exactly what makes them ideal for a project with a deadline.
The Day-by-Day Observation Guide
Use this framework as the backbone of the science project. Each observation takes about 5 minutes.
Materials: ruler, pencil, notebook or printed log sheet, phone camera for daily photos.
Day 1 — Seeding. Place seeds evenly on the damp grow mat. Observe and record: seed color, size, shape. Sketch a few seeds if possible. Cover with the humidity dome and move to a dark spot.
Days 2–3 — Germination. Check morning and evening. Record: how many seeds have cracked open, color of the emerging root (white), root length in millimeters. Bonus question: do seeds near the edges germinate first?
Day 4 — Stem Emergence. The first tiny stem appears. Measure average height in millimeters. Record the color — pale yellow or white. Introduce the concept of etiolation: plants grow toward light even when there's none yet.
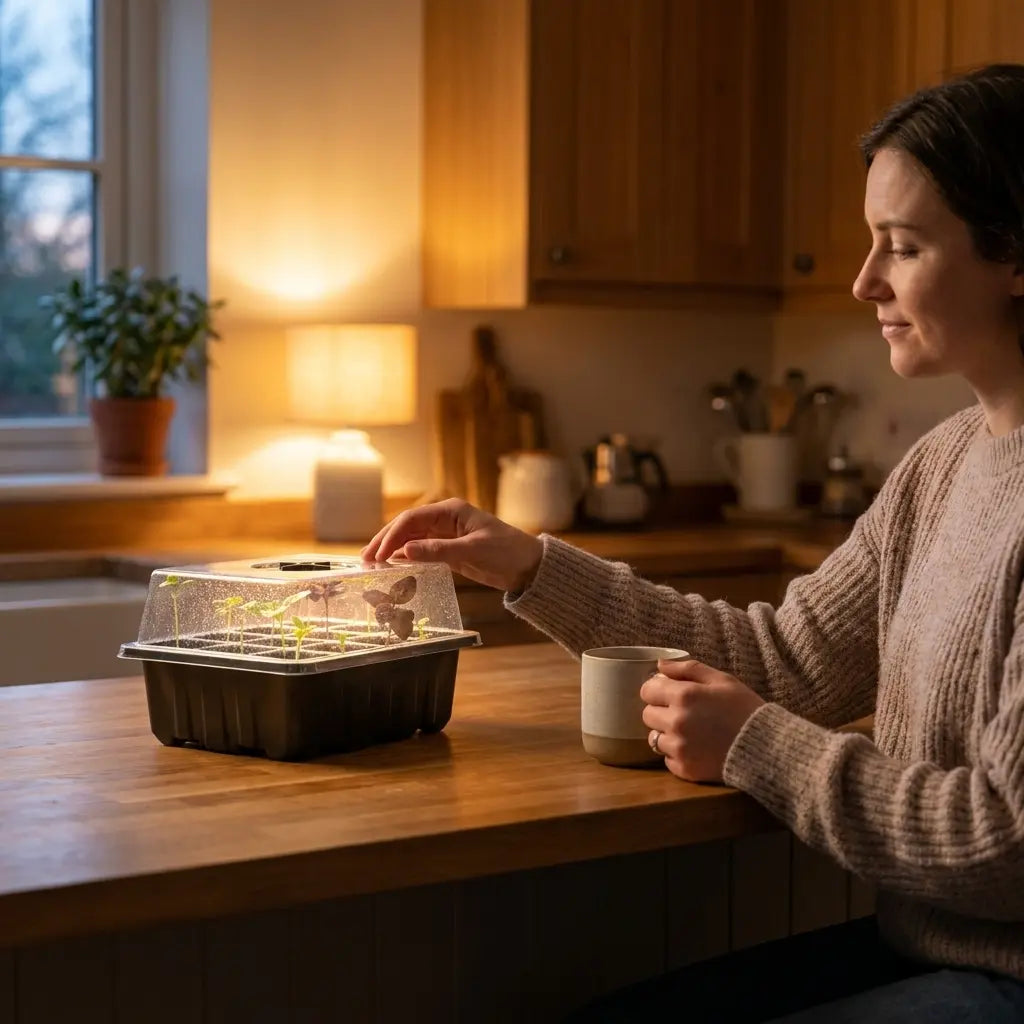
Day 5 — Light Introduction. Remove the dome and move the tray to a bright windowsill. Record height before moving. Over the next 24 hours, the shoots will visibly straighten and begin turning green.
Days 6–7 — Greening. Measure height again. Note the color change from yellow-white to green. This is chlorophyll production in real time — one of the clearest demonstrations of photosynthesis you can observe at home. Compare the light-facing side of the tray to any shaded corner.
Days 8–10 — Leaf Development. The cotyledons (first leaves) open. Measure the width of a single leaf. Sketch the shape. Note differences between the outer rows and the center of the tray — density affects growth patterns and makes for a strong experimental observation.
Days 11–14 — Harvest Decision. Cotyledons fully open. Measure final height. Record the total growth from Day 1 to harvest — this creates a simple linear growth chart. Harvest with clean scissors just above the grow mat. Taste the result.
The 3 Best Microgreen Varieties for a Science Project at Home
Not every microgreen is equally suited for a first-time project. Choose based on speed, visual impact, and how forgiving they are.
Pea Shoots — Best for Beginners
Pea shoots have the largest seeds in the microgreen world — easy for small hands to place one by one — and they germinate with near-100% reliability. Growth is dramatic: they grow tall (4–6 inches at harvest), lean visibly toward light (a perfect demonstration of phototropism), and taste sweet enough that even reluctant eaters will try them at the end.
Harvest time: 8–10 days. Difficulty: very easy. Pea Shoots Field Microgreens Seeds — $3.99, organic grow mat included.
Radish Confetti Mix — Best for Speed
Radish is the fastest microgreen you can grow — ready in 5–7 days. If the project timeline is tight, or you want to run two back-to-back cycles to compare variables (different light levels, different watering schedules), radish is the pick. The Confetti Mix produces red, purple, and white stems — visually striking on a poster board and ideal for color observation notes.
Harvest time: 5–7 days. Difficulty: very easy. Radish Confetti Mix Microgreens Seeds — $3.99, organic grow mat included.
Sunflower — Best for Visual Impact
Sunflower microgreens grow to 3–5 inches with thick stems and broad leaves, creating the most impressive tray at harvest. They take slightly longer (10–12 days) and benefit from a pre-soak of the seeds for 8–12 hours before planting — which becomes its own observation step. Record how much water the seeds absorb during the soak.
Harvest time: 10–12 days. Difficulty: easy-moderate. Sunflower Black Oil Microgreens Seeds — $3.99, organic grow mat included.
For a full comparison of beginner-friendly varieties, see 7 Microgreens You Can't Mess Up.
Everything You Need for One Complete Project
A science project should be about the growing — not troubleshooting the setup.
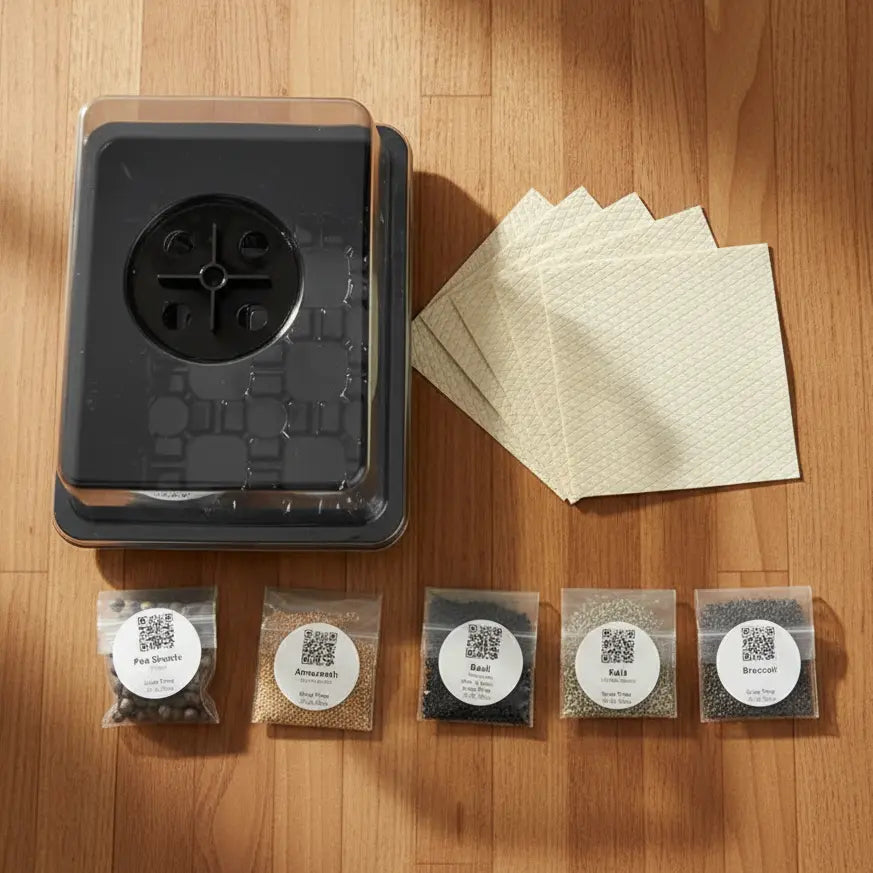
The Microgreens Starter Kit from Aquager is built for exactly this. It includes a 10×20" growing tray, a humidity dome for the germination phase, and an organic coco coir grow mat — everything for one complete seed-to-harvest cycle in a single package. No soil, no mess, nothing to assemble.
At $24.99, it's the cleanest way to set up a science project that runs on a kitchen counter or classroom desk. Add whichever seed variety fits your timeline, and you're ready to plant on Day 1.
Frequently Asked Questions
What age is this project best for?
With adult help for the daily watering, microgreens growing works from age 5 upward. From about age 8, most kids can manage the project independently. The measurement and observation log components add enough structure for middle school science. High school students can design controlled experiments — variable light levels, watering frequency, or side-by-side variety comparisons.
How long does the full project take?
Plan for two weeks. Pea shoots: 8–10 days. Radish: 5–7 days. Sunflower: 10–12 days. The observation log runs from Day 1 to harvest, then add a final write-up of what you observed and measured.
Can this be done in a classroom?
Yes. The tray fits on a classroom windowsill or desk. It needs watering once per day, assignable to a student science monitor. The organic grow mat means no soil and no mess. Schools have run microgreens projects for biology, nutrition, and environmental science units at all grade levels.
What if some seeds don't germinate?
Low germination is usually caused by seeds planted too densely, not enough moisture in the mat, or a spot that's too cold during Days 1–3. These are all teachable variables. A partial germination failure can become part of the project documentation — record what went wrong, adjust, and re-plant.
Does it need a grow light?
For a 10–14 day project, a bright south-facing windowsill is sufficient. A grow light helps in lower-light rooms and makes the light variable controllable — useful if you want to compare one tray at a window versus one tray under 12 hours of LED light per day.
The Science Project That Ends With Lunch
Baking soda volcanoes are impressive for 30 seconds. Microgreens grow for 10–14 days, teach real biology at every stage — germination, etiolation, photosynthesis, plant structure — and finish with a tray of greens that are genuinely more nutritious than most things in the refrigerator.
Start this weekend. You'll have a complete observation log and a full harvest by the end of next week.
Choose Pea Shoots for the easiest first grow, Radish Confetti Mix for the fastest cycle, or Sunflower for the most impressive final tray. The Microgreens Starter Kit has everything needed for one complete project — tray, dome, and grow mat included.
Author: Aquager | Published: May 30, 2026 | Updated: May 30, 2026


0 comments