
Cut a tray of microgreens, toss them straight into a sealed container, and check back in two days. More often than not, you will find a slimy layer at the bottom and a smell that means the whole batch is done.
That is not bad luck. It is almost always one of two mistakes: storing them wet, which rots the stems, or storing them with no protection at all, which dries them out and wilts the leaves before you get a chance to eat them.
Getting microgreens to last a full week or more in the fridge comes down to three things: how dry they are when you store them, what they are stored in, and the exact temperature they sit at. This guide walks through all three, plus how long you can realistically expect different varieties to hold up.
Why Most Microgreens Go Bad Within Two Days
Microgreens have almost no protective skin the way a mature vegetable does. Their stems are thin, their surface area is large relative to their size, and that combination makes them lose or absorb moisture fast in either direction.
Too much residual water after washing creates a damp environment the stems sit in for days, which is exactly what bacteria and mold need to take hold. This is the single biggest reason microgreens turn slimy before their time.
Too little moisture protection does the opposite. Left uncovered, or in a container that lets air move too freely, delicate leaves lose water and wilt, going from crisp to limp within a day even though nothing has actually spoiled.
Correct storage threads the needle between these two failure modes. The goal is bone dry greens, wrapped just enough to hold onto humidity without trapping standing water against the stems.
There is also a biology reason microgreens turn faster than mature vegetables. A young seedling is still respiring at a much higher rate than a full-grown plant, converting stored sugars and releasing moisture as it goes. That faster metabolism is part of why microgreens taste so fresh and vibrant, but it also means they have less time before that same process starts breaking the plant down instead of building it up.
The 3-Step Method to Store Microgreens for 7+ Days
Each step below solves one part of the moisture problem above. Skip any one of them and the other two will not make up the difference.
Step 1: Harvest Dry, Never Wash Before Storing
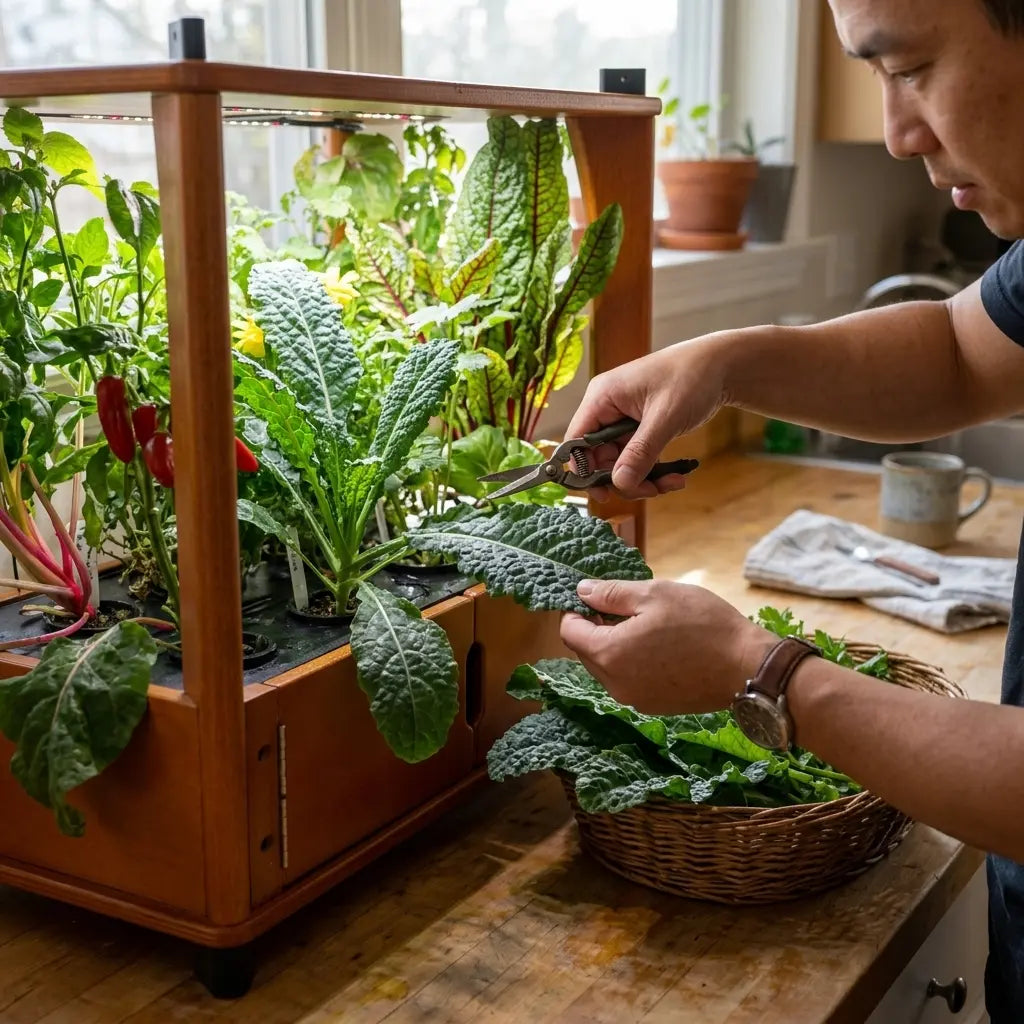
Cut microgreens with clean scissors right at the soil or mat line, and resist the urge to rinse them before they go in the fridge. Washing adds exactly the surface moisture that causes rot, and it is much easier to rinse a small handful right before you eat it than to dry an entire batch after washing.
If your growing medium splashed a little debris onto the leaves during watering, a light shake or a soft brush removes most of it without adding water. Our guide to harvesting microgreens the right way covers the cutting technique itself in more detail, including how to avoid bruising stems during the cut, which also affects how well they store afterward.
Timing the harvest matters too. Cutting in the morning, before the day's first watering and before any heat has built up, means the greens start their time in storage at their lowest natural moisture content. Cutting right after watering, or late in the day when leaves have been transpiring for hours, adds moisture you will spend the rest of storage fighting against.
Use sharp, clean scissors rather than pinching or tearing stems by hand. A clean cut heals over faster and loses less sap than a torn or crushed stem, and that sap loss is another source of the surface moisture that speeds up spoilage.
Step 2: Store Unsealed With a Paper Towel
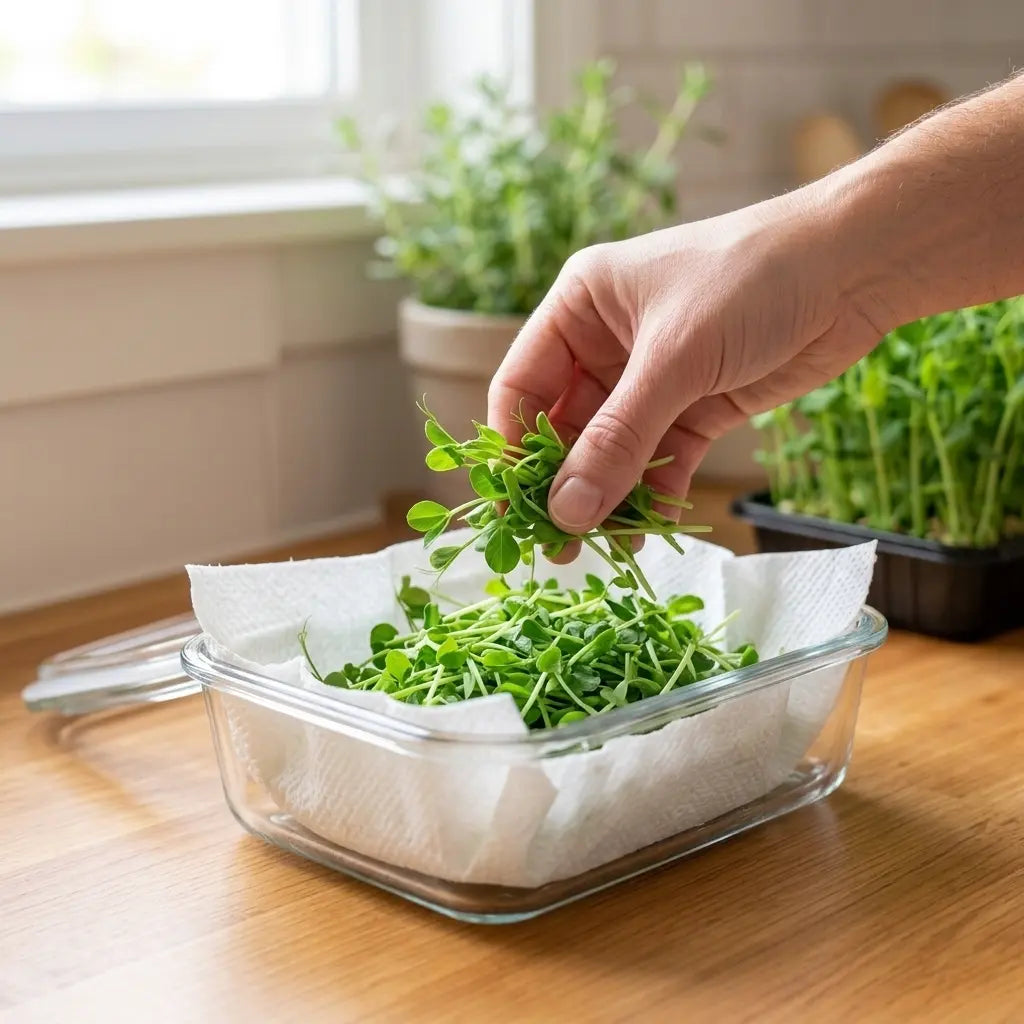
Line a container with a paper towel, add the dry harvested greens in a loose, single layer, and lay a second paper towel loosely on top. Leave the lid slightly cracked, or use a container that is not fully airtight.
The paper towel does two jobs at once. It absorbs any residual humidity that would otherwise condense on the inside of the container, and it creates a small buffer of air around the greens instead of letting them sit pressed against a plastic surface.
A fully sealed bag or airtight container feels like it should keep things fresher, but it traps the small amount of moisture that is always present in fresh produce. That trapped moisture condenses back onto the leaves overnight, and you are back to the same rot problem washing causes, just slower. If this is your first harvest, our guide on growing your first microgreens tray covers what to expect before you even get to this step.
Check the paper towel every couple of days and swap it if it feels noticeably damp. A saturated paper towel stops absorbing new moisture and starts acting like a wet surface pressed against the greens, which undoes the entire point of using one in the first place.
Some growers use a perforated produce bag instead of a rigid container, punching a few extra holes if the bag does not already have them. The mechanism is the same either way: enough airflow to prevent condensation, not so much that the greens dry out.
Step 3: Keep It at the Right Refrigerator Temperature
Store the container between 34 and 38 degrees Fahrenheit, which is the same range most refrigerator produce drawers hold. Colder than that risks chilling injury on delicate leaves, where cell walls rupture from near-freezing temperatures and the greens turn mushy the moment they warm back up.
Avoid the back of the fridge near the cooling vent, where cold air blows directly onto whatever sits there. That spot runs colder and drier than the rest of the fridge and is a common reason greens that should have lasted a week wilt or freeze-damage within two or three days instead.
Keep microgreens away from apples, bananas, and other fruit that give off ethylene gas as they ripen. Ethylene speeds up the natural aging process in leafy produce, so storing microgreens in the same drawer as ripening fruit can shave days off their shelf life even when temperature and moisture are otherwise perfect.

How Long Different Varieties Actually Stay Fresh
Not every variety holds up for the same length of time, even with identical storage. Stem thickness and leaf structure are the biggest factors.
Heartier varieties with thicker stems, like Sunflower and pea shoots, typically hold for 7 to 10 days using the method above. Their sturdier structure resists wilting and holds onto moisture more evenly than finer greens.
Delicate varieties with thin stems and soft leaves, like Basil and cilantro, tend to run closer to 4 to 6 days before quality drops noticeably, even when stored correctly. That is not a storage failure. It is just how those plants are built.
If you know you will be eating a batch slowly over a week or more, leaning toward a heartier variety for that particular grow, and reserving faster-to-wilt basil for grows you plan to eat within a few days, keeps less going to waste overall. Our breakdown of the fastest-growing microgreens pairs well with this, since harvest speed and shelf life are worth planning around together.
| Variety | Typical Shelf Life (Stored Correctly) |
|---|---|
| Sunflower, Pea Shoots, Wheatgrass | 7 to 10 days |
| Radish, Broccoli, Kale, Kohlrabi, Mustard | 6 to 8 days |
| Arugula, Borage, Amaranth, Clover | 5 to 7 days |
| Basil (all varieties), Cilantro, Dill | 4 to 6 days |
Thicker-stemmed varieties toward the top of this table hold their structure the longest, while the fine, feathery leaves toward the bottom lose moisture fastest simply because they have more surface area exposed relative to their weight. Treat these as a starting point rather than a guarantee, since your specific fridge, container, and how dry the harvest was will shift the actual number in either direction.
The Easiest Way to Always Have Fresh Microgreens
Storage technique buys you days, but the real fix for running out of fresh microgreens is growing in smaller, more frequent batches instead of racing to finish one big tray before it turns.
Cutting only what you will eat in the next few days and leaving the rest of the tray growing works for most varieties, since microgreens do not need to be harvested all at once. The remaining plants keep developing at their own pace until you are ready for the next cutting.
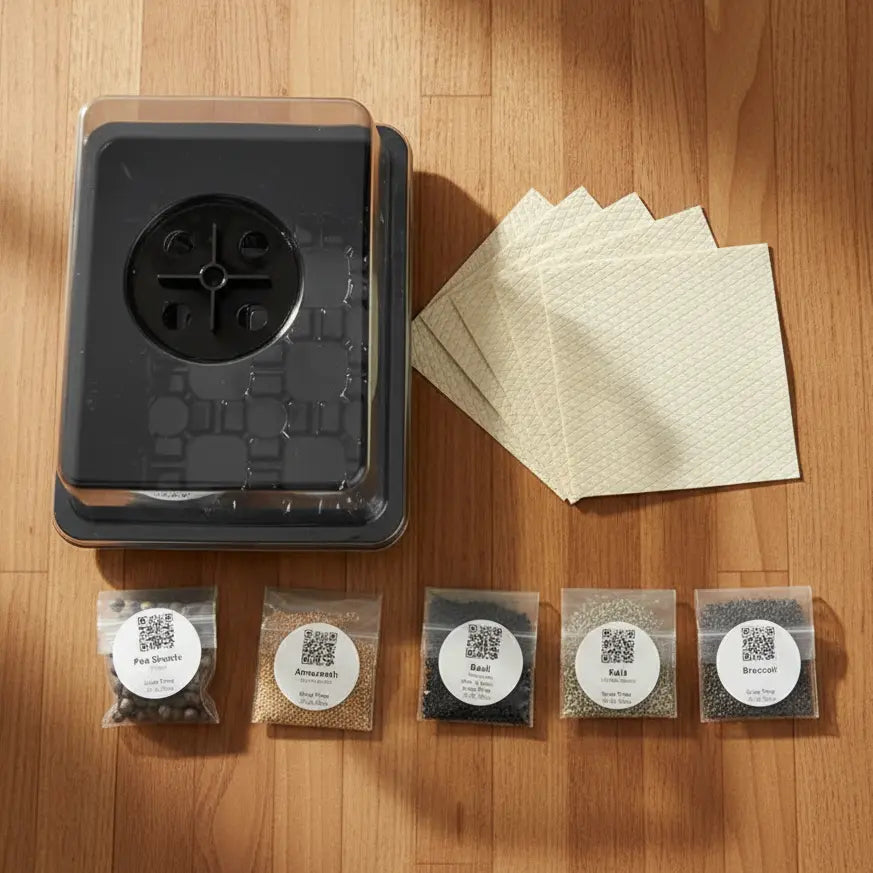
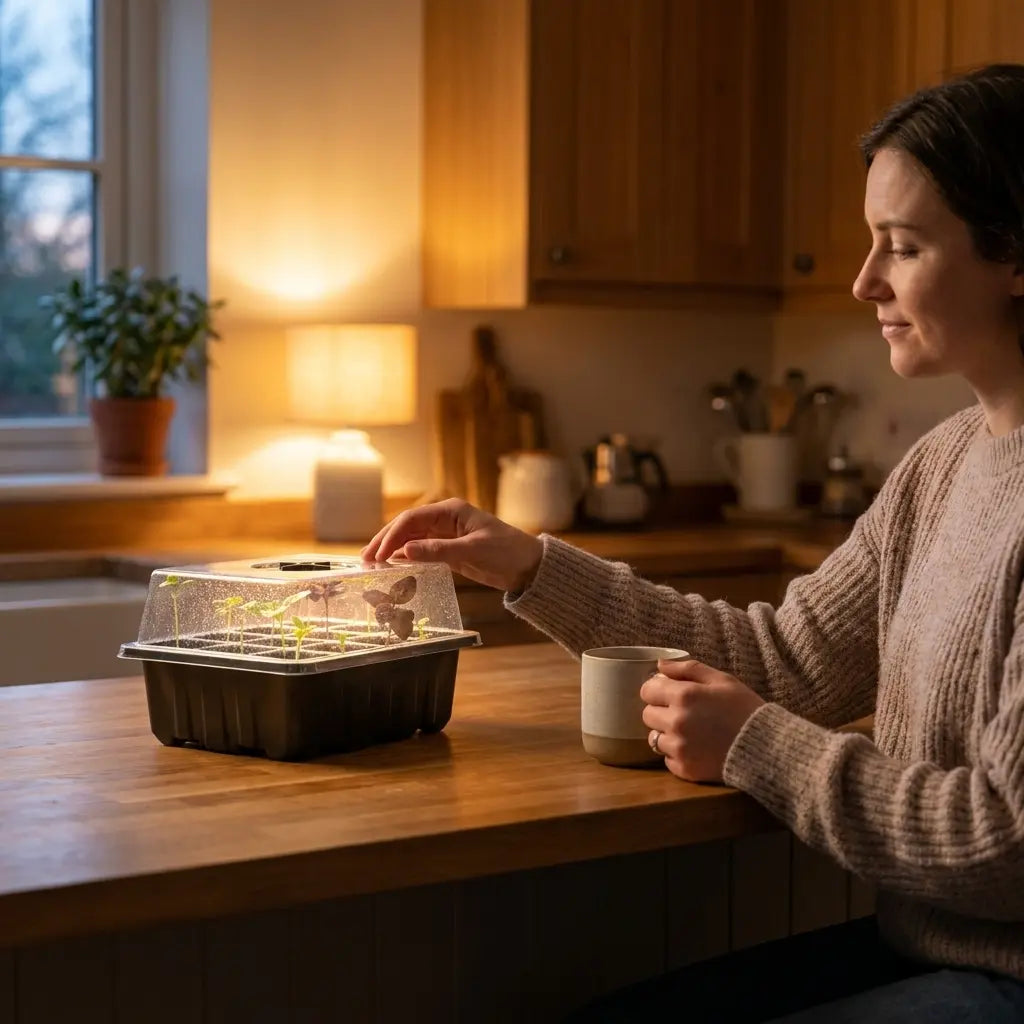
The Aquager Microgreens Starter Kit makes this easy to keep up with, since it comes with everything needed to start a new tray the moment the last one is running low. That way you are rarely stuck trying to stretch a single harvest past its natural shelf life.
A simple rhythm works well for most households: start a new tray every 4 to 5 days rather than one large tray every two weeks. Because different varieties finish on their own timelines, staggering trays this way means there is almost always something ready to cut fresh, and whatever is in the fridge is only ever a few days old rather than pushing the edge of its shelf life.
FAQ: Quick Answers on Storing Microgreens
Can I wash microgreens before storing them?
It is better not to. Rinse only the amount you plan to eat right before a meal, and keep the rest dry in storage. Washing the whole batch upfront adds moisture that speeds up rot, even if the greens look clean afterward and seem fine at first glance.
What container works best for storing microgreens?
A shallow container with a loose-fitting lid, lined with a paper towel, works better than a fully sealed bag or airtight box. The container just needs to let a small amount of air exchange happen while the paper towel manages excess humidity, so glass, plastic, or a produce bag all work as long as the fit is not airtight.
How do I know if microgreens have gone bad?
Sliminess, a sour smell, or dark, mushy spots on the stems are the clearest signs. A little wilting is normal by the end of their shelf life, but sliminess means bacteria have taken over and the batch should be discarded rather than rinsed and eaten anyway.
Can I freeze microgreens to extend shelf life?
It is not recommended. The high water content in microgreens means freezing ruptures the cell walls, so they turn mushy and lose their texture the moment they thaw, even though the flavor and nutrition mostly survive. Growing smaller batches more often works better than trying to freeze a surplus.
Do all microgreens need refrigeration?
Yes. At room temperature, most varieties wilt within a day or two even when stored dry and covered. Refrigeration slows the natural respiration process that causes fresh produce to break down, buying several extra days over leaving a tray out on the counter.
Conclusion: Storage Is a Moisture Problem, Not a Time Problem
Most microgreens do not spoil from age. They spoil from moisture mismanagement, either too much water at the start or not enough protection after.
Harvest dry, store loose with a paper towel instead of sealed tight, and keep the container in the right part of the fridge. A batch that used to last two days can easily stretch past a week using this method.
None of these three steps require special equipment or added cost. It is entirely a matter of technique, which means the fix is available the very next time you harvest, not something you need to buy your way into.
If storage still feels like a race against the clock, growing in smaller batches with something like the Aquager Microgreens Starter Kit solves the problem at the source, since a tray you have not cut yet does not need to be stored at all.

Author: Aquager · Published: July 18, 2026 · Updated: July 18, 2026












0 comments