
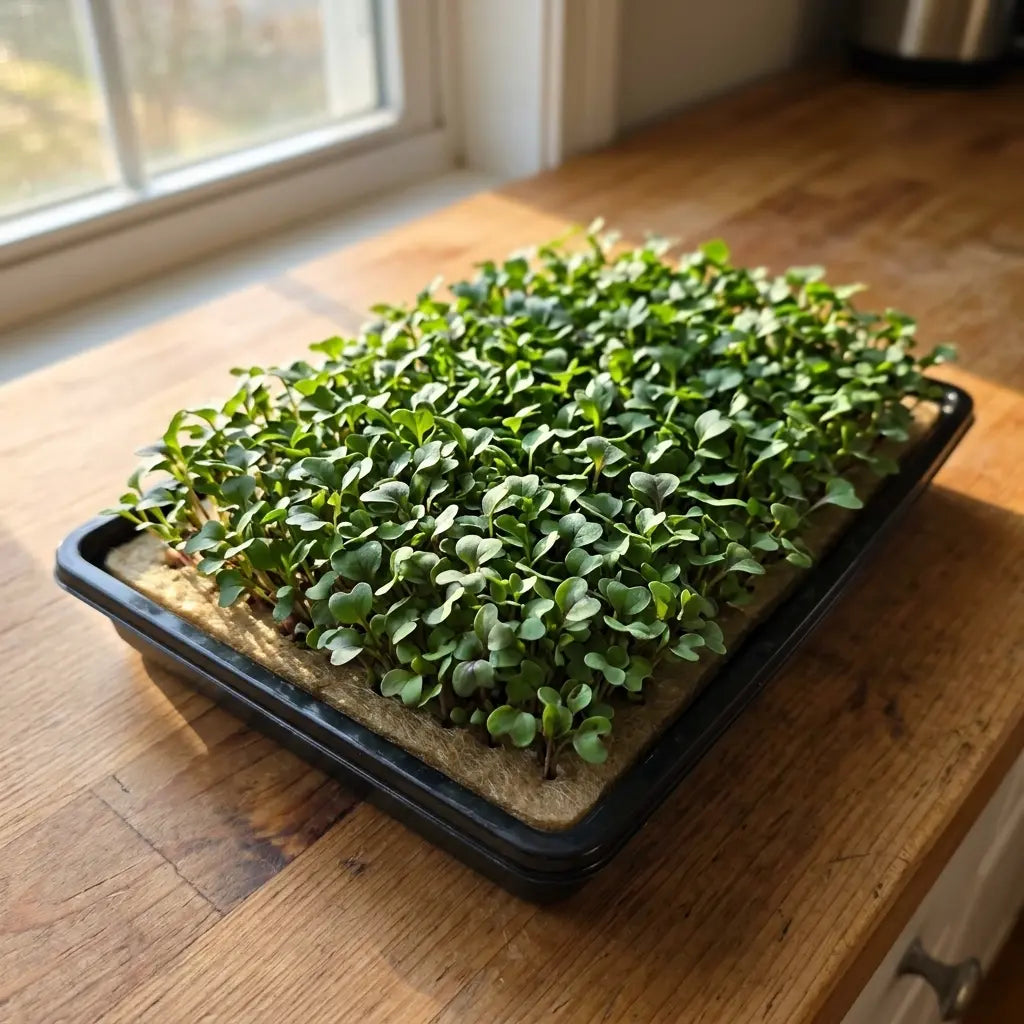
If you want to grow arugula microgreens, you're picking one of the fastest and most forgiving crops in the whole microgreens lineup. Most trays are ready to harvest in about 7 days, and the sharp, peppery flavor makes arugula one of the more addictive varieties to grow at home.
Arugula seeds are tiny, though, and that creates one real risk: overwatering. Because the roots sit so close to the surface, a heavy hand with the spray bottle can turn a healthy tray into a moldy one almost overnight.
This guide covers exactly how to grow arugula microgreens from seed to harvest, including the light and moisture levels that keep a tray healthy and the overwatering mistakes that ruin more trays than anything else.
Why Arugula Microgreens Are Worth Growing
Arugula microgreens taste like a concentrated version of the mature leaf: peppery, a little mustardy, and much more intense than anything you'd buy pre-washed in a clamshell. A pinch on eggs, pizza, or a sandwich does more work than a handful of the full-grown green.
They're also one of the quickest microgreens you can grow, usually ready a full week before a mature arugula plant would even flower. If you want the nutrition case for why that matters, we've broken down the vitamin C, vitamin K, and antioxidant content in Arugula Microgreens Benefits: The Peppery Superfood That Grows in a Week.
For a first tray, arugula sits in a nice middle ground. It germinates faster than basil but is a little less forgiving of heavy watering than pea shoots or sunflower, which makes it a good crop to learn proper moisture control on before moving to trickier varieties.
What You'll Need to Grow Arugula Microgreens
The setup is simple and doesn't require soil. Arugula microgreens grow best on a thin, absorbent grow mat that holds moisture evenly without waterlogging the roots, the same approach we cover in Hydroponic Microgreens: How to Grow Without Soil.
Here's what to have on hand before you start:
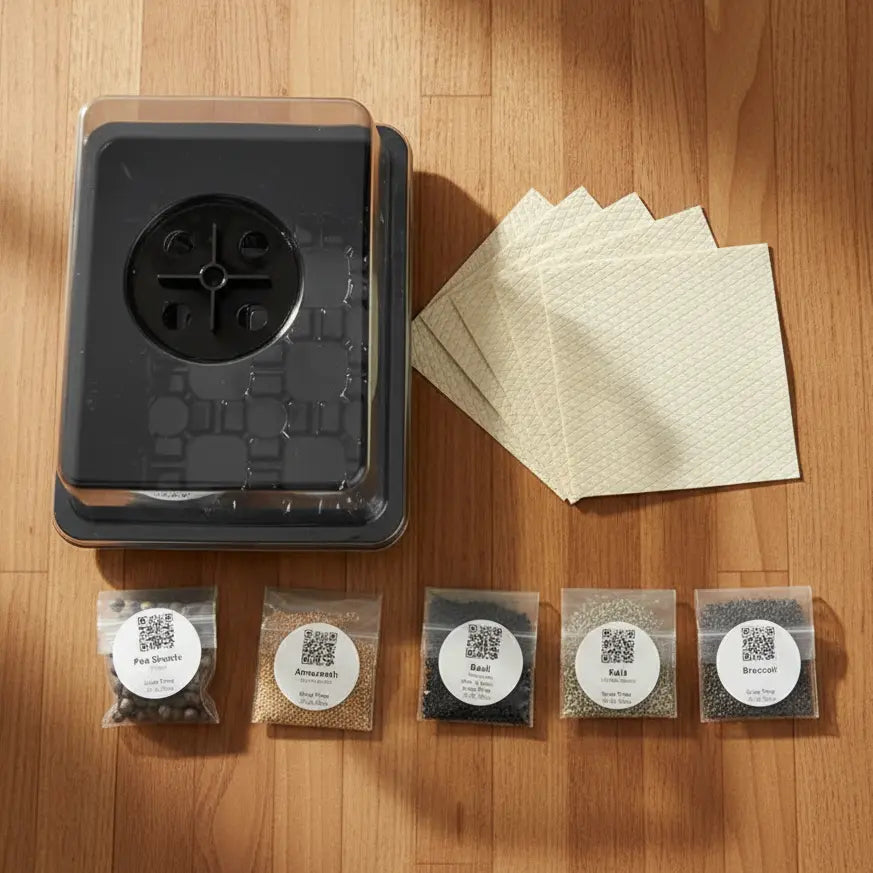
- A shallow 10x20 microgreens tray, ideally one with drainage holes
- A light brown organic grow mat cut to fit the tray, never soil or potting mix
- Arugula Microgreens Seeds, which come with an organic grow mat included
- A spray bottle for misting, since a watering can is too heavy-handed for tiny seeds
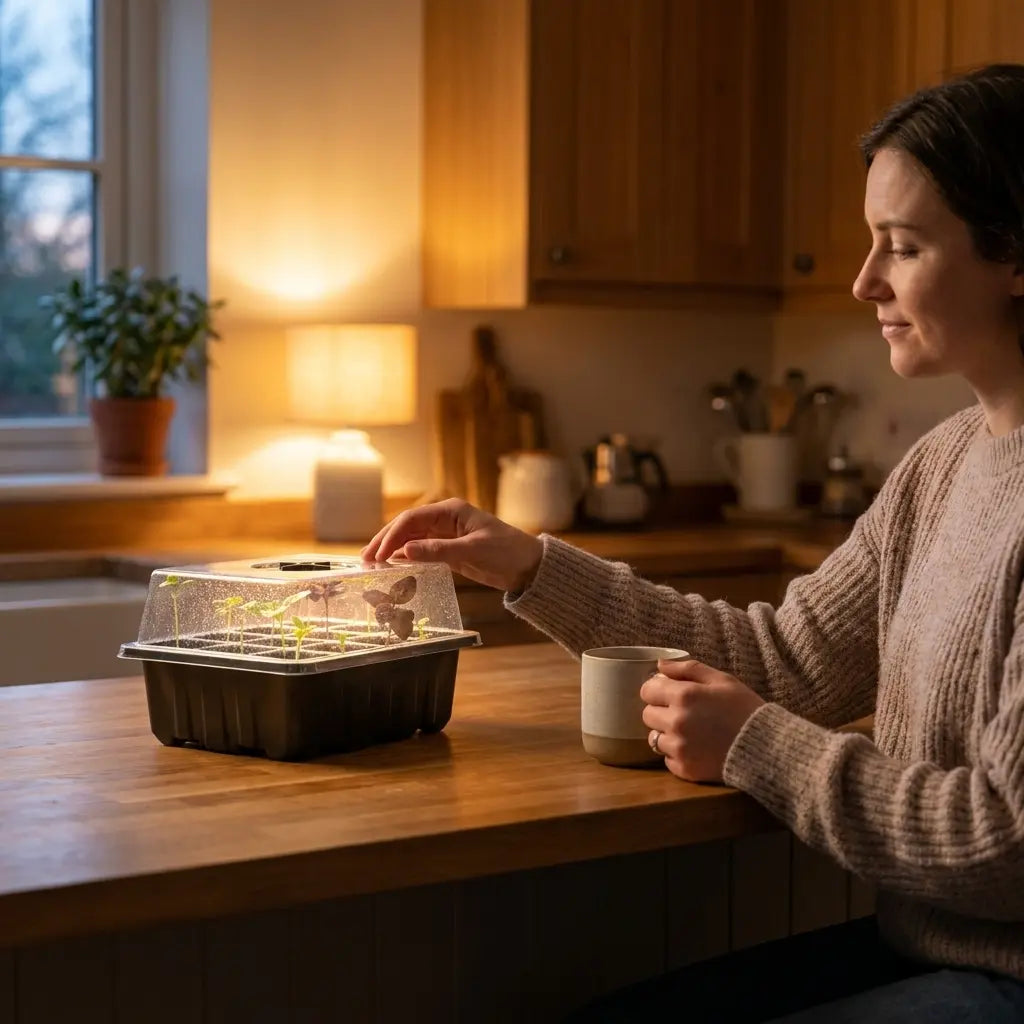
- A humidity dome or a second tray to use as a blackout cover for the first few days
Arugula seeds are small enough that eyeballing the amount matters more than measuring. A light, even sprinkle across the mat is enough. Piling seeds on thick just increases competition for light and airflow, which raises the odds of mold later.
How to Grow Arugula Microgreens: The 7-Day Process
Arugula doesn't need a pre-soak the way pea shoots or sunflower seeds do. Its seeds are small enough to germinate quickly on their own, which is part of why this crop is such a good starting point for beginners.
Day 1: Seed the Tray
Wet the grow mat thoroughly before you add seeds, then sprinkle the arugula seeds evenly across the surface. Press them down gently with your palm or a flat piece of cardboard so they make good contact with the mat, but don't bury them.
Days 2 to 3: Germination and Blackout
Cover the tray with a dome or a second tray flipped upside down to block light. This blackout period encourages the seeds to germinate and push up quickly, similar to how you'd handle a tray of radish or broccoli microgreens. Check once a day and mist lightly if the mat starts to look dry at the edges.
Days 3 to 5: Light and Moisture Levels
Once you see tiny yellow-white sprouts pushing up, uncover the tray and move it into bright, indirect light. A spot near an east or west-facing window works well, or a grow light set 6 to 8 inches above the tray if natural light is limited.
This is where moisture levels matter most. Arugula wants the mat consistently damp, not soaked. Mist once or twice a day, and let the surface dry slightly between waterings so the roots have access to air as well as water.
Days 5 to 7: Final Growth and Harvest
By day 5 or 6, you'll see the first true leaves forming and the peppery smell will already be noticeable. Most trays are ready to harvest by day 7, once the greens are 2 to 3 inches tall with fully open cotyledons.

The Overwatering Mistake That Ruins Most Arugula Trays
Overwatering is the single most common reason a first arugula tray fails. Because the seeds and roots sit so close to the surface of the mat, extra water doesn't drain away the way it would in a deeper pot of soil. It just sits there, and standing moisture is exactly what mold needs to take hold.
The fix is simple once you know to look for it. Mist instead of pour, let the surface dry slightly between waterings, and make sure your tray has drainage holes so any excess water has somewhere to go. If you ever see white webbing between the stems that doesn't grow root hairs from a single point, that's mold, not roots, and it usually means the tray has been kept too wet.
Good airflow helps just as much as correct watering. Cracking the dome for an hour a day once sprouts appear, or running a small fan nearby, keeps humidity from building up around the base of the plants.
Why Grow Arugula Microgreens With Aquager
Arugula Microgreens Seeds from Aquager come with an organic grow mat included, so you're not guessing at the right substrate or dealing with soil mess on the counter.
The mat is sized to fit a standard tray and holds water evenly across the surface, which takes a lot of the guesswork out of the moisture control that trips up most first-time growers. That consistency is what turns a 7-day guide into a repeatable weekly habit instead of a one-off experiment.
If you'd rather start with everything in one box, including the tray and dome, the Microgreens Starter Kit bundles two trays with seeds and mats so you can get a batch going the same day it arrives.
Arugula Microgreens FAQ
How long does it take to grow arugula microgreens?
Most trays are ready to harvest in 7 days from seeding, though warmer rooms can speed that up slightly and cooler rooms can stretch it to 8 or 9 days.
Why are my arugula microgreens pale or leggy?
Pale, stretched stems almost always mean not enough light. Move the tray closer to a bright window or add a grow light once the blackout period ends, since arugula needs strong indirect light to grow short and sturdy instead of reaching for a light source.
Can I grow arugula microgreens without a dome?
Yes, though germination may be slightly slower and less even. A second tray flipped upside down works just as well as a dedicated humidity dome for the blackout period.
Why did my arugula microgreens get moldy?
Mold is almost always a moisture problem. Review the watering steps above, make sure your tray drains properly, and check out How to Harvest Microgreens the Right Way for tips on timing your harvest before a tray sits too long and invites mold.
Do arugula microgreens regrow after cutting?
No. Unlike pea shoots, arugula microgreens are cut-once crops. Once you harvest a tray, reseed a fresh mat rather than waiting for regrowth.
Grow Your Own Arugula Microgreens This Week
Arugula microgreens are one of the best crops for building confidence with moisture control, since the feedback loop is fast and the whole process wraps up in about a week. Once you've nailed the watering balance here, it carries over directly to trickier crops like basil or sunflower.

Grab a tray of Arugula Microgreens Seeds and you can have peppery, fresh greens on your counter by next weekend.
Author: Aquager · Published: July 25, 2026 · Updated: July 25, 2026












0 comments