
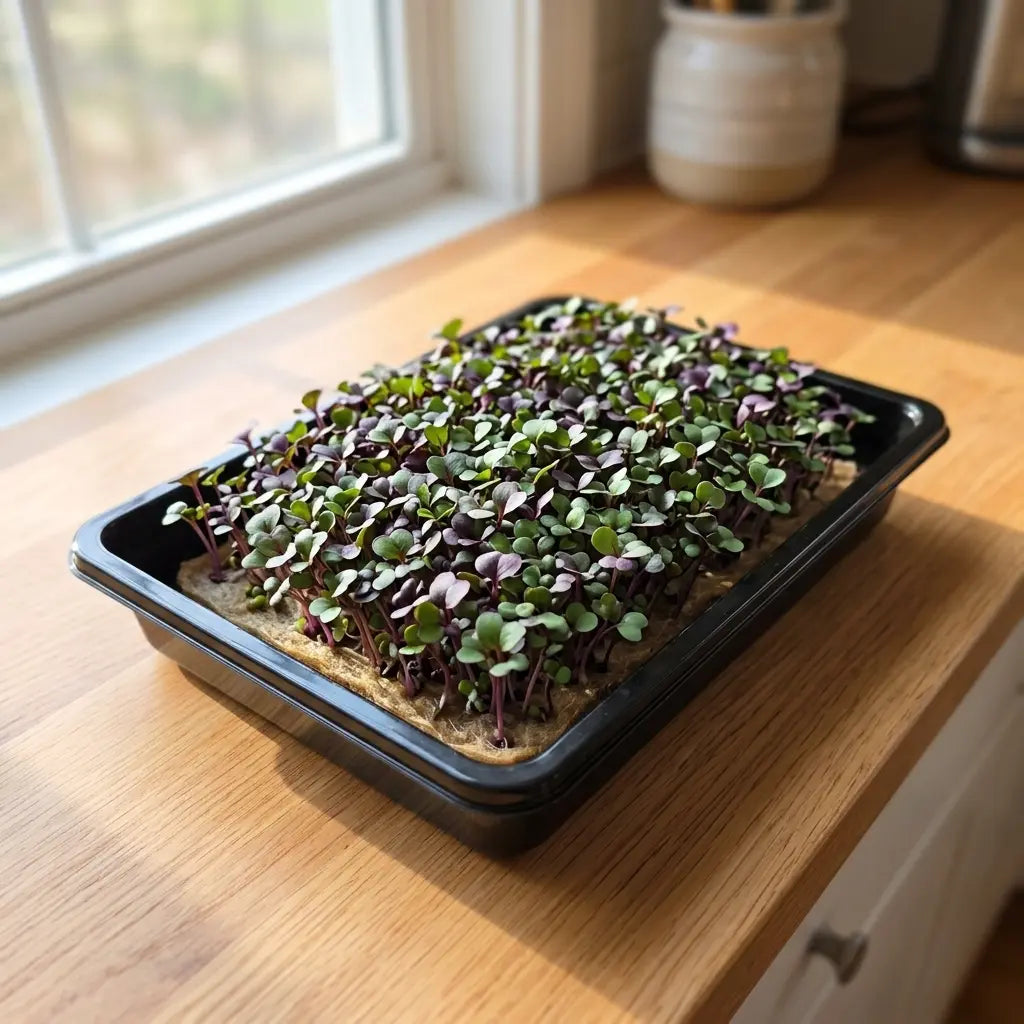
Growing kale microgreens at home takes about 7 to 10 days, a little longer than fast crops like radish or arugula, but the payoff is a colorful, nutrient-dense tray that holds up well once harvested.
Kale is a slower, slightly less predictable germinator than most microgreens. Seeds can sit for a day or two longer than you'd expect before they show any real progress, which trips up a lot of first-time growers into thinking something is wrong.
This guide covers exactly how to grow kale microgreens from seed to harvest, including the moisture and light levels that keep a tray healthy and what to do when germination looks slower or more uneven than usual.
Why Kale Microgreens Are Worth Growing
Kale microgreens carry the same earthy, slightly bitter flavor as mature kale, but in a much smaller, more tender leaf that works well raw in a way full-grown kale rarely does. A handful tossed on eggs, soup, or a grain bowl adds color and texture without needing to be massaged or cooked down first.
They're also one of the more nutrient-dense microgreens in the lineup. We cover the specifics on vitamin K, folate, and mood-related nutrients in Kale Microgreens: The Mood-Boosting, Nutrient-Dense Crop You Can Grow in a Week.
Because kale germinates a bit slower than crops like radish or sunflower, it's a good next step once you've grown a faster variety and want to practice patience and more careful moisture control.
What You'll Need to Grow Kale Microgreens
The setup doesn't require soil. Kale microgreens grow best on a thin, absorbent grow mat that holds water evenly across the surface, the same soil-free approach we cover in Hydroponic Microgreens: How to Grow Without Soil.
Here's what to have ready before you start:
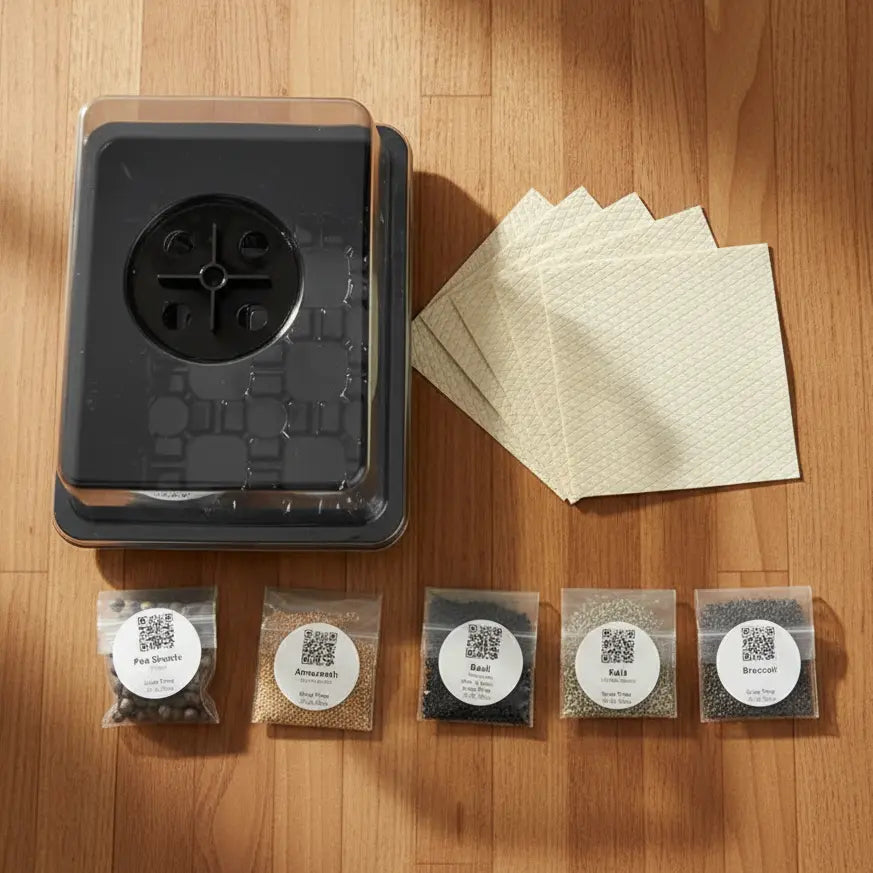
- A shallow 10x20 microgreens tray, ideally one with drainage holes
- A light brown organic grow mat cut to fit the tray, never soil or potting mix
- Kale Kalefetti Mix Microgreens Seeds, which come with an organic grow mat included
- A spray bottle for misting, since kale's small seeds don't handle heavy watering well
- A humidity dome or a second tray to use as a blackout cover for the first several days
Spread the seeds in a single, even layer across the mat. Kale seeds are small enough that a light hand goes a long way, and overcrowding is one of the more common reasons growers see uneven germination later on.
How to Grow Kale Microgreens: The 7 to 10 Day Process
Kale doesn't need a pre-soak, but it does need a longer, more patient blackout period than faster crops. Rushing this stage is the most common reason growers think their seeds have failed when they've really just not caught up yet.
Day 1: Seed the Tray
Wet the grow mat thoroughly before adding seeds, then spread the kale seeds evenly across the surface. Press gently with your palm or a flat piece of cardboard so the seeds make good contact with the mat, without burying them.
Days 2 to 4: Germination and Blackout
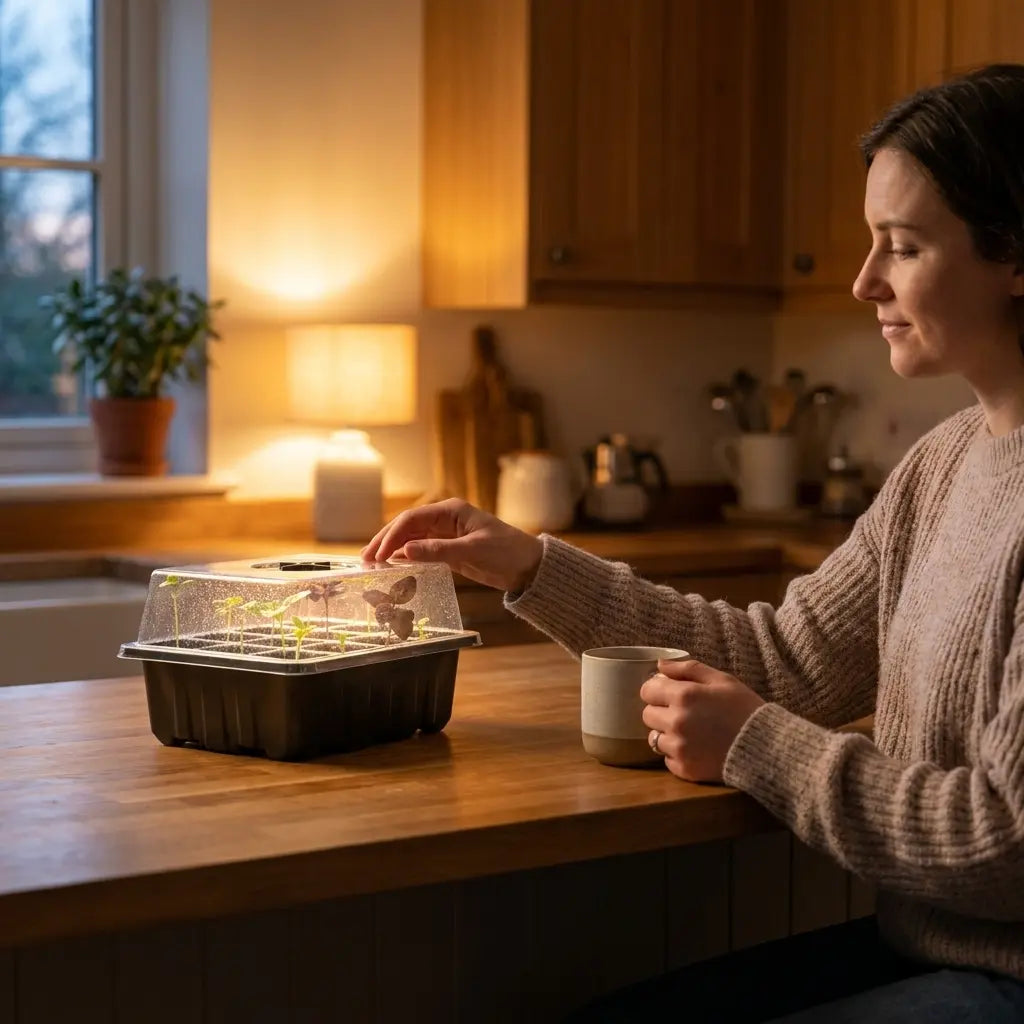
Cover the tray with a dome or a second tray flipped upside down to block out light. Kale typically takes 2 to 4 days to germinate, noticeably longer than radish or broccoli, so resist the urge to check too often or uncover the tray early.
Mist lightly once a day if the mat starts to dry at the edges. The goal is consistently damp, not wet enough to pool at the bottom of the tray.
Days 4 to 7: Light and Moisture Levels
Once you see pale yellow sprouts pushing up, uncover the tray and move it into bright, indirect light. An east or west-facing window works well, or a grow light positioned 6 to 8 inches above the tray if natural light is limited.
Kale's watering needs shift once it's uncovered. Mist once or twice a day and let the surface dry slightly between waterings so the roots get air as well as water. The color will deepen from pale yellow to green and purple over these few days as the sprouts get real light for the first time.
Days 7 to 10: Final Growth and Harvest
By day 7 or 8, you'll see the first true leaves forming alongside the cotyledons. Most trays are ready to harvest between day 7 and day 10, once the greens reach about 2 to 3 inches tall with good color development.

Troubleshooting Slow or Uneven Kale Germination
Kale is one of the slower microgreens to germinate, and that alone causes a lot of first-time growers to assume they've done something wrong. In most cases, the seeds just need another day or two under the blackout cover before sprouts show up.
If germination looks patchy rather than just slow, with some seeds sprouting and others sitting dormant, the most common cause is uneven seed contact with the mat. Pressing the seeds down firmly at planting, rather than letting them sit loosely on top, fixes most patchy trays going forward.
Temperature matters more for kale than for faster crops. A cold room, especially anywhere below 65 degrees, can stretch germination out by several extra days. Moving the tray to a warmer spot, like on top of the refrigerator, often speeds things back up.
If a tray still hasn't germinated at all after 5 days, the seeds themselves are the more likely culprit. Check that your kale microgreens seeds haven't expired or been stored somewhere humid, since old or damp seed is the one issue patience alone won't fix.
Why Grow Kale Microgreens With Aquager
Kale Kalefetti Mix Microgreens Seeds from Aquager come with an organic grow mat included, so the moisture control that trips up a lot of kale growers is easier to get right from day one.
The mat holds water evenly across the surface, which matters even more for kale than for faster crops since the tray stays covered and undisturbed for several extra days during the longer blackout period. Consistent moisture during that stretch is what keeps germination on schedule.
If you're just getting started with microgreens in general, the Microgreens Starter Kit bundles two trays with seeds and mats so you can run a kale tray and a faster crop side by side.
Kale Microgreens FAQ
How long does it take to grow kale microgreens?
Most trays are ready to harvest between 7 and 10 days from seeding, depending on room temperature and light. Cooler rooms tend to land at the longer end of that range.
Why is my kale germination so slow?
Kale simply germinates slower than crops like radish or sunflower, often taking 2 to 4 days to sprout instead of 1 to 2. A cold room can stretch that out even further, so moving the tray somewhere warmer usually helps.
Why are my kale microgreens pale or stretched out?
Pale, leggy stems mean the tray needs more light. Move it closer to a bright window or add a grow light once the blackout period ends, since kale needs strong indirect light to develop its color and stay compact.
How much water do kale microgreens need?
Kale's watering needs are moderate. Mist once or twice a day to keep the mat consistently damp, and let the surface dry slightly between waterings so the roots don't sit in standing moisture.
Can I harvest kale microgreens more than once?
No. Like most microgreens, kale is a cut-once crop. Once a tray is harvested, reseed a fresh mat rather than waiting for regrowth. For general harvest technique, see How to Harvest Microgreens the Right Way.
Grow Your Own Kale Microgreens This Week
Kale microgreens ask for a little more patience than faster crops, but the process is still simple once you know germination just needs an extra day or two. Get the moisture and light right during that stretch and the rest of the grow takes care of itself.

Grab a tray of Kale Kalefetti Mix Microgreens Seeds and you'll have a colorful, nutrient-dense harvest on your counter within the week.
Author: Aquager · Published: July 25, 2026 · Updated: July 25, 2026












0 comments