
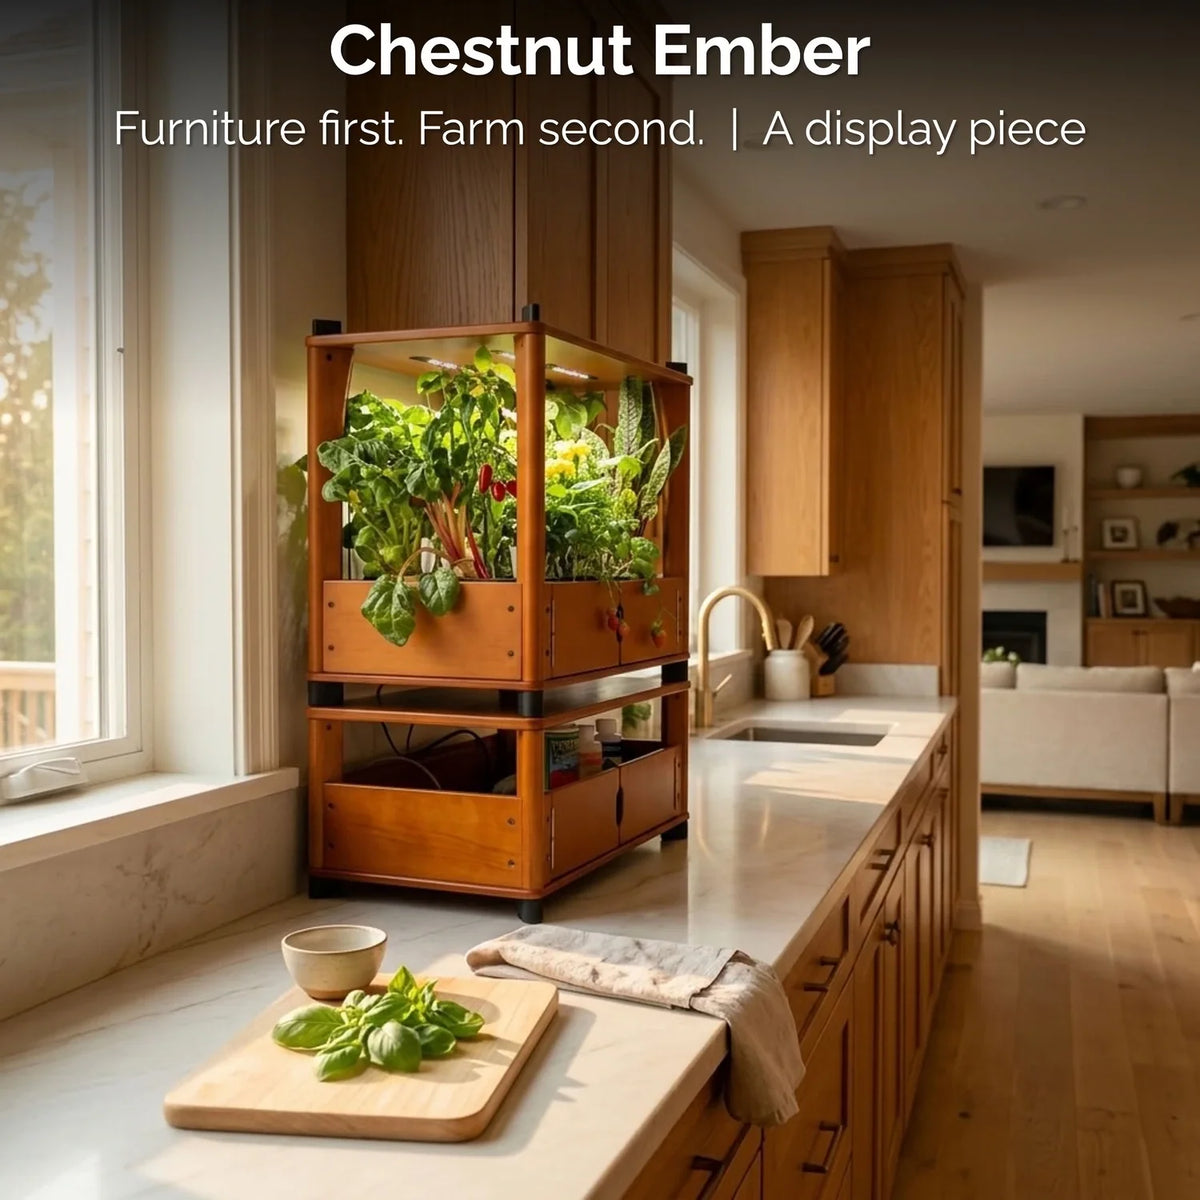
A countertop garden has to earn its spot in your kitchen. Counter space is the most valuable space in the house, and nobody wants to order something that turns out to be two inches too tall.
The good news is that this question has a clear answer. It comes down to six measurements and a little tape. You can finish the whole check in about ten minutes, before you spend a dollar.
This guide walks through it step by step. You will see the exact sizes, how to test your counter, what to do about low cabinets, how the storage unit stacks, where the light and outlets need to be, and how to anchor the unit to the wall for safety.
The Exact Sizes of a Kitchen Counter Garden
Start with the numbers. These come straight from the Aquager product pages, so you can plan around them:
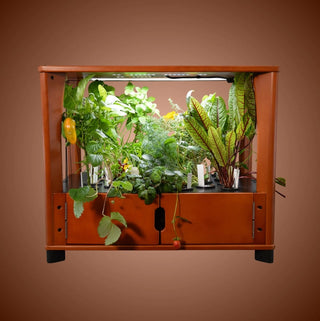
- Home Farm alone: 22.1 inches wide, 14.9 inches deep and 18.5 inches tall (56 by 38 by 47 cm).
- Storage Unit alone: 22.1 inches wide, 14.9 inches deep and 11.6 inches tall (56 by 38 by 29.5 cm).
- Both stacked (the Chef's Organic Set): about 22 by 15 by 30 inches, which covers about 2 square feet of floor or counter.
Notice that the farm and the storage unit share the same width and depth. When you stack them, nothing overhangs, so the footprint stays the same whether you use one piece or two. Only the height changes.
If you want the math, 22.1 inches times 14.9 inches is about 329 square inches. That is a little over 2 square feet, which is smaller than most people expect for a garden that holds 24 plants.
The Chef's Organic Set arrives flat-packed in one box, so getting it through an apartment door or up a narrow stairwell is easy. Assembly takes about 60 to 90 minutes, and the tools come in the box.
Step 1: Check Your Counter Width and Depth
Counter depth is where most fit questions end. A standard finished kitchen counter is about 25 inches deep, according to Bob Vila's guide to standard kitchen cabinet sizes. The farm is 14.9 inches deep, so on a standard counter you would still have about 10 inches of room in front of it.
Width needs more thought, because the farm is 22.1 inches wide. We suggest a clear stretch of about 26 inches, which leaves roughly 2 inches on each side. That gap makes it easier to wipe the counter and to reach around the unit.
Here is the quick test:
- Cut a piece of painter's tape about 22 inches long and place it along the wall or backsplash.
- Make a second strip 15 inches long and run it out from each end to draw a rectangle.
- Look at the outline for a day. Walk past it while you cook and see if it blocks anything.
Pay attention to what already lives in that spot. A toaster, a knife block or a coffee maker will need a new home. If the outline crowds your main prep area, it will annoy you quickly, so pick another spot.
Step 2: Measure the Height Above Your Counter
Height is the measurement most people forget. A standard finished counter sits between 35 and 36 inches off the floor. Upper cabinets are usually installed about 18 inches above the counter, so their bottom edge is about 54 inches from the floor.
The Home Farm is 18.5 inches tall. That is half an inch more than the usual gap under the cabinets, and you also need room to reach in and harvest. So on a standard counter, the farm will not fit under a standard upper cabinet. See our tips on how to get more yield from a small indoor garden.
That does not rule out a counter. It just means you should choose the spot with care. Here are the places that tend to work:
- A counter section with no cabinet above it. This is common on a peninsula, an island or a stretch beside a window.
- A counter under a high shelf or a raised cabinet. If you have more than about 22 inches of clearance, the farm fits with room to spare.
- A counter in front of a window. Many windows have no cabinet above them, so the height is open.
Measure straight up from the counter to the bottom of anything above it. Then add the 18.5 inches and a few extra inches for your hand. If the result is more than the space you have, take a different route, which we cover in the next step.
If you live in a small space, our guide on how to start an indoor garden in an apartment has more ideas for tight layouts.
Step 3: Choose Counter, Floor Against a Wall, or a Table
Many people picture a kitchen counter garden on the counter, but you have more than one choice. Each setup has its own height and its own trade-offs.
On the counter (farm alone)
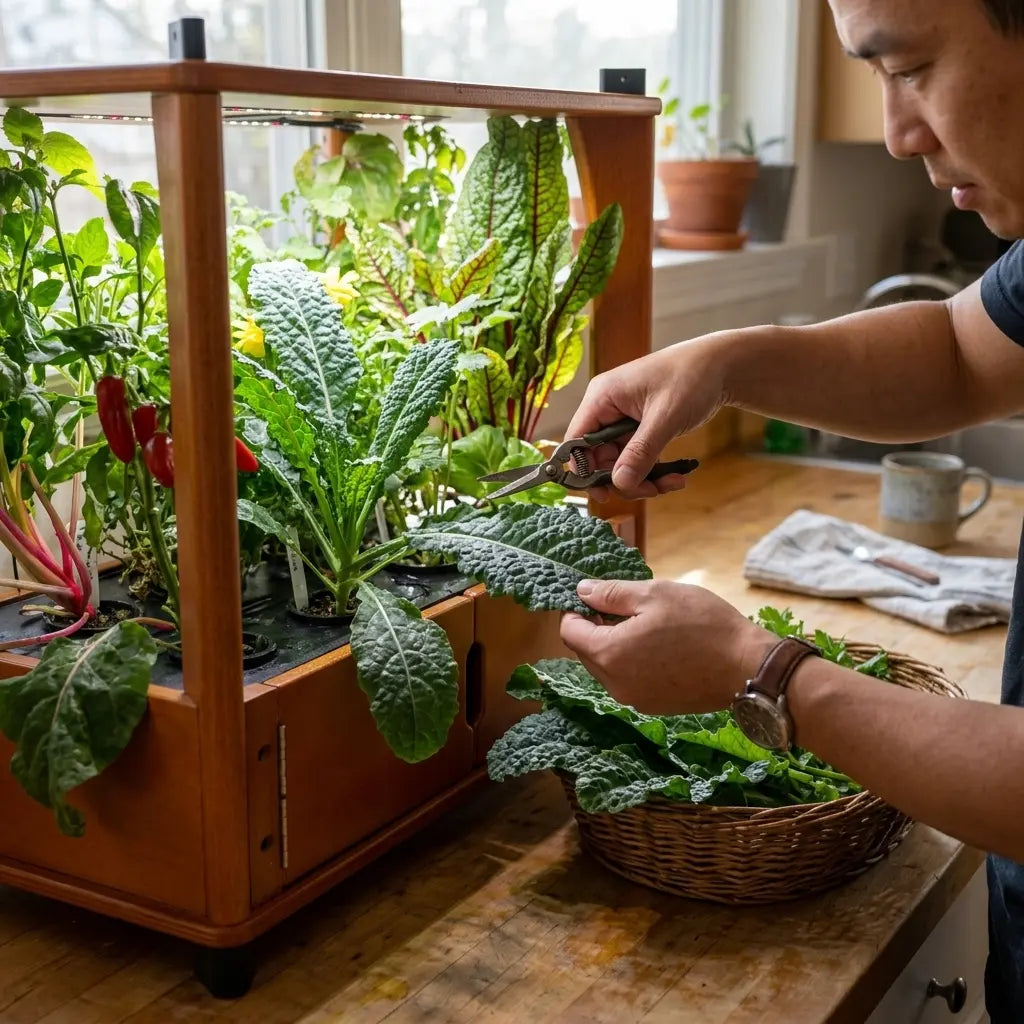
The farm sits at about 54 inches off the floor, so the plants end up at eye level. That makes it easy to snip basil while you cook. The trade-off is that it uses counter space and needs the open height from Step 2.
On the floor against a wall (farm plus storage unit)
Stacked, the Chef's Organic Set stands about 30 inches tall. That is about 5 to 6 inches lower than a standard counter, so it fits easily in an open corner, a dining nook or beside a pantry. It uses no counter space at all. Our Home Farm vs Chef's Organic Set comparison walks through the differences.
It is a freestanding piece of furniture, not a wall-mounted one. You set it against the wall with its back to the wall, and you leave a small gap for cords and the safety strap.
On a table or an island
A sturdy table, a kitchen island or a sideboard also works. Check the weight first. The tank holds up to 13 liters, and 13 liters of water weighs about 29 pounds before you add the wooden unit itself. Make sure any shelf, table or cart can handle that load.
As a rule of thumb, choose the counter if your priority is quick harvesting, and choose the floor if your priority is saving counter space. Our guide on furniture-style indoor gardens explains why the wood design helps in either spot.

How the Storage Unit Stacks
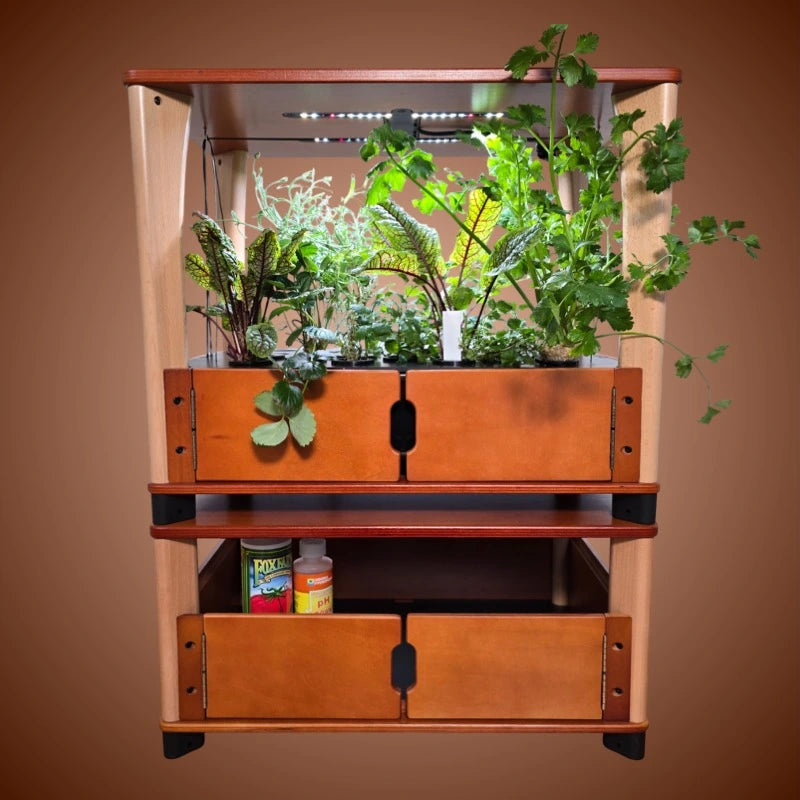
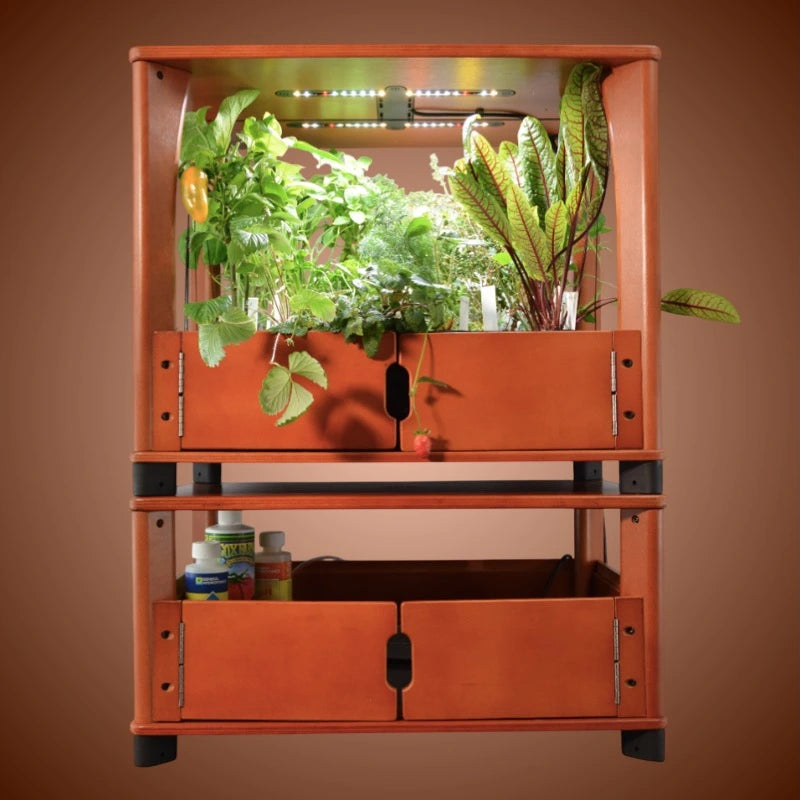
The Storage Unit is a matching wooden drawer that stacks above or below the Home Farm. Because the width and depth are identical, the two pieces line up edge to edge and look like one continuous piece of furniture. It comes in the same finish as the farm. Our Black Friday furniture checklist is a quick way to compare before you buy.
The drawer holds the things that usually clutter a counter: nutrients, the pH kit, tools, the air pump and the power supply. That is a big help in a small kitchen, because the supplies stay out of sight and within reach.
The stacked height is the key number. The farm is 18.5 inches and the storage unit is 11.6 inches, so together they reach about 30 inches. If you stack them on a floor, that is easy. If you put the stack on a counter, the top would reach roughly 65 to 66 inches off the floor, which is too tall for most kitchens and not a good idea for stability.
So the simple rule is this: farm alone on the counter, or the full stack on the floor. Our post on why stackable hydroponic farms make indoor food production easier goes into the reasoning behind a stackable design.
Step 4: Plan the Light Before You Pick the Spot
This step is easier than most people expect. The Home Farm has its own LED lights on a timer, running 16 hours on and 8 hours off. So the plants do not depend on a window.
That gives you freedom in your kitchen layout. A dark corner works as well as a bright sill. You can choose the spot for convenience, not for sunlight. Our guide on growing herbs indoors year-round explains how grow lights replace a window.
A few placement tips still apply:
- Stay a few feet from the stove. Heat and cooking grease are hard on wood and on plants.
- Avoid cold window glass in winter. A cold sill can be tough on leaves, and a spot beside a window can also pick up drafts.
- Think about the glow. The lights run 16 hours a day, so check whether you can see them from your couch or your bed in an open-plan home.
- Keep it away from sinks that splash. A few feet from the sink is ideal. That is close enough to refill, and far enough to stay dry.
If you do want natural light as a bonus, a spot near a window is fine. Just remember it is not required.
Step 5: Plan Outlets, Cords and Water
The lights and the air pump need power, so the spot must be near an outlet. Plan this before you assemble the unit, not after.
Here is what to check:
- Look for a free outlet within easy reach. If the nearest one is behind a toaster or a mixer, move that appliance first.
- Skip long chains of extension cords. A single short, well-placed cord is safer than several joined together.
- Keep the plug above the water. Let the cord form a small downward loop before it reaches the outlet, so any drip runs off and does not reach the plug.
- Notice the outlet type. Most kitchen counter outlets in the U.S. are GFCI protected, which cuts power if there is a fault around water. That is a good match for a water-based garden. If you are unsure about your wiring, ask an electrician.
Water access matters just as much. The tank holds 13 liters, and the product page suggests a refill about every 7 to 10 days. A spot that is within a few steps of the sink makes that weekly task quick. The whole weekly routine takes about 5 to 10 minutes, and our guide on how to get the most out of your Aquager Home Farm walks through it.
Step 6: Anchor It to the Wall
This step is easy to skip, and it is the one that matters most for safety. A full water tank plus a tall, narrow unit is a tipping risk, especially around children and pets.
The numbers are serious. The U.S. Consumer Product Safety Commission reported 459 tip-over deaths of children 17 and younger from 2000 to 2018, and more than nine out of ten were children 5 or younger. The agency also estimated that about 11,000 children went to the emergency room each year from 2016 to 2018 after a tip-over. You can read the details on the CPSC's Anchor It statistics page.
The agency's advice is simple: any piece of furniture that could topple and injure a child should be anchored to the wall. A tall unit with a tank of water qualifies.
The Aquager Furniture Anchor is an anti-tip strap kit made for the Home Farm and the Storage Unit, single or stacked. It includes an adjustable strap, screws and wall anchors. The page says installation takes about 5 minutes with a basic drill, and the strap sits behind the unit, so it does not change how the piece looks. It costs $11.99, which is $2.01 below the $14.00 list price.
Here is how to decide if you need one:
- Stacked on the floor: yes. Taller units are the ones most likely to tip.
- Farm alone on a counter: a good idea if you have kids or pets, or if the counter edge is near a walkway.
- Renting: check your lease before drilling, and ask your landlord. Small screw holes are usually easy to patch.
The product page does not list which wall types the kit suits. So before you buy, find out what your wall is made of. If the wall behind your spot is tile, brick or concrete, you may need a different bit or a different anchor from the one in the box, and the building manager can tell you what is behind the surface.
Three Fit Mistakes to Avoid
Most "it did not fit" stories come from the same few slips. Here is how to dodge them.
- Measuring the counter but not the space above it. The width and depth may be fine while the cabinet above is too low.
- Forgetting the walk path. A unit that fits on paper can still block the fridge door or the dishwasher when it opens, so check every door and drawer near the spot.
- Placing it before checking the outlet. A great spot with no power nearby leads to long cords, and long cords are the most common safety problem.
Catch these three in the taping stage and the rest is easy.
A Ten-Minute Fit Checklist
Put it all together with this short checklist. If you can answer yes to each line, the garden will fit.
- Width: is there about 26 inches of clear space for a 22.1-inch unit?
- Depth: does the spot have at least 15 inches, so the 14.9-inch unit sits flat?
- Height: if it goes on the counter, is there more than 18.5 inches of clear space above, plus room for your hand?
- Floor option: if it goes on the floor, is there 22 by 15 inches free, with 30 inches of height?
- Power: is there a free outlet within easy reach?
- Water: is the sink close enough for a weekly 13-liter refill?
- Safety: have you planned a wall anchor, and can the surface carry about 29 pounds of water plus the unit?
Do that once with painter's tape and a tape measure. It is far cheaper than finding out after the box arrives.
Which Aquager Setup Fits Your Kitchen
If your measurements work, the Chef's Organic Set is the setup these sizes describe. It is the Home Farm plus the matching Storage Unit, in one bundle. It comes with 24 plants, a mix of chards and basils, plus the lights, nutrients, a pH kit and an air pump.
It costs $199.99 in Blonde Maple and the two-tone finishes, and $229.99 in Chestnut Ember. The list price is $279.99, so the most common finish is $80.00 less. Add the $11.99 anchor kit and the total is $211.98 in the lower-priced finishes. Shipping is free in the U.S. on orders of $40 or more, and the set carries a 1-year warranty.
First sprouts show up in 6 to 9 days, and the first harvest comes in 3 to 8 weeks. After that, the weekly care is about 5 to 10 minutes.
What if your counter is tiny?
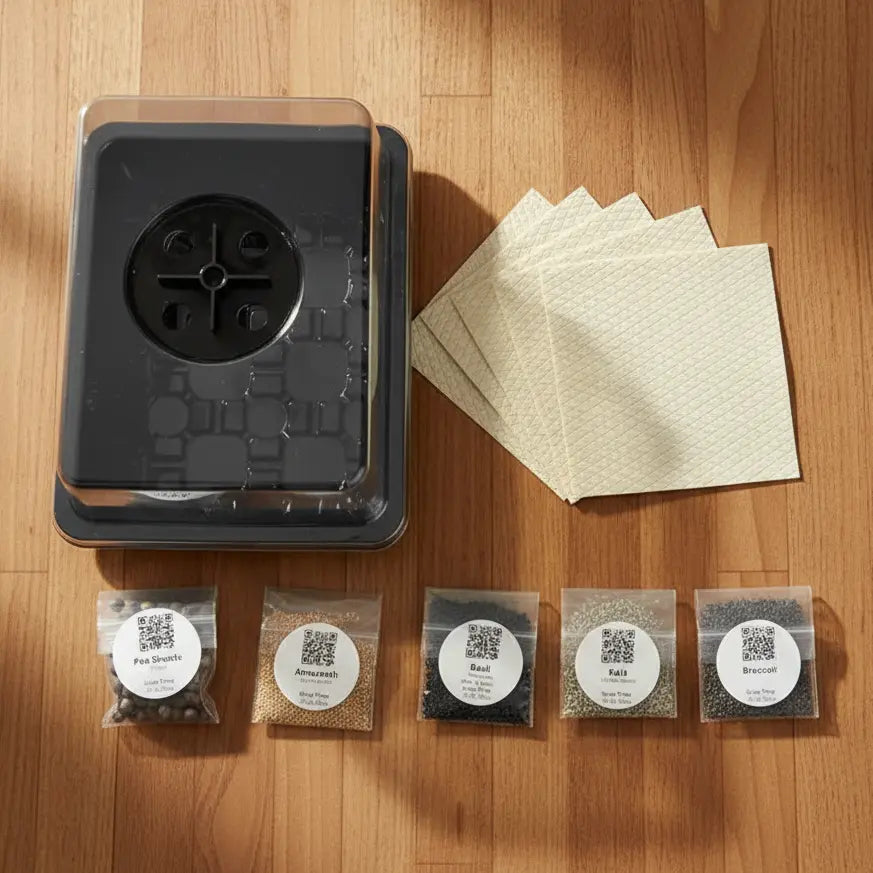
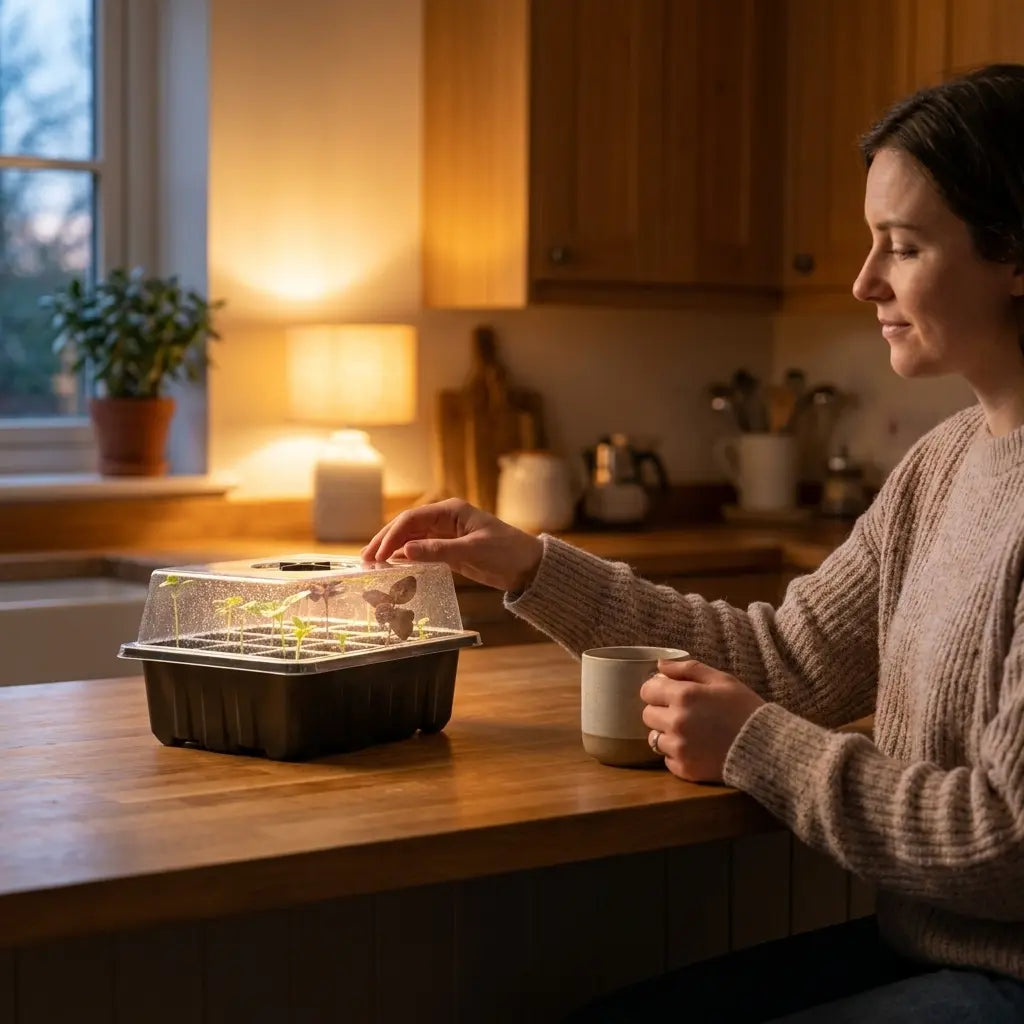
Some kitchens simply have no room. If that sounds like yours, start with trays instead. The Microgreens Starter Kit costs $29.99 and includes 2 trays, 4 compostable mats and 4 seed packs. Harvests take 5 to 25 days, and the trays can be moved around the kitchen.
Countertop Garden FAQ
How big is a countertop hydroponic system like the Aquager Home Farm?
The Home Farm is 22.1 inches wide, 14.9 inches deep and 18.5 inches tall. It covers a little over 2 square feet and holds 24 plants.
Will the farm fit under my kitchen cabinets?
Usually not on a standard counter. Upper cabinets sit about 18 inches above the counter, and the farm is 18.5 inches tall. Measure your own gap, because some kitchens have more room.
Can I put the storage unit on top of the farm?
Yes. The storage unit stacks above or below the farm, and the two share the same width and depth. The full stack is about 30 inches tall.
Do I need a window for a kitchen counter garden?
No. The farm has its own LED lights, which run 16 hours on and 8 hours off, so any spot with an outlet will do.
Do I have to anchor it to the wall?
It is strongly advised for the stacked unit, and a good idea for a farm on a counter if you have children or pets. A full tank is heavy, and the CPSC recommends anchoring furniture that could topple.
How much room do I need around it?
We suggest about 2 inches on each side and a small gap behind for cords and the safety strap. You also need enough open space in front to reach in and harvest.
Measure Once, Then Grow With Confidence
A garden that fits is a garden you will actually use. Check the width, the depth and the height, plan for an outlet and a nearby sink, and add a wall anchor for safety. Do those five things and the question "will it fit?" is already answered.
If space is tight, start with a tray of microgreens and see how you like growing food at home. If you have the room, a set that stacks neatly into a corner or sits on the counter is waiting. Either way, it starts with a roll of painter's tape.

Author: Aquager · Published: October 11, 2026 · Updated: October 11, 2026












0 comments